Introduction
Microsoft Entra Verified ID transforms identity verification by enabling secure, privacy‑preserving, verifiable credentials. Whether you’re implementing Account Recovery (Preview) or integrating a trusted identity verification partner like AU10TIX, the onboarding process requires a few key steps: enabling the provider, provisioning resources, activating the integration, and validating the recovery flow.
This blog walks through the full, end‑to‑end Verified ID setup using AU10TIX as the identity verification provider. You’ll find prerequisites, detailed configuration steps, screenshots, and a summary to help you complete the setup smoothly
Prerequisites
Before you begin, ensure the following:
- Verified ID Setup :
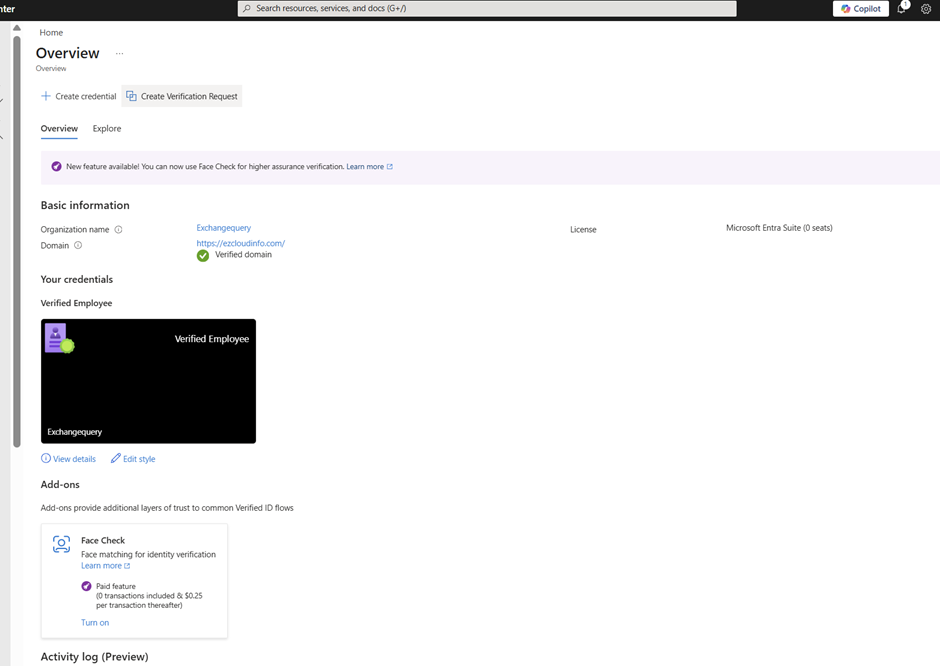
You need to have the Verified ID setup properly configured in your tenant first and the foremost thing to do before proceeding to any steps. If this one is not setup then the account recovery (Preview) is not going to work . Especially your domain needs to be a verified domain here.
Also in the Authentication method you must have the Temproary Access Pass Enabled
Continue reading