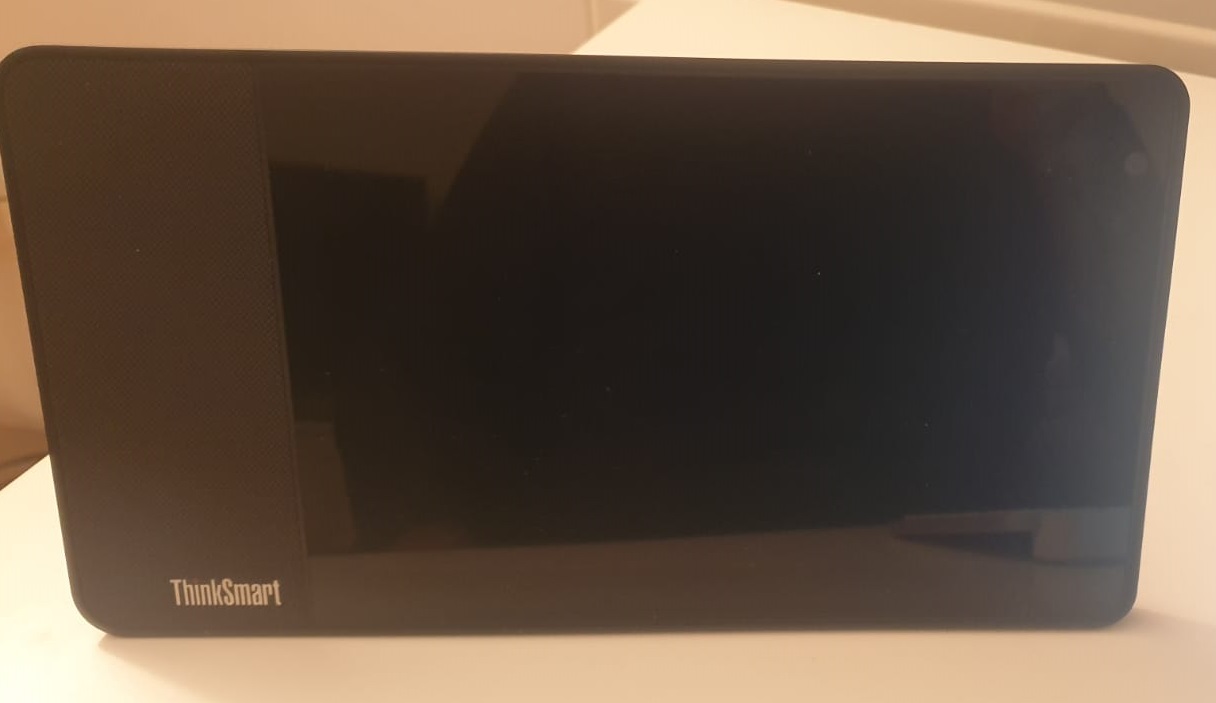
Category Archives: Microsoft Teams

Microsoft Teams – Create approvals from work flows to Automate Tasks or repetitive processes

Teams is a fantastic Solution where it provides opportunity to collaborate and communicate effectively. It makes it more powerful when we utilize the full features of the Teams. For instance ,when we utilize the power platform to automate the recurring tasks, repetitive processes for end users the Teams can become really useful.

In this blog lets look at one example where as an end user we can utilize Microsoft Teams for automating our daily recurring tasks via the new feature released recently with WorkFlows

To get started with in the Teams Client navigate to apps – choose work flows and select the category of your choice. In our example we are going to pick one used case of Approval of a change request when a new change is submitted in the SharePoint List.

In the next screen we will be notified with the below window where we will be notified that all the below apps must have the valid connection for them to work further.

Continue reading

Teams Rooms – Automate the Logisync agent installation via Intune Apps Policy

In previous article we had a look at how to manage the Logitech Peripherals from the the LogiSync Portal. In a small scale deployment installing them manually from handful of devices will be an easier approach. However when we have more number of devices that needs this installation and if they are present in different locations sharing the local admin passwords to the local support might also be a bit risky approach.

If the devices are Azure AD joined and Intune registered in this case we can benefit the remote installation of this client via Microsoft Intune Apps. Logitech has provided option to install them remotely from an SCCM instance as well which might be beneficial if you have the device managed via SCCM. In this article we will run through the steps that we will be doing to install the LogiSync Agent from the Microsoft Intune.

As a first step we need to download the Windows Sync Provisioning Bundle by logging into https://sync.logitech.com  System–>Bulk provisioning.

In our case we are choosing windows since we are attempting the automated agent installation via Microsoft Intune.

Continue reading

Microsoft Teams – Setup your own compact personal productivity assistant Teams Screen for better meeting experience

Smart displays for Microsoft Teams provide better experience to help employees work more efficiently practically from anywhere. This device can efficiently be used for fast, secure and easy hot desking. Employees may get the most out of their workday by using these personal display panels. For example, on a day when we have many back-to-back Teams Meetings, we can dedicate this device solely to Teams Meetings, while simultaneously using our laptops just for our work.

This will help in reducing the computing memory CPU utilization in our laptops if we are using our laptops for any other heavy backend application or tasks that is been used for our daily operations. Having said that there are multiple Microsoft recommended products listed here in this blog we are going to have a look only at the Lenovo Think Smart View.

While unboxing the product the first look of the product looks like below.

It is powered by a 1x Qualcomm Snapdragon 624 Processor, Memory 2G LPDDR3 and 8GB hard drive.
It has only wireless network, with Bluetooth enabled , One 5MP camera and 8.0″ IPS LCD screen and the device is powered by an AC adapter.

Above configuration will be more than sufficient to run Teams APP on this device. The device is powered with the Android version 8.1In addition it has 1.75″ 10W full-range loudspeaker with two passive tweeters. It also has an inbuilt MIC at the top and not sure about the range , however it must be definitely sufficient for using them as a personal device.

Further more at the top it has the volume control & mute buttons. On the right side there is toggle switch to close and open the camera lens.

Continue reading

Manage Microsoft Teams Room Devices Peripherals from LogiSync Portal

For Microsoft Teams Rooms Logitech is been one of the preferred solution.
And the Logitech meeting room device peripherals are widely been utilized. It’s critical to remember that the Logitech device peripherals must be updated in order for them to work properly.

Usually when we have the Microsoft Teams Premium service enrolled the best part is these device peripheral updates are delivered via their regular windows update channel. When we run the Teams Room Standard license it is very important to note that the meeting room device peripherals camera, mic and camera updates needs to be performed manually. In those cases managing them from the LogiSync app will be greatly beneficial.

Logisync Portal helps Administrators a lot to manage the Teams Logitech devices completely from the portal. With the Logitech Sync at the moment we have 2 options either to monitor the devices only or to monitor them plus Update the device’s firmware and make any necessary changes to the device settings.

Logitech Sync Setup consists of two parts Sync App and Sync Portal

Continue reading

Logitech TAP Scheduler for Microsoft Teams

Meeting room scheduler makes it simple to locate and reserve the appropriate room. There are lot of meeting room schedulers available in the market which fetches the room availability from Exchange Online or Exchange OnPremise Accounts. These TAP meeting room schedulers usually helps us to see the meeting details at a glance and reserve the room for adhoc or future meetings. This helps the business a lot because most of the time people find it hard to schedule adhoc meeting in a meeting room to check for the free/busy availability in the Calendar.

Having said the benefits of the meeting room panels We’ll look at the Logitech TAP scheduling and how it works with Microsoft Teams.

At first appearance, from the hardware perspective it appears to have a clean and convenient setup, with features such as Easy Installation with Included Mounts, Hide Cabling for a Clean Setup, 10.1″ touchscreen, Anti-fingerprint, robust build, and meeting availability lighting indicators.

The device is powered by the POE cable which makes the cabling and mounting this device on the wall in a very easier manner. When turning on the device we get the below screen which is evident that the device is powered by the Logitech Collab OS.

Continue reading

Create a QnA maker with no code experience and publish them in Microsoft Teams

QnA maker helps us in building a basic bot that can handle first level of recurring tasks. This benefits the end user in providing the faster response and answer to their question. This benefits the end user in getting a quicker response and answer to their inquiry. We can reduce a lot of repeating chores at the operational level with QnA maker. For example, we may use QnA maker to provide first-level NOC monitoring help, which will benefit both the requestor and the first-line support team significantly.

We had a look through a similar article 2.8 years back how to create a azure web app bot here

Microsoft’s investment in cognitive services has been fantastic, as they have simplified the automation process and integration with Microsoft Teams while requiring little or no coding knowledge. This greatly aids us in building QnA makers and bringing them live in a matter of days providing we keep all of our knowledge bases up to date and accessible.

In this article we will go through the steps that is required to integrate the QnA Maker with Microsoft Teams.

Below are the main requirements to build QnA Maker and integrating them with Teams :

  1. QnA Maker needs to be created.
  2. Bot Framework Composer
  3. A basic bot that is required to handle the interaction
  4. App Package that needs to be created

The first and the foremost thing is to create the QnA maker from the Azure portal. We can create them easily by navigating to https://QnAMaker.ai

Choose the appropriate Subscription, Resource Group and the Pricing Tier.

Continue reading

Microsoft Teams – Enable end to end encryption for Teams Calls

Teams encrypts all communication by default with industry-standard technologies including Transport Layer Security (TLS) and Secure Real-Time Transport Protocol (SRTP). By default TLS authenticates all traffic and encrypts them. SRTP is used for media traffic and also encrypted. And by default they are definitely Trustworthy and this end to end encryption is definitely not required unless there is a specific business case.

Last month Microsoft announced the public preview of the end to end encryption as per this blog

The goal of end-to-end encryption is to prevent data from being read or secretly manipulated by anybody other than the sender and recipient. The sender encrypts the calls, chats & files, but the third party or even the service provider has no way of decrypting them and stores them encrypted. The recipients obtain and decrypt the encrypted data on their own.

There may be a situation when a few participants are dealing with business-critical data or sensitive information, and they want more increased security to meet their compliance and regulatory obligations. In some circumstances, end-to-end encryption can be used to accommodate those scenarios, and it can be enabled exclusively for those users who are specifically targeted.

Continue reading

Microsoft Teams – Setup Dynamic Emergency Calling

Dynamic emergency calling assists in routing calls and notifying security personnel during an emergency scenario based on the location of the Teams Client. Earlier this setup was working on Microsoft Calling plan and Direct Routing. Now with Operator connect being public GA setting up a emergency calling is a mandatory prerequisite before enabling the operator connect on the Teams Admin Center.

The dynamic emergency calling works completely with the help of the Location information service. The Location Information Service (LIS) delivers geodetic (latitude/longitude) or civic address location information. The LIS is used by emergency services to make location-based call routing decisions and to properly locate callers for dispatch. LIS addresses the intermediate solution for providing e911 service for users of VoIP telephony.

Microsoft Teams uses this same LIS based on the Network Topology Information. This is collected from the Teams Client location data which works based upon two information

  1. Network Settings
  2. Location Information Service Configuration
Continue reading

Microsoft Teams – Provide telephony numbers in Teams with Operator Connect

With Operator connect we will be able to manage partnerships with our local telephony providers and provide telephony features to end users in Microsoft Teams. We can evict the need of managing & maintenance of SBC locally in the datacenter unless we have some specific requirements for routing calls to another ip-pbx environment within the organization .This is a big advantage for customers who want to go completely to the cloud and eliminate their on-premise dependency.

Microsoft recently announced Operator Connect to be General and it can be a good start for organizations which has less dependency on legacy PBX integrations in their environment. For instance when a customer having only Skype for business, SBC and a SIP Trunk with their local telephony provider in their current configuration can easily think of moving this enterprise voice service to cloud easily by benefiting the operator connect service.

At the moment of writing this post there are 22 operators present in this program which supports upto 60 regions all over the world with Microsoft and the list can definitely grow in future. In this blog we will run through the steps to enable operator connect and the steps to enable them with the provider NTT.

Below prerequisites are required from Office 365 tenant to evaluate the operator connect service:

  1. Users must have minimum E1+Phone System, E3+Phone System or E5 License.
  2. All these users leveraging the operator connect service must be in Teams Only mode.
  3. Emergency Address must be created and assigned to these users.

In our case we are testing from the location Netherlands and hence we have only Netherlands defined as Emergency address.

Continue reading

Microsoft Teams – Enable content camera for your meeting rooms whiteboard

A content camera can be used with a Microsoft Teams Room system. A content camera collaborates with image-processing software and a whiteboard to enable a presenter to draw on an analog whiteboard and share the content with remote participants.

In this blog we will run through the steps to enable content camera on Teams Room Systems.

There are few prerequisites that needs to be prepared before trying this setup:

  1. This content camera should be pointed at the room’s whiteboard. Please keep in mind that content camera has physical infrastructure requirements that must be considered. It’s usually a piece of equipment (a supported content camera) that hangs from the ceiling and faces the whiteboard.
  2. The writing board must be mandatorily white in color. Other colors are not supported.
  3. A supported content camera as per Microsoft Recommendation on this link needs to be used mandatorily for this functionality.

The camera’s positioning is influenced by the size of the whiteboard used for sharing. The following are some suggestions for board size from Microsoft:

  • 3–6 ft. (0.9–1.8 m) wide — Supported best suited for medium sized rooms.
  • 6–9 ft. (1.8–2.7 m) wide — Recommended best recommended for medium-large rooms.
  • 9–12 ft. (2.7–3.6 m) wide — Supported suitable for board rooms.
  • Above 12 ft. (3.6 m) wide — camera covers 9–12 ft. (2.7–3.6 m) and crops the rest.

The camera can be placed up to 6 in. (152 mm) above the whiteboard’s top and centered on the whiteboard.

Continue reading
%d bloggers like this: