
In this article we will look at steps to install Lync 2013 server standard edition.
Before we deploy Lync server in environment it’s always mandatory to do a proper planning for the enterprise voice features as there are more factors involved in connecting to the mediation server and need to be designed and planned accordingly.
To install Standard edition front end server we need to plan the below things mandatory
Readiness for Enterprise voice
If we are planning for enterprise voice it’s better to check few things before we install front end server.
By default the mediation server is collocated with the front end server in standard edition. But this needs to be considered and deployed separately or collocated according to our enterprise voice plan.
In Lync 2013 standard edition we can choose to deploy mediation servers separately based on our requirements.
Below are the types of enterprise plan that are available and we need to plan accordingly
SIP trunking – For SIP trunk there is separate Standalone mediation servers required because the mediation servers acts as a proxy for all the Lync 2013 clients and transcodes media whenever required. So a dedicated server is required to handle this traffic as we do not have a dedicated pstn or a pbx.
Direct SIP trunk with PSTN – If you have Direct SIP trunk with PSTN gateway then separate mediation servers is not required since they are capable of receiving traffic from any pool and capable of DNS load balancing across the pools.
Ip-PBX or SBC – We don’t need to have a separate mediation server as long as the below conditions are met for IP-PBX or SBC
If IP-PBX or SBC is intelligent and can receive traffic from mediation server and route the traffic to the mediation server.
IP-PBX should not support media bypass and it should be able to do the media processing by its own by relieving the mediation server from media processing.
Also it’s always better to run the Microsoft Lync server 2013 planning tool to see if the front end server along with the mediation server can handle the load. If it does not then it is best recommended deploying a separate pool and separate mediation server.
Readiness for SQL
By default, the SQL Server Express back-end database is collocated on the Standard Edition server. You cannot move it to a separate computer.
SQL Standard/Enterprise is not supported with Lync 2013 Standard Edition pools. If you use a separate SQL Standard/Enterprise instance, you can deploy only Lync Enterprise edition.
Readiness for Active Directory Services
Domain Functional Level – Minimum should be at least Windows server 2003.
Forest Functional level – Minimum should be at least windows server 2003.
Install prerequisites on the front end server
In this article we will look at how to install Lync 2013 on Windows server 2008 R2 server.
Following prerequisites must be installed on the FE server
Microsoft .NET Framework 4.5
Remote Server Administration Tools (RSAT)
Microsoft Visual C++ 11 Redistributable
Windows powershell 3.0
HTTP Activation
WCF Activation
Windows Installler 4.5
Microsoft Silver light 5
Run the below commands for installing the below features
Import-Module ServerManager
Add-WindowsFeature Web-Server, Web-Static-Content, Web-Default-Doc, Web-Scripting-Tools, Web-Windows-Auth, Web-Asp-Net, Web-Log-Libraries, Web-Http-Tracing, Web-Stat-Compression, Web-Default-Doc, Web-ISAPI-Ext, Web-ISAPI-Filter, Web-Http-Errors, Web-Http-Logging, Web-Net-Ext, Web-Client-Auth, Web-Filtering, Web-Mgmt-Console, Web-Asp-Net45, Web-Net-Ext45, Web-Dyn-Compression, Web-Mgmt-Console, Desktop-Experience
Once the above installation is done ensure that you have joined this server in the domain and logged in as domain admin.
Note : Admin User account must be a member of domain, enterprise and schema admins for the installation.
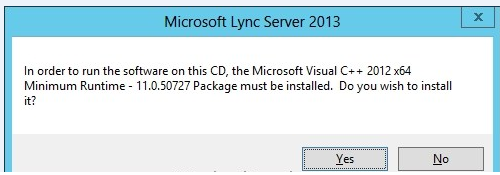
Run the setup from the CD
You will be prompted to install the Microsoft visual C++ as sql is installed on front end standard server by default
Choose the installation location and click install.

Click accept on the license agreement to proceed with the installation.

Once the installation is completed we will have 2 new programs installed in the task bar.
- Lync server management shell.
- Lync server deployment wizard.
Now open Lync deployment wizard. It determines the deployment state once we open.
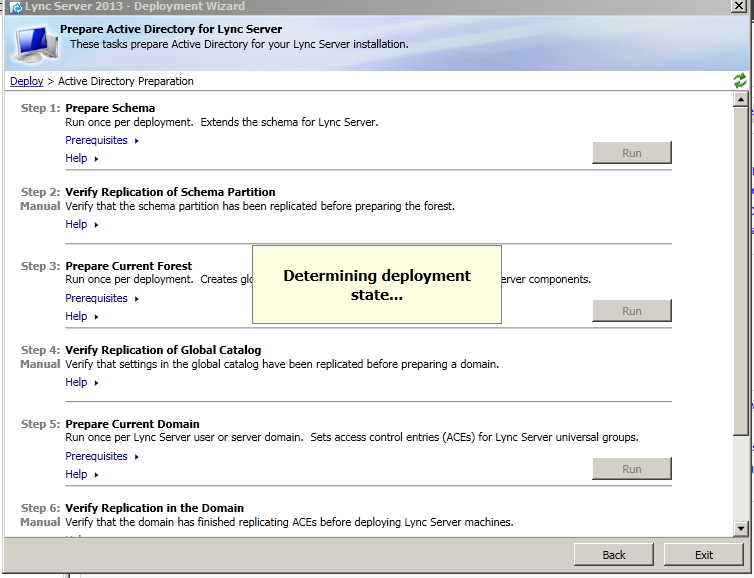
Click on prepare schema

Click on finish once completed.
Click on Prepare forest and click on finish once done

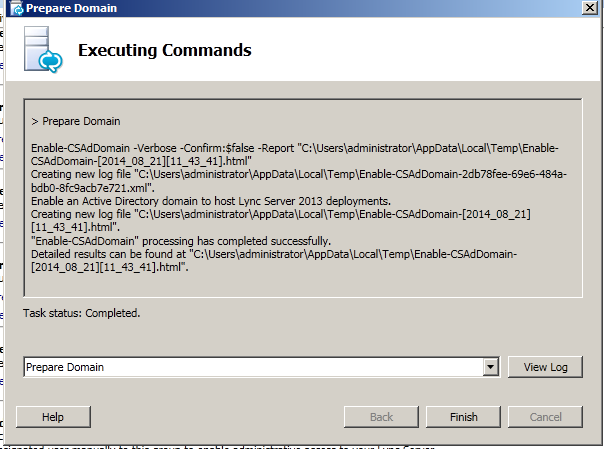
Click on Prepare domain and click on finish once done
Once prepare domain done open lync deployment wizard again and click on prepare standard edition server.
Once we have done the above things we can see the below groups created
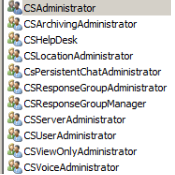
Now we need to add users to provide administrative access to the Lync Server Control Panel.
Add users in CS Administrator group who requires access to Lync Server Control Panel.

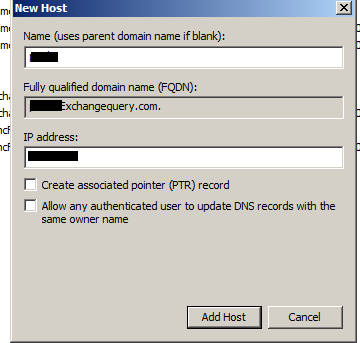
Now create SRV record for automatic sign on for the Lync clients.
Create Record: (screenshot below)
- Service should be : _sipinternaltls
- Protocol should be : _tcp
- Port number: 5061
- Host: point to your FQDN to your Front-End Server or Pool
Now go back to the deployment wizard and install Lync administrative tools. Once after you install you will see a new option called Lync server topology builder.
Open Lync Server topology builder and select new topology.

Now define the SIP domain for the users to log in

Every Lync server front end pool must be deployed in a site. So specify the site and you can also mention multiple sites later..

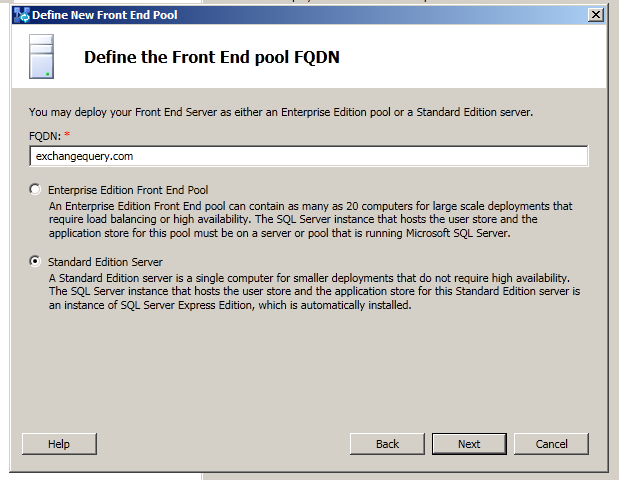
Now define the front end pool fqdn
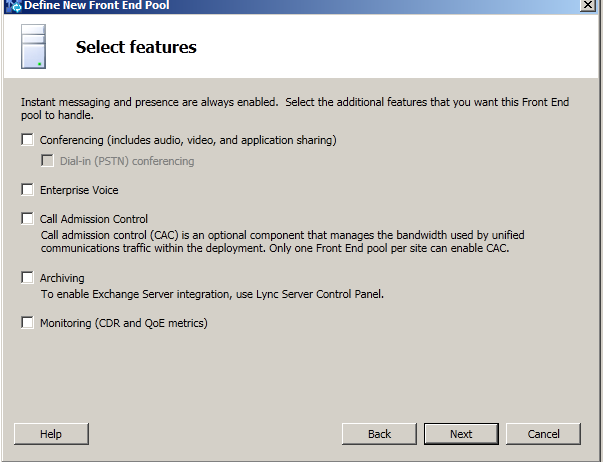
Now select the features that we need to enable. IM and presence is enabled by default. Select the additional features according to your design. Select collocate mediation server if you need to install mediation server along with FE pool.
Just click default settings on the sql server store as we are installing standard edition.
For define file store alone we need to manually specify the installation path as it wont create the path automatically. We need to create a share folder and grant access to users
RTCHS Universal Services
RTC Component Universal Services
RTC Universal Server Admins
RTC Universal Config Replicato
Now click on Finish
Now open Topology builder and click on publish to publish the topology

Once the publishing wizard is completed click install or update lync server system to complete the installation successfully.
We are done with installing the Front end server collocated along with mediation server.
You can later install monitoring and archiving server separately.
Cheers
Sathish Veerapandian


What’s up everybody, here every one is sharing these kinds of knowledge, thus it’s good
to read this webpage, and I used to pay a quick visit this weblog everyday.
LikeLike
Thanks buddy
LikeLike