
Microsoft have been providing us the option bring your own sip trunk for enabling the enterprise voice functionality. With Microsoft Teams Direct Routing we can provide the phone system to Teams users ,connect the SIP Trunks and use the local telecommunications provider. This option provides most of the customers for an easy transition to Microsoft Teams in parallel by utilizing the existing infrastructure and moving the users to the new system.
In order to leverage this functionality we need to setup certified session border controllers. Previously there is an article written which can be referred to check the readiness and steps that is required to configure Direct Routing in Microsoft Teams.
In this article series we will see on setting up audiocodes session border controller that will help in configuring the Direct Routing.
There are multiple ways to achieve this and we have an option to configure this from the Azure Market place. We will see on configuring this from the Azure Market Place.
First prerequisite is we need a valid azure subscription. Login to Azure and search in the Azure Market Place for Audio Codes.
Below are the results that we receive and there are few options for us to select over here. For instance we do have an SAAS offering that is fully managed in Azure. For a full setup we have Mediant Virtual Edition Session Border Controller and Cloud Edition Session Border Controller. The Mediant CE edition is more robust ,utilizes the full cloud elasticity and can scale up and down based on the demand. The VE is more of a Virtual edition that can be built easily on Orchestration Solutions and available in the Azure Market place for easier deployments. More information on the description can be found here

Here in this example we choose to use the Virtual Edition Session Border Controller. There are few important key take aways to note down here. While creating it is not allowing us to add them on an existing resource Group and it mandates us to create a new resource group or any existing resource group that is empty. And one more important thing is that the virtual machine name must be all lower case because in the network settings it doesn’t allow to create the dns name with the upper characters.

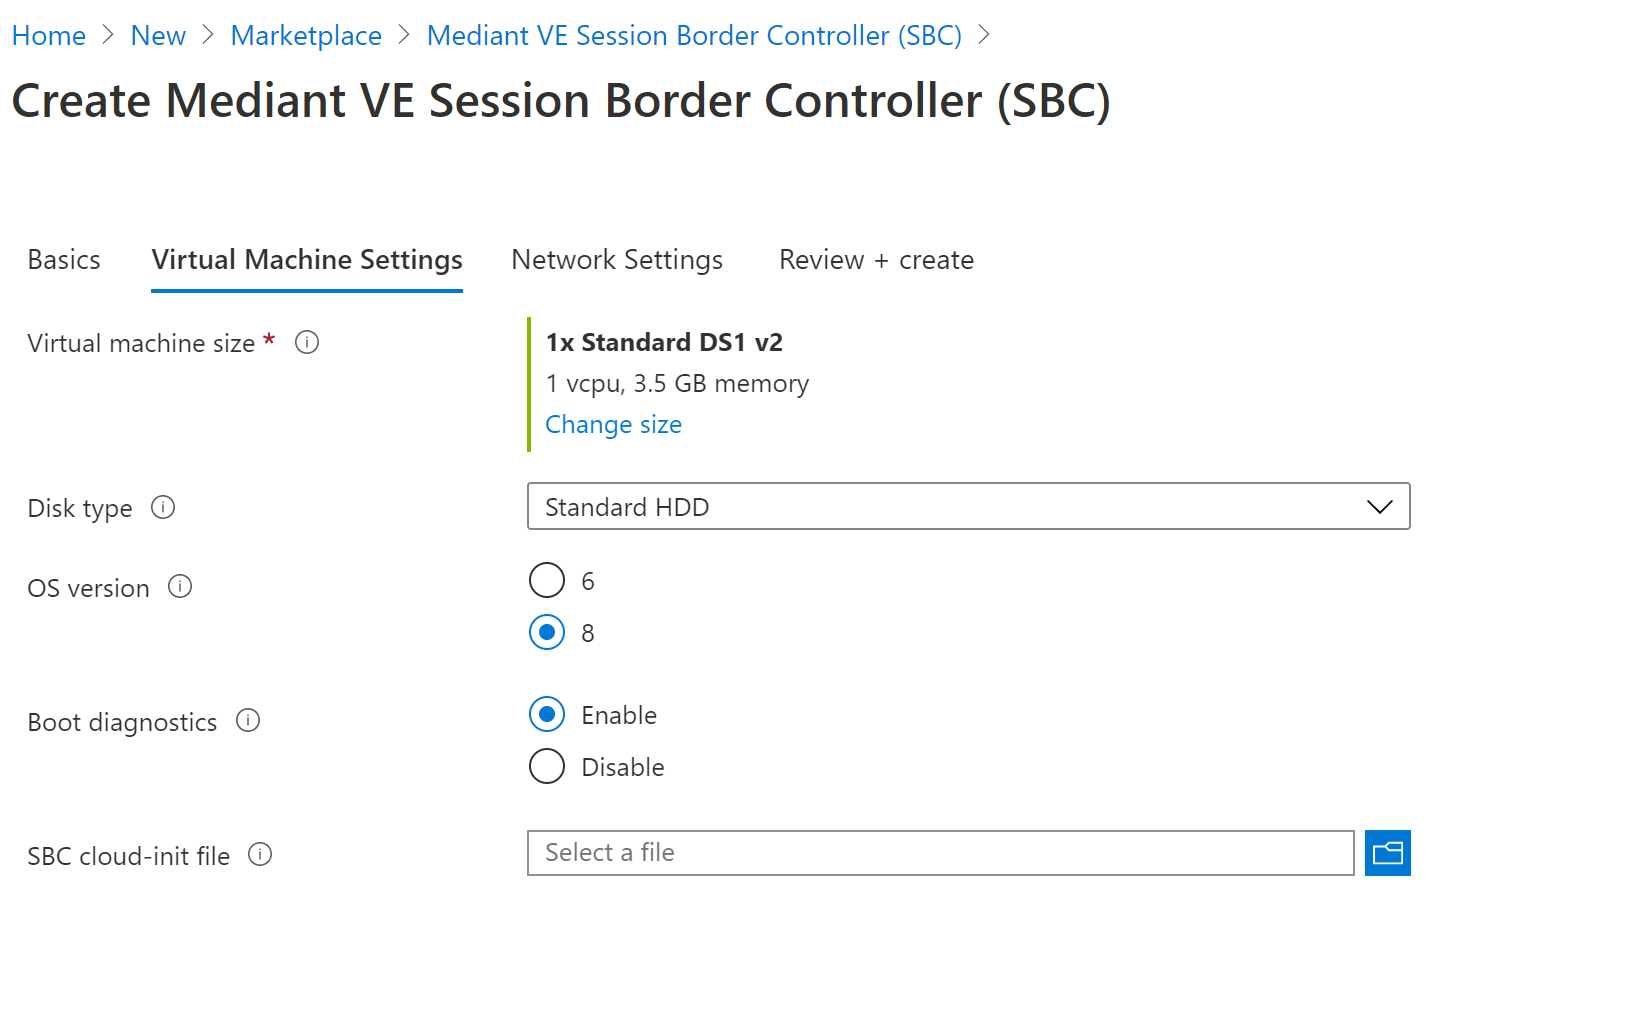
Next in the virtual machine settings we have the option to choose the computing size. And we have options to choose the OS versions. Here have chosen the latest os version. The cloud-init file is an optional file that can be chosen for automatic provisioning.
Next is the network settings where it provides us the option to set up the NIC interfaces based upon our requirement. Since in this case its a demo we are going with the network interfaces option 1. One more important thing here is that the public ip address has to be static . It picks up the setting static from this template however its better to verify them from the NIC settings once the VM has been deployed.

Finally it comes to the validation screen where we can check all the required settings and click on create.

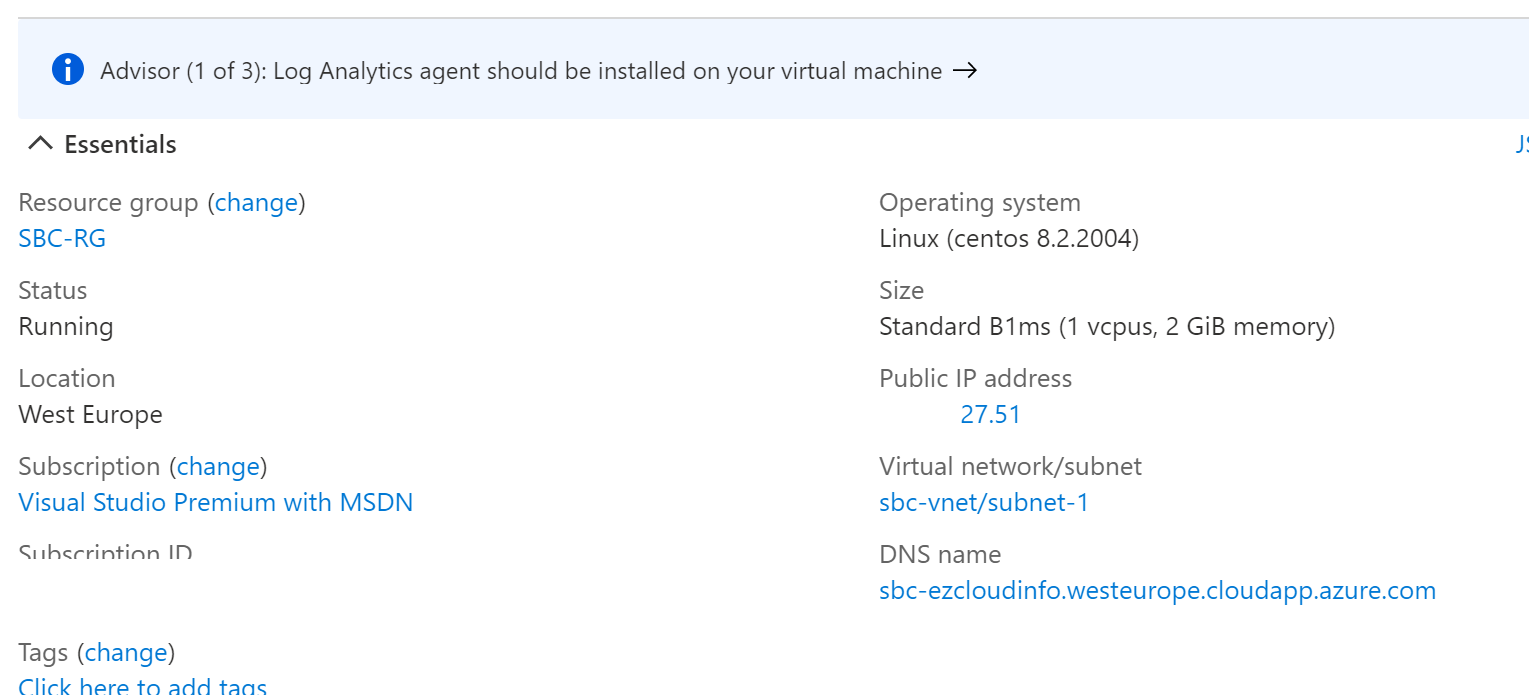
Once it has been created we see all the required resources have been populated.

You can also see the DNS name that has been created with the static IP
Now when we login to the SBC DNS name we get the Audiocodes console that is ready for configuration.

Now this is running the next important thing is create an A record in the Public DNS and point that to this public ip address. One more important tip here is that this name that has been selected the domain has to be registered in the Office 365 portal.

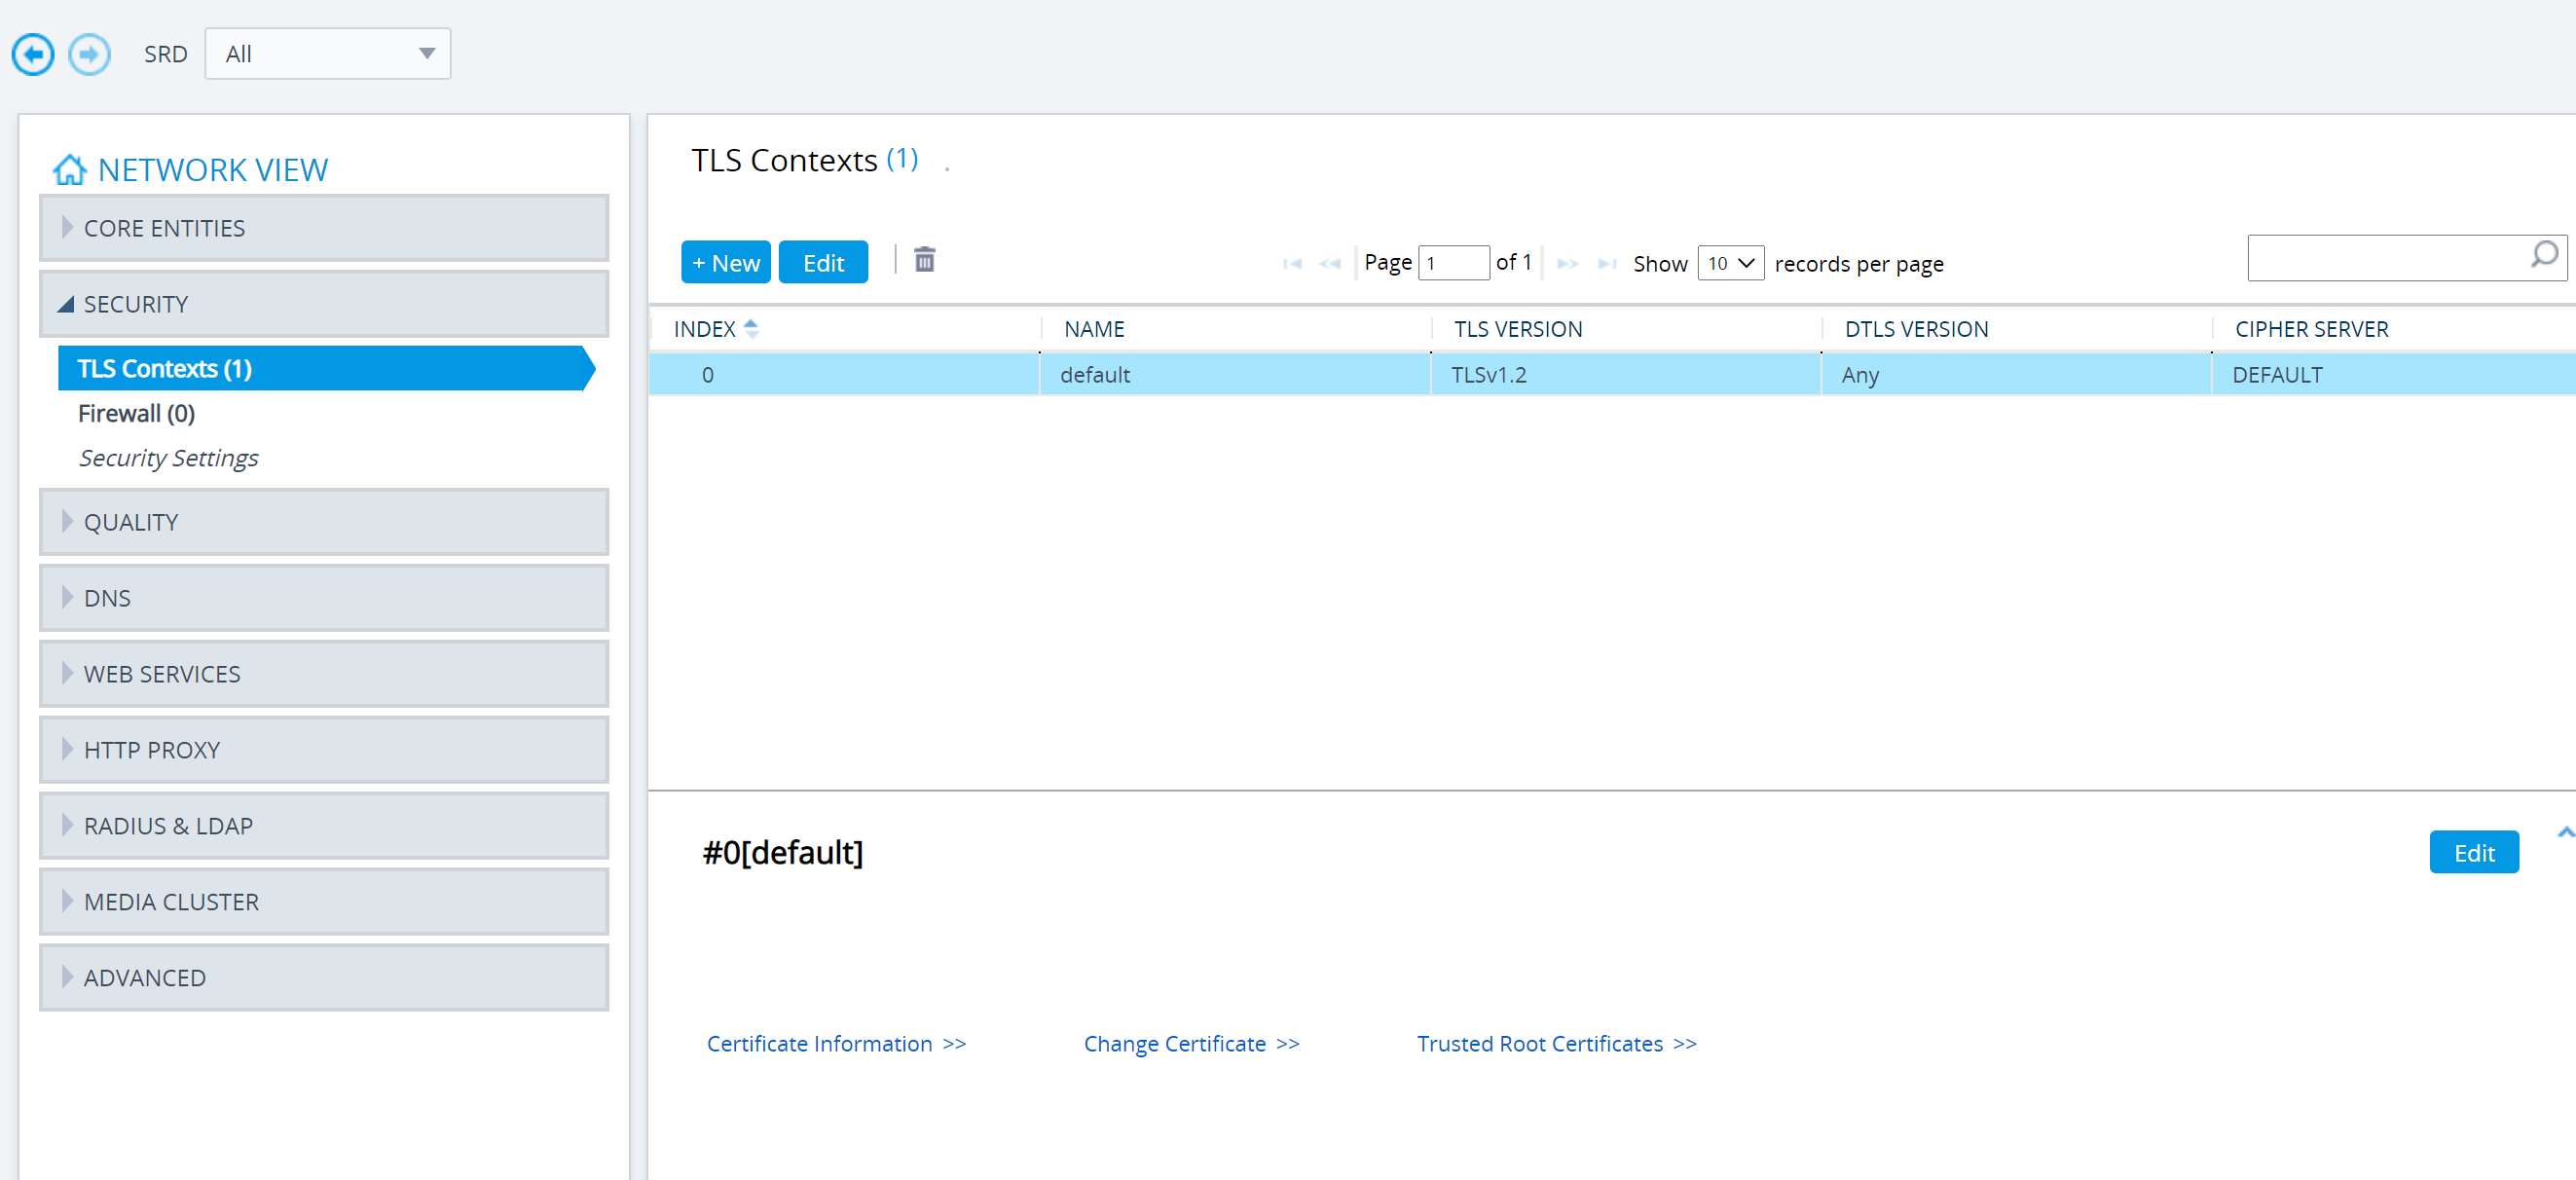
The next important thing is the certificates configuration on the Mediant SBC. Create a certificate from the public CA and upload them from here Ip Network – Security and TLS Contexts.
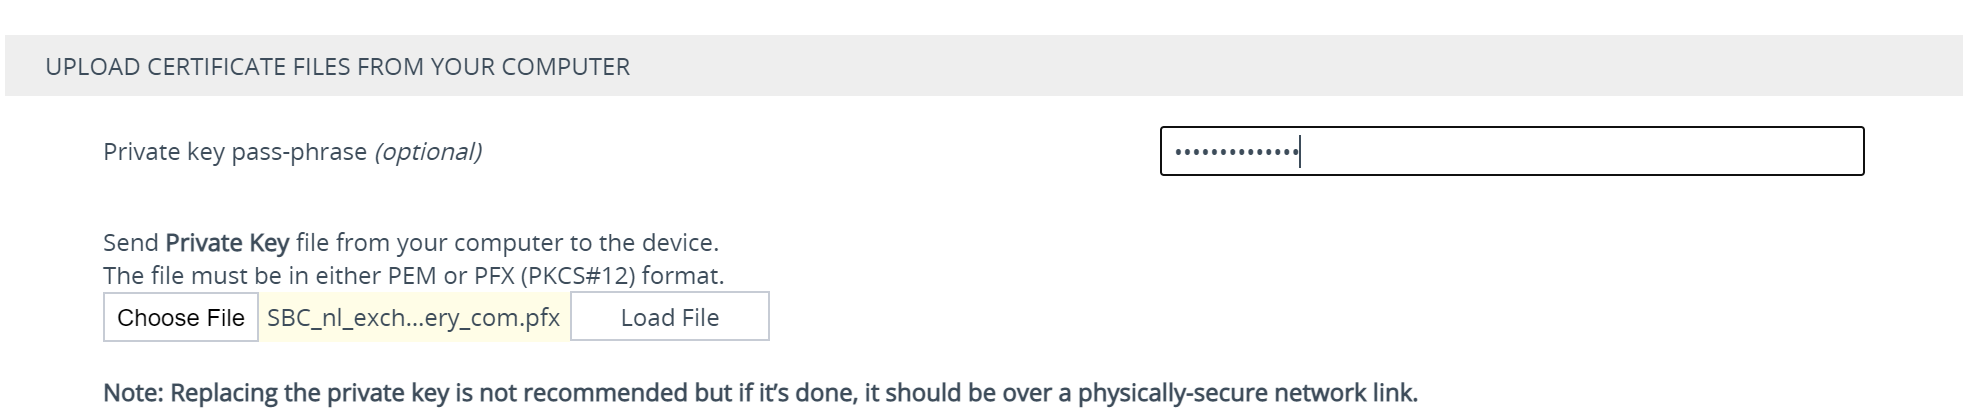
In my case im using a certificate that has been provided by digicert for this domain that we are testing. Make sure the file is in password protected and pfx format.
Click on change certificate. There are multiple options to upload the certificate. Here we are choosing the last option upload the certificates from your computer in PFX format and with a password and select load file.
After a successful load file we see the message that states the upload is successful and here we see the red save alert that forces us to update the modified configuration.

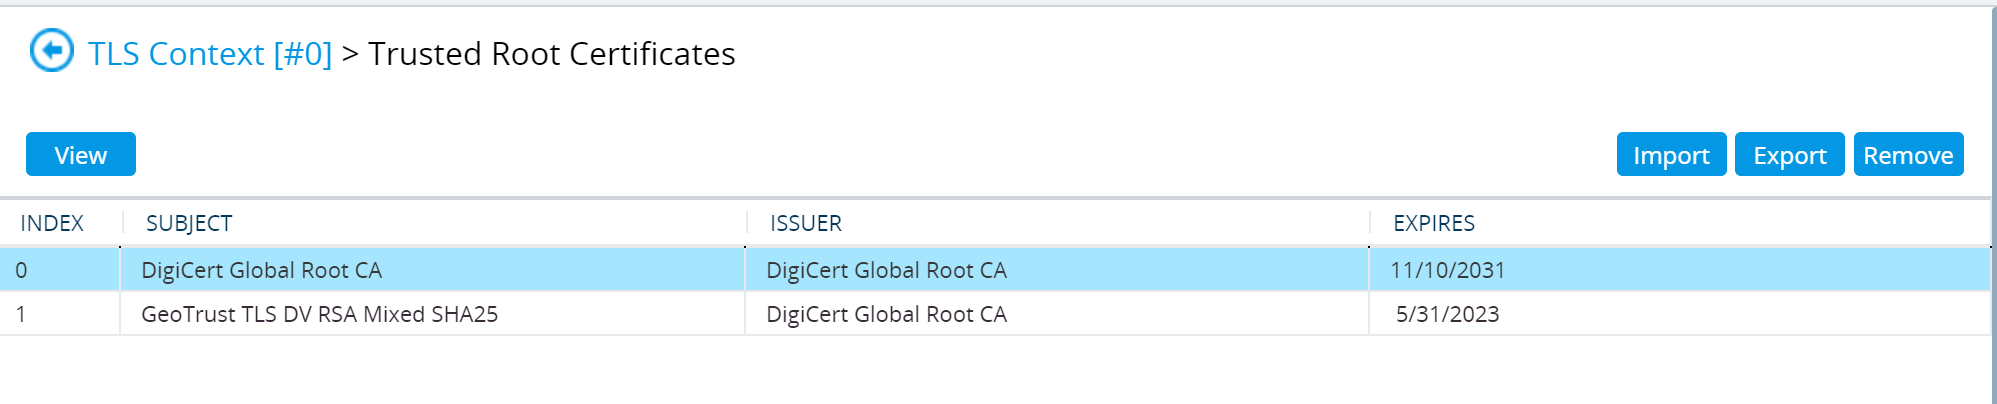
We can also see the associated root and intermediate certificates of digicert have been populated over here in the trusted root certificates section.
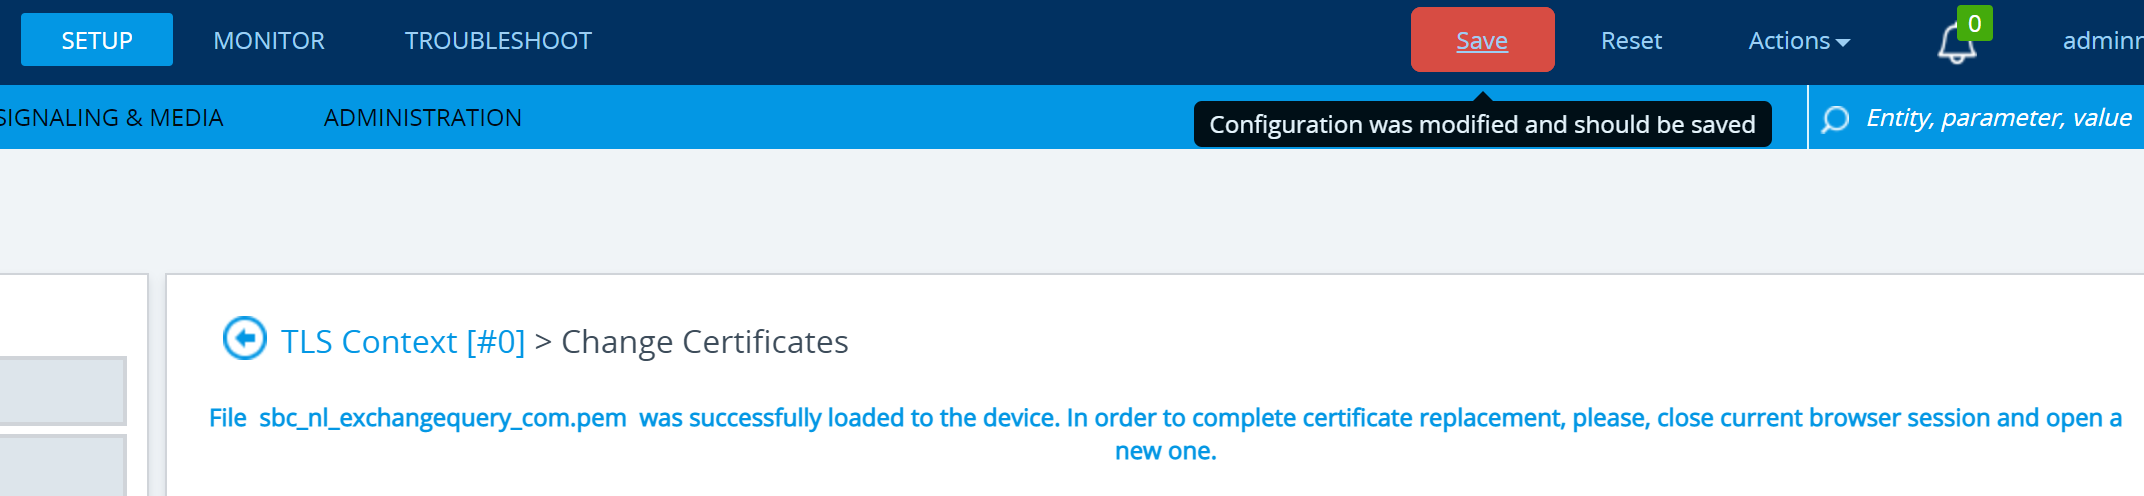
Finally we have to upload the same certificate in pem format for the SBC

We get the below message after a successful upload of the pem file.
Now we have completed half of the initial readiness of the direct routing configuration and in the next blog we will go through the next steps of the further configuration.
Thanks & Regards
Sathish Veerapandian


[…] the previous article there are few more steps to complete the configuration of the Direct Routing with the office 365 […]
LikeLike