
A content camera can be used with a Microsoft Teams Room system. A content camera collaborates with image-processing software and a whiteboard to enable a presenter to draw on an analog whiteboard and share the content with remote participants.
In this blog we will run through the steps to enable content camera on Teams Room Systems.
There are few prerequisites that needs to be prepared before trying this setup:
- This content camera should be pointed at the room’s whiteboard. Please keep in mind that content camera has physical infrastructure requirements that must be considered. It’s usually a piece of equipment (a supported content camera) that hangs from the ceiling and faces the whiteboard.
- The writing board must be mandatorily white in color. Other colors are not supported.
- A supported content camera as per Microsoft Recommendation on this link needs to be used mandatorily for this functionality.
The camera’s positioning is influenced by the size of the whiteboard used for sharing. The following are some suggestions for board size from Microsoft:
- 3–6 ft. (0.9–1.8 m) wide — Supported best suited for medium sized rooms.
- 6–9 ft. (1.8–2.7 m) wide — Recommended best recommended for medium-large rooms.
- 9–12 ft. (2.7–3.6 m) wide — Supported suitable for board rooms.
- Above 12 ft. (3.6 m) wide — camera covers 9–12 ft. (2.7–3.6 m) and crops the rest.
The camera can be placed up to 6 in. (152 mm) above the whiteboard’s top and centered on the whiteboard.
When using whiteboard markers, the remote end user experience is to share the writing ink strokes in the content camera image in the 1-2 mm per pixel range, with 1.5 mm per pixel providing the greatest outcomes, according to Microsoft.
The camera’s distance from the whiteboard is determined by the whiteboard’s size. The data listed below are taken from the Microsoft website.
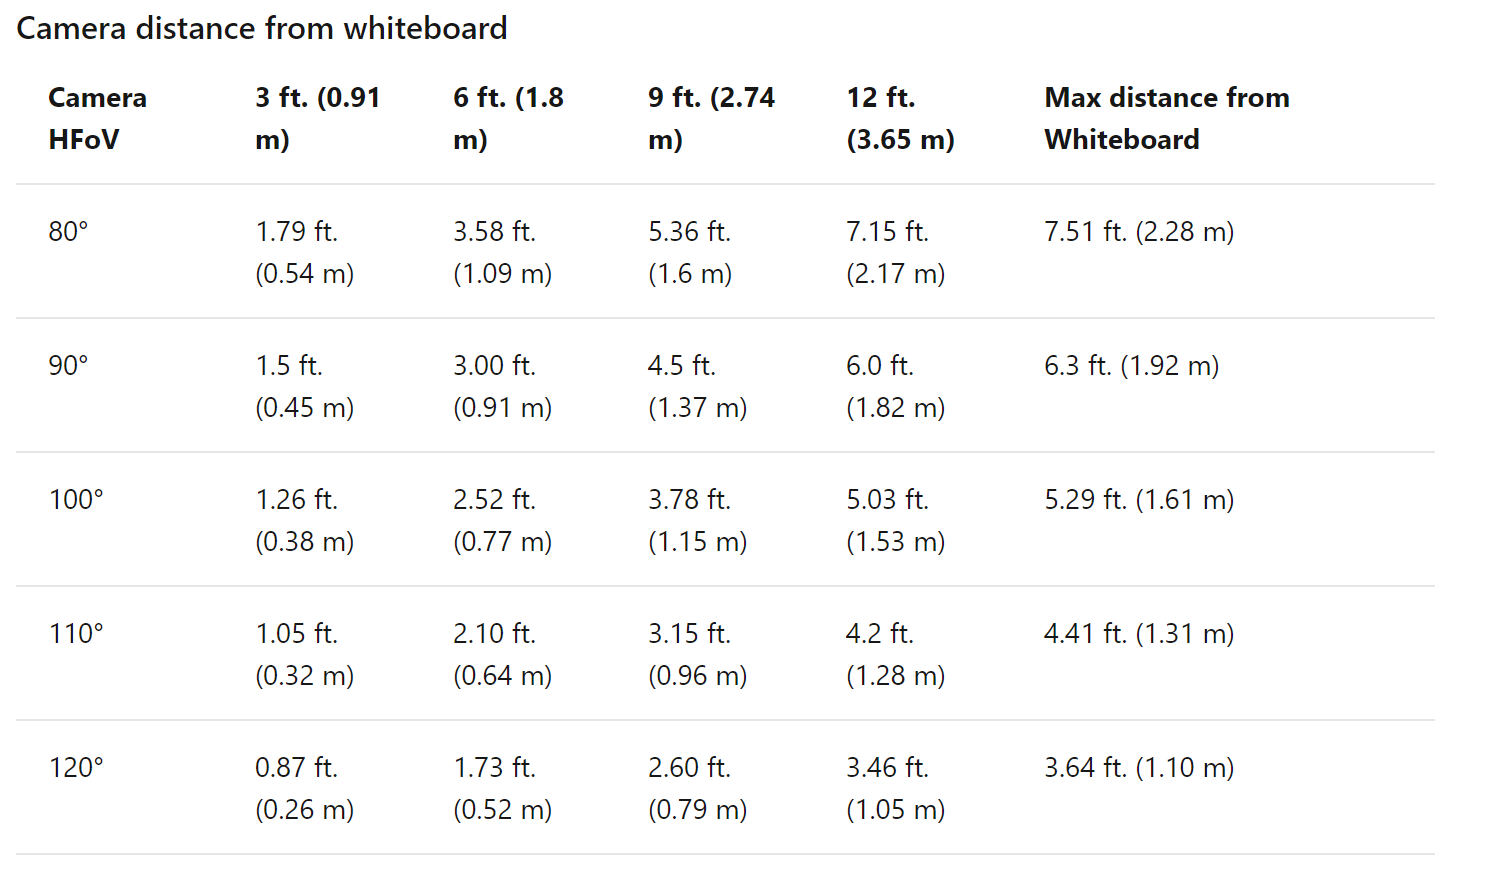
The distance between the content camera and the wall on which the whiteboard is installed is determined by the camera’s Horizontal Field of View (HFoV), which varies depending on the model.
The Field of View parameter in Camera is the horizontal (or vertical or diagonal) length of the image at a given distance from the lens. This plays a major role with the backend image processing software that brings the functionality in Teams Room Devices.
In our example , we are using Logitech C930e and C930e has a 90 degree Horizontal Field of View (HFoV) .And im testing in a 3ft whiteboard which makes the camera distance to be placed within 1.5 feet of distance as per the above table.
Now enabling the content camera is very simple can be done in few clicks when we login to the local admin account of the Teams Meeting Room device. After logged in navigate to settings – select Peripherals – navigate to content camera (preview) and choose the supported content camera.
An XML configuration file can also be used to change these values remotely by following this blog.
In the Peripherals we can see the option Content Camera (Preview).
Here we have two options :
- Content enhancements (Recommended) – This enhances the content in the whiteboard. This works best when the camera is stationed permanently in one location.
- Rotate content camera 180 degrees – Check the Rotate content camera 180° option if the camera was put upside down because it was mounted from the ceiling.

Finally there is a preview option which provides an overview of how the content camera is focused on the whiteboard. This option is really helpful to see how correctly the whiteboard is positioned and ready for the content sharing.
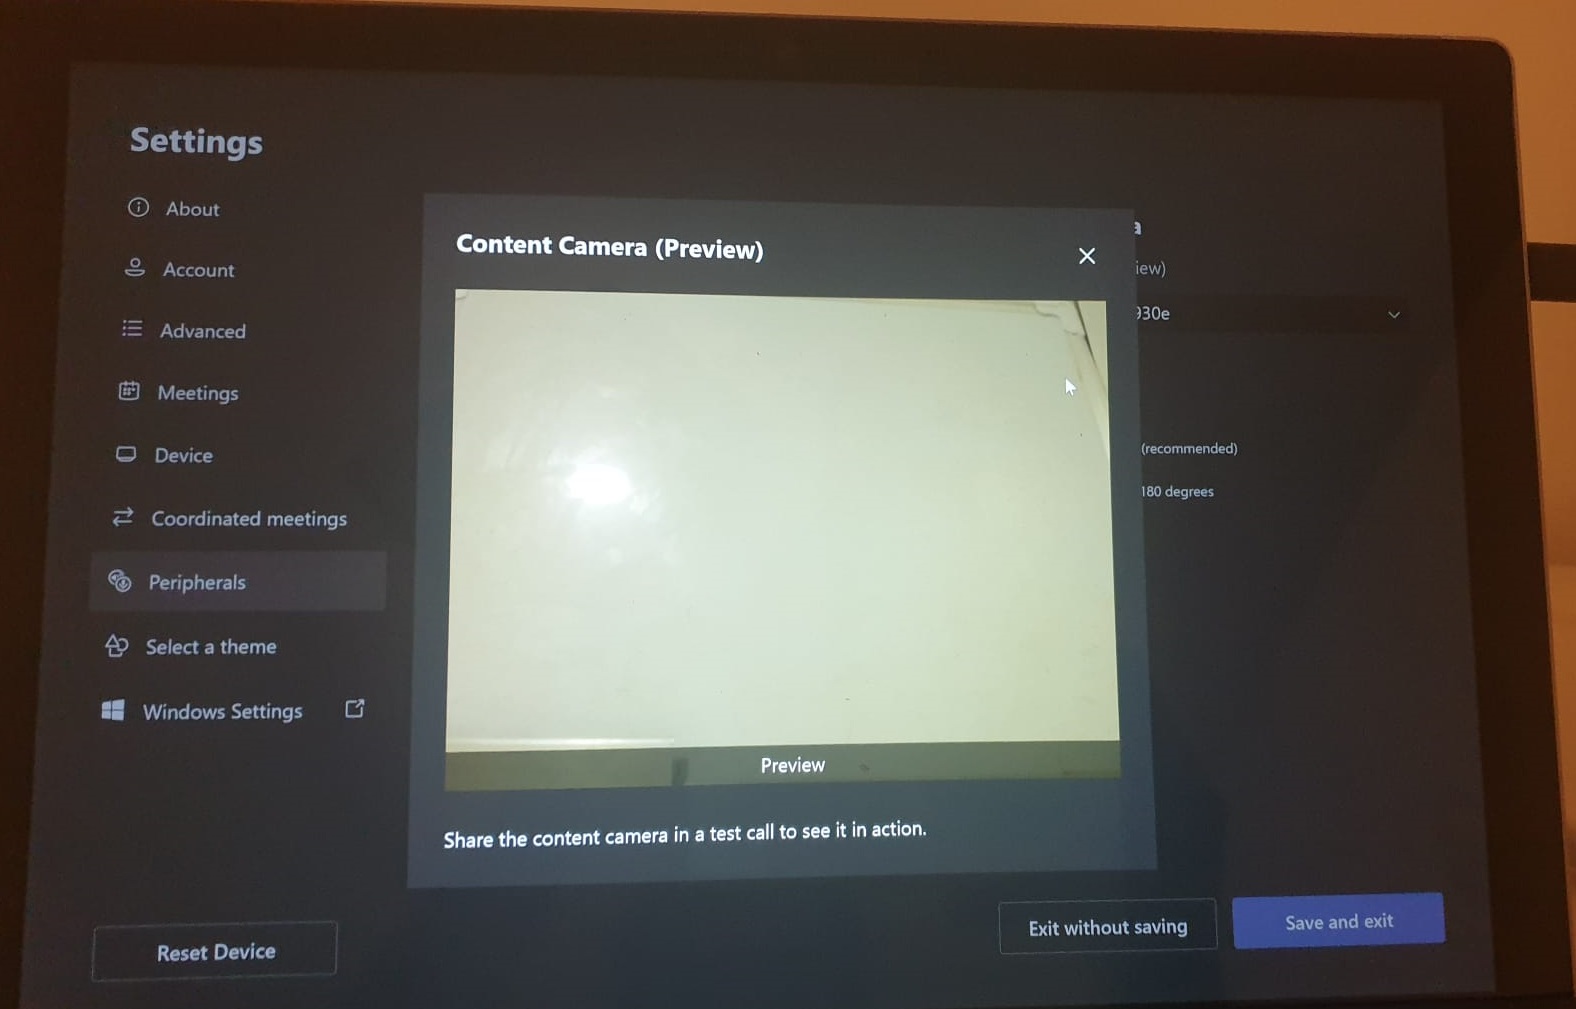
After adjusting the whiteboard just click on save and exit.
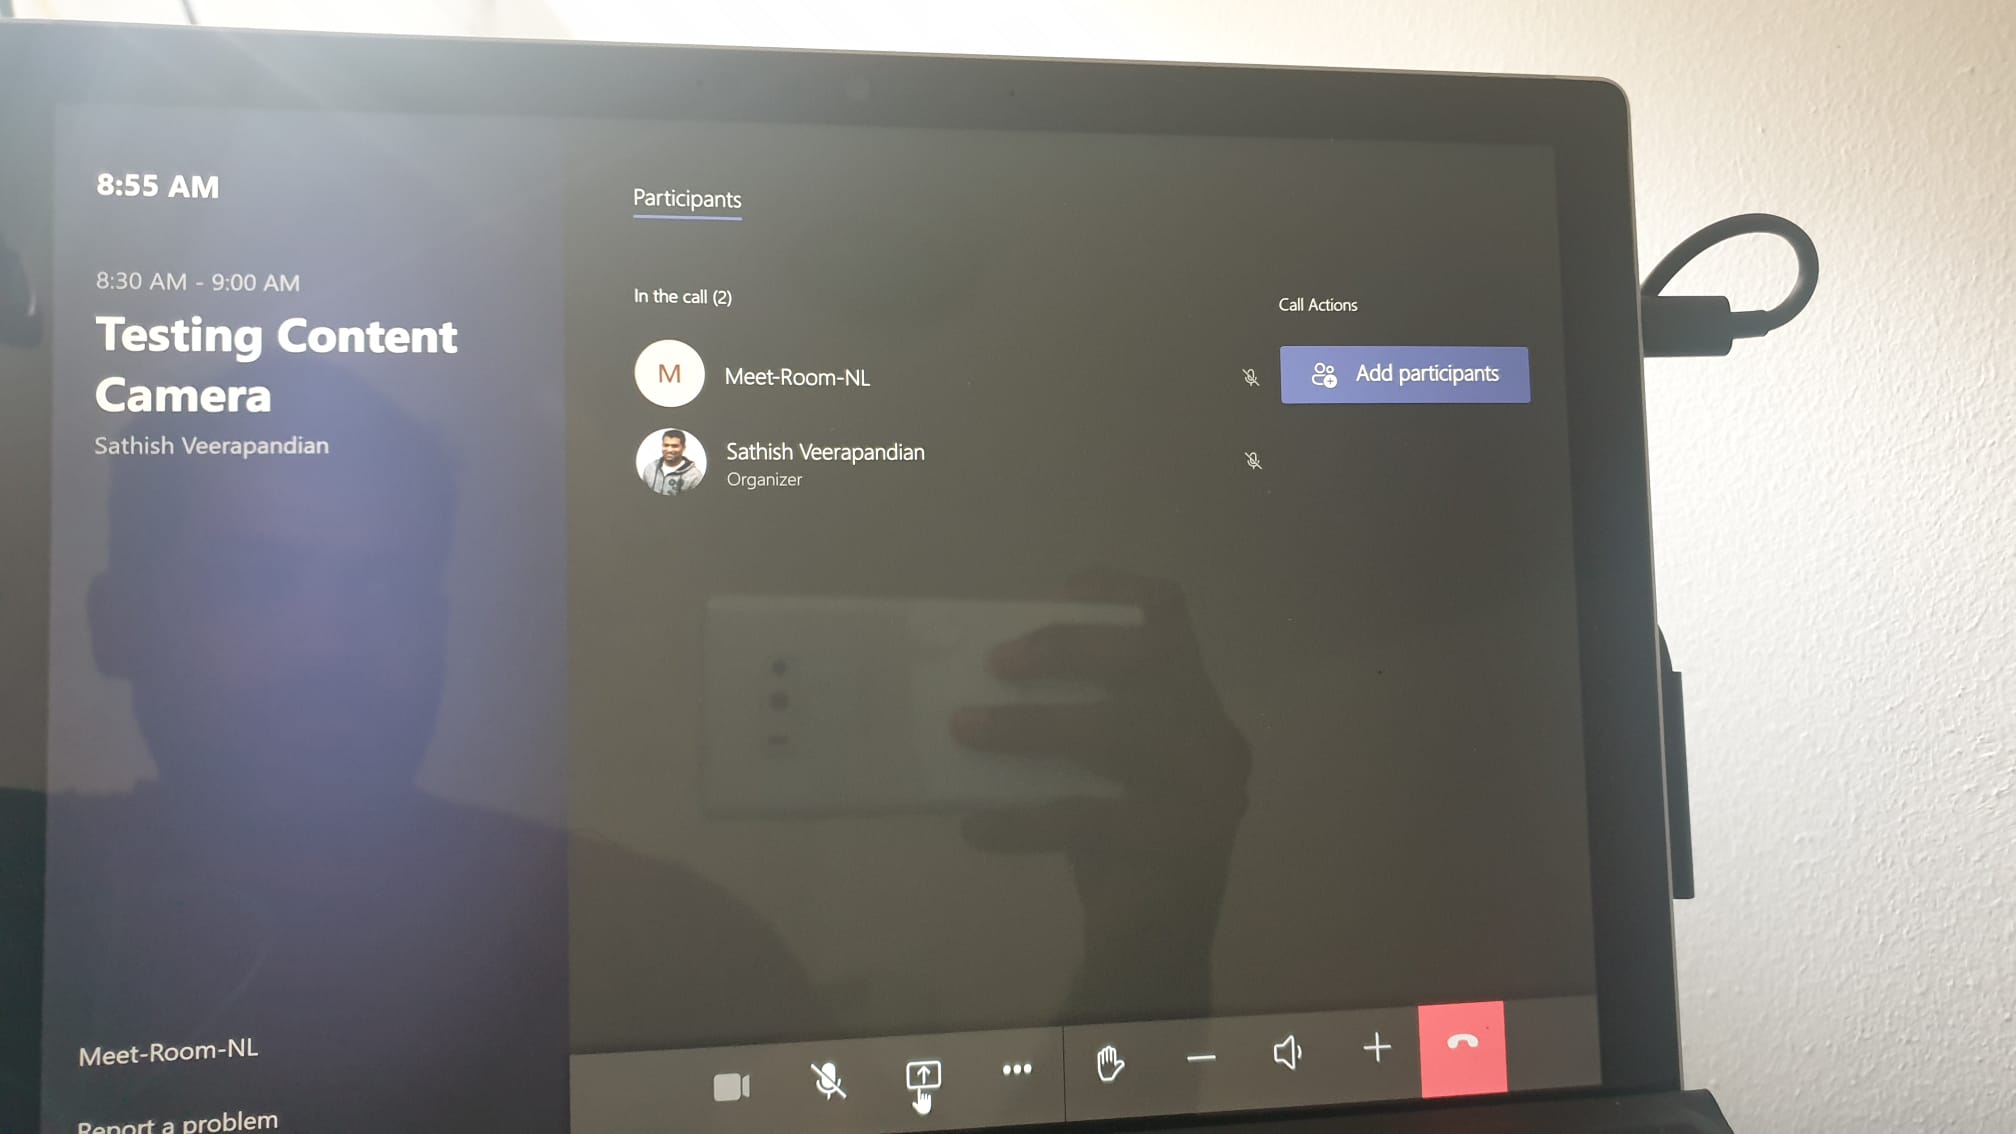
This content camera can by joining a scheduled meeting from the Teams Meeting room device.

After joining the meeting we can see the share option below
And then in the share screen we get the option share content camera like below.
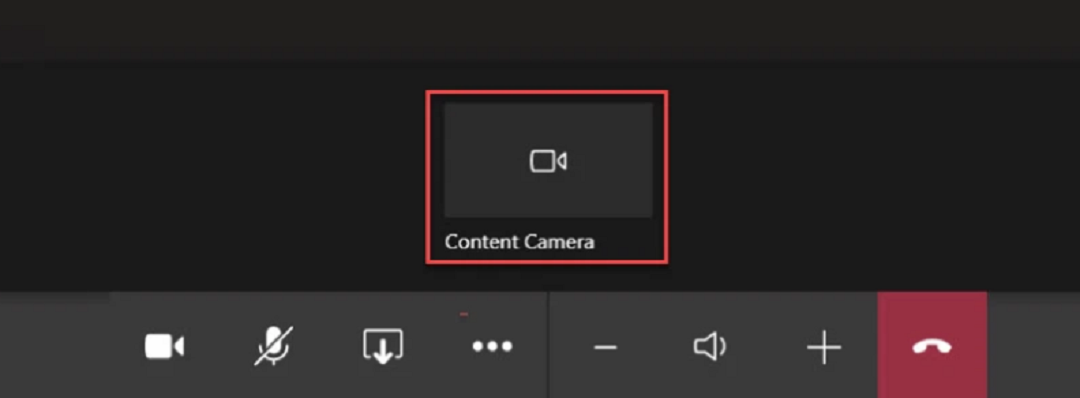
Once after we select the content camera it auto-frames the area in the whiteboard for the image processing like below example. So at this stage after we have placed the camera and the whiteboard as per our requirement it is able to find , crop and adjust them before it can do the conversion digitally.

Finally the content camera is ready to capture the writings in our whiteboard.
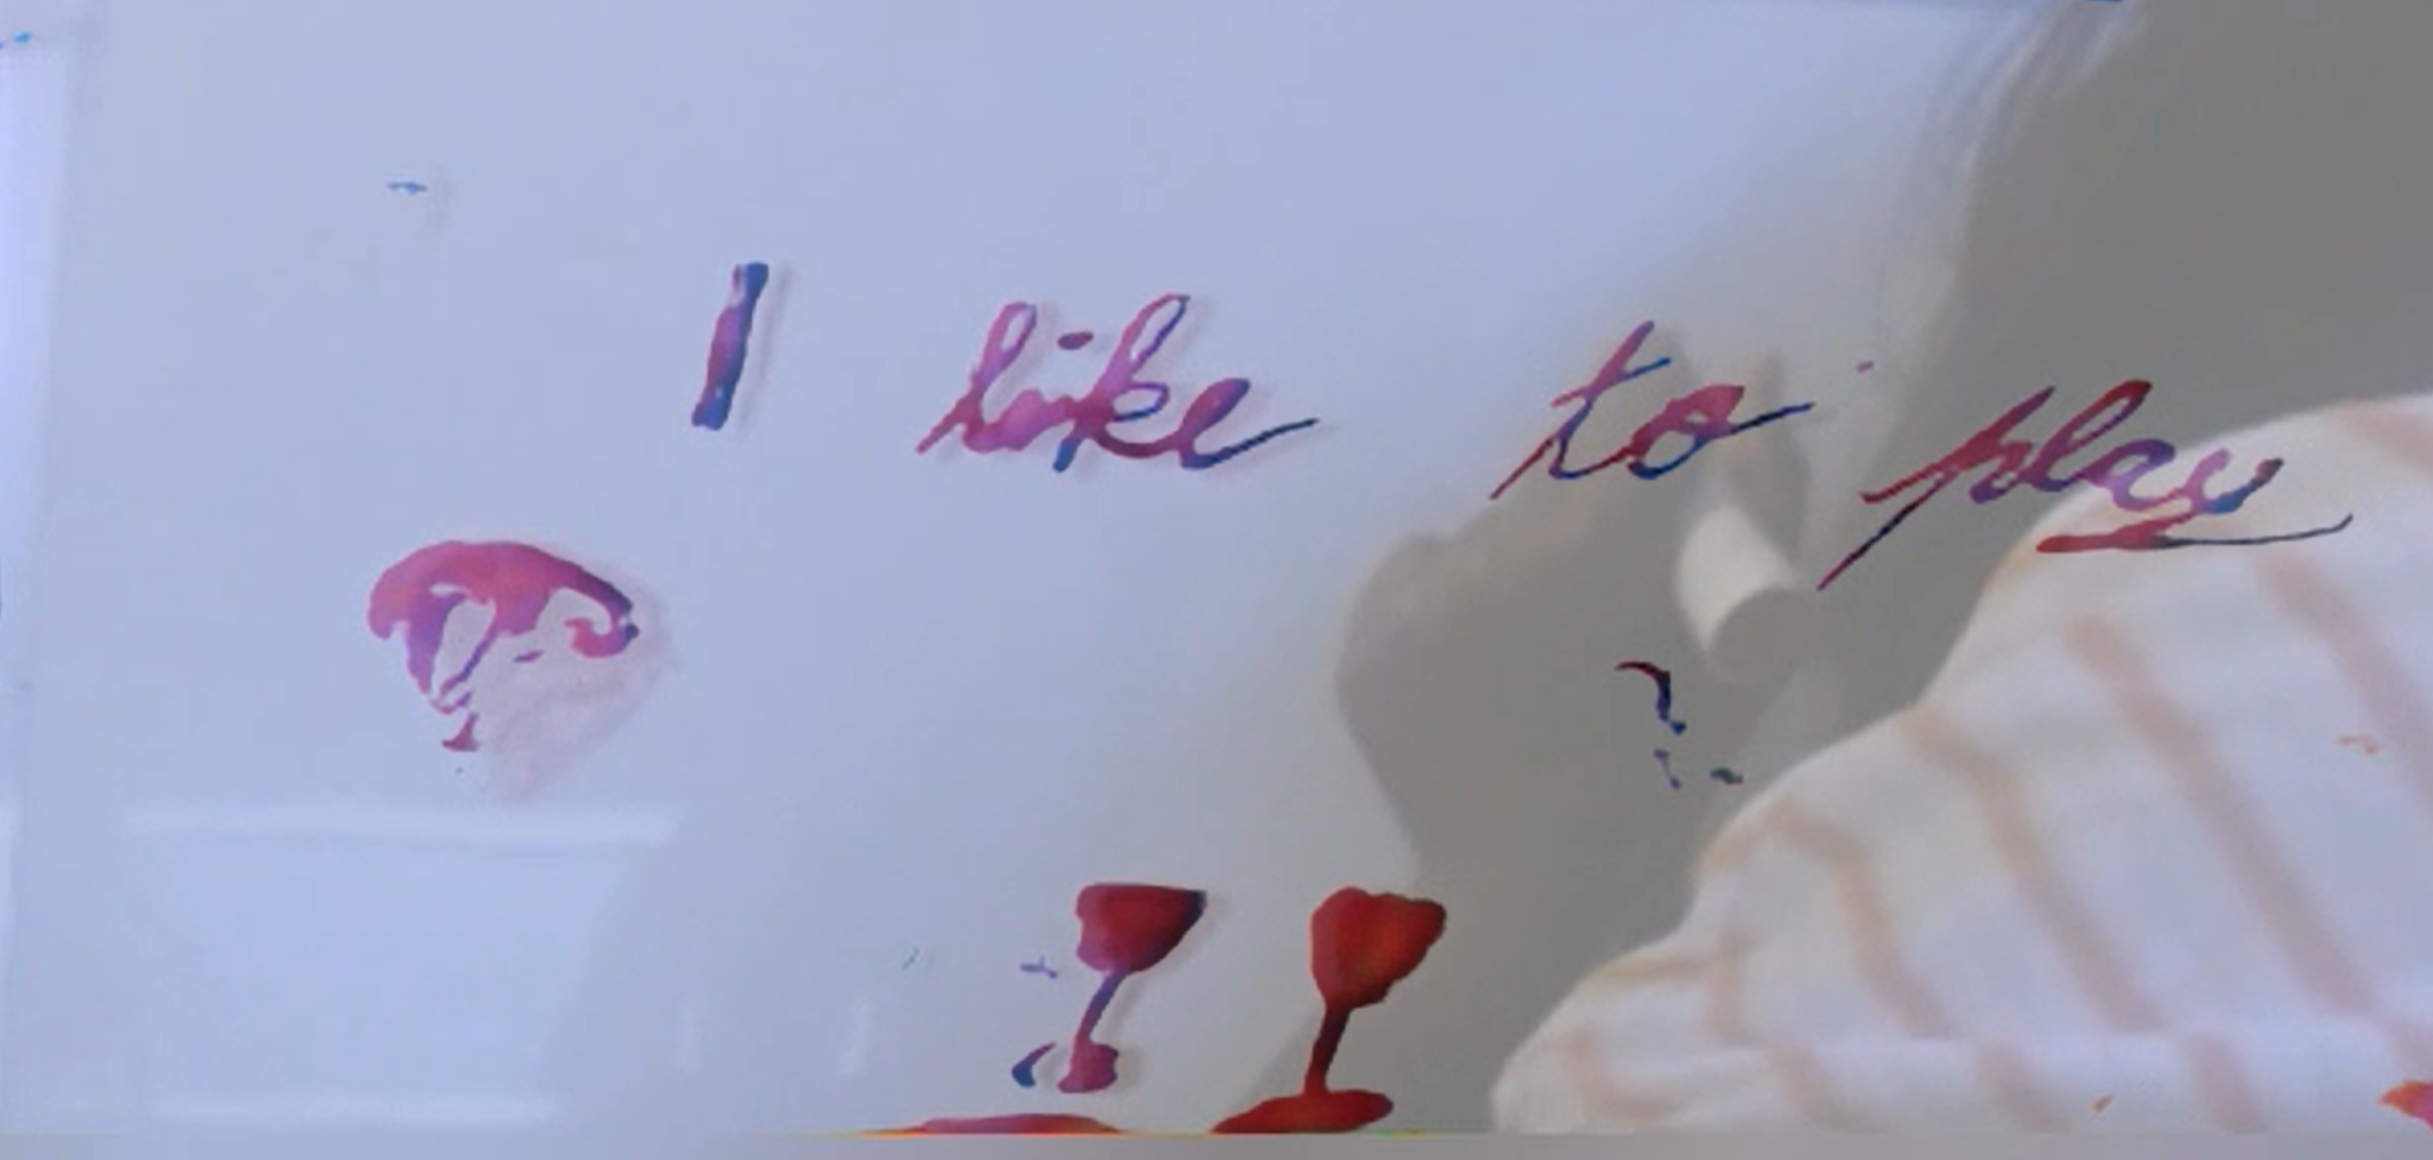
For example below is the conversion of the letters written in Ink on the whiteboard and presented digitally to the remote participants. This gives a great experience and better clarity for the remote participants on the brain storming discussions in the meeting room.
This easily converts any existing physical whiteboards to digital whiteboard just by hooking up the content camera to this meeting room device.
This solution allows your entire team to collaborate in one location. This is a simple way to turn your existing physical whiteboard into a digital whiteboard with the ability to find, crop, and zoom in on the focused whiteboard and the letters on it. Everyone in the meeting will have a more collaborative experience as a result of this.
References: https://docs.microsoft.com/en-us/microsoftteams/rooms/content-camera
Regards
Sathish Veerapandian


Leave a comment