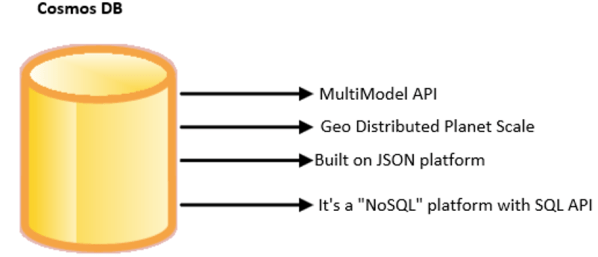
This article outlines the steps to create Cosmos DB from the azure subscription.
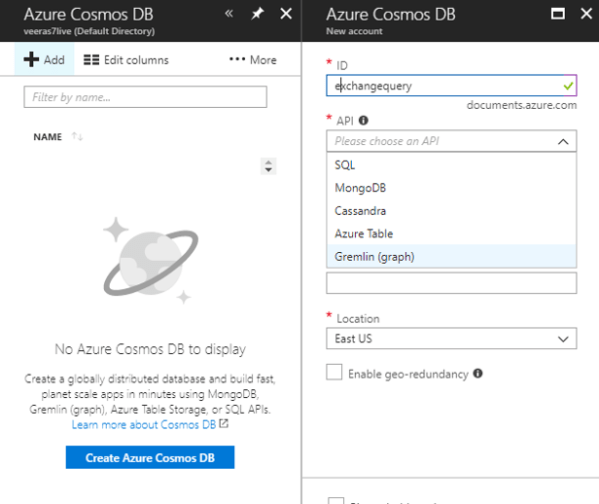
- login to azure portal – Click on Azure Cosmos DB – Create Cosmos DB
- Type the document ID – keep this in mind this document ID is the URL we will be using as connection string in the application.
- Select the preferred API according to your requirement.
- Choose the azure subscription, select the resource group
- Choose the primary location where the data needs to be replicated.There is an option to enable geo redundancy which can be done later as well.

To Enable Geo-Redundancy-
Click on – Enable Geo Redundancy – and choose the preferred region.

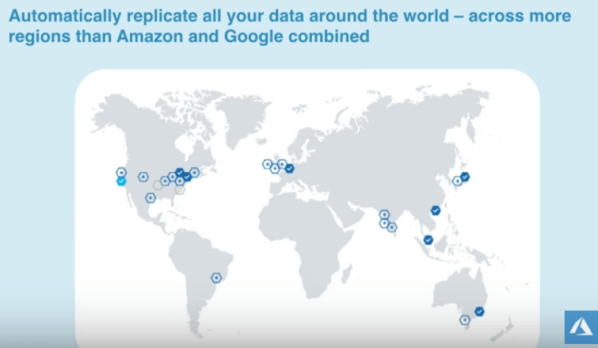
Replicate data globally in few clicks –

Failover options –
There are 2 failover options Manual and automatic.

Manual can be triggered any time – we just need to select the disclaimer and initiate failover.

Add new regions any time and replicate your data in few minutes-

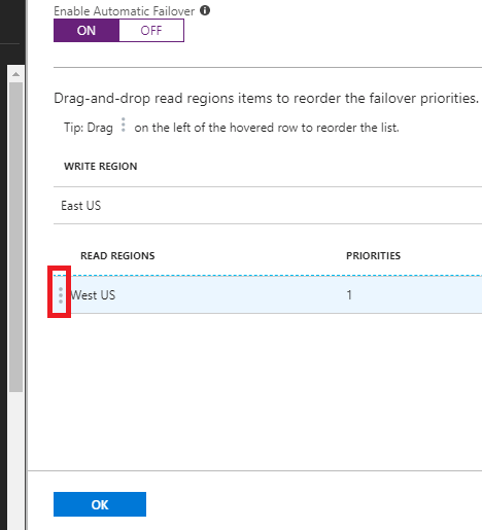
Failover options – Automatic
we need to go and enable the automatic failover as below

Also there is an option to change the priorities of the failover in few clicks.Good part is can be done any time and we do not need to change them on the code.
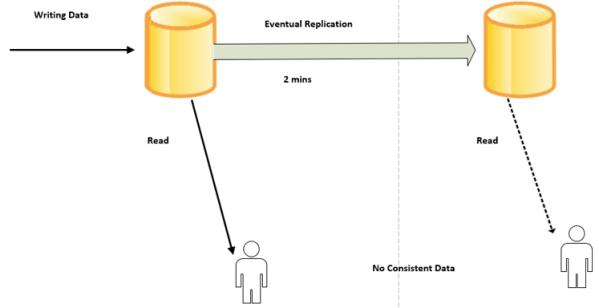
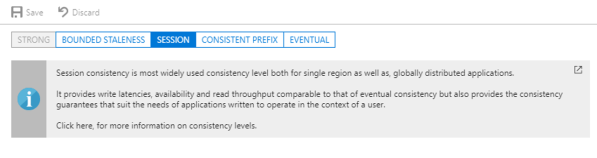
Consistency levels:
Can be modified and altered any time. The default consistency type is session as below.
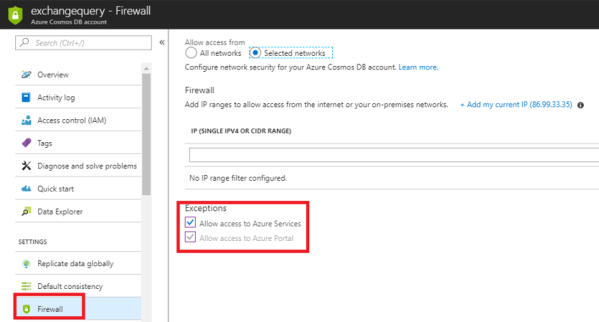
Network Security for the Database:
We have an option to access the database only from few subnets. This gives a complete security to the document. A VAPT can be initiated after setting up this security which eases the database admin job on considerations on data security.
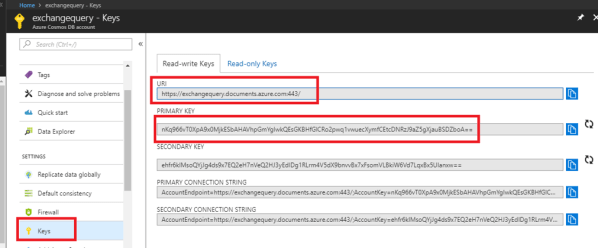
Endpoint and Keys to integrate with your code:
We need to use the URI and the primary key to integrate with the code. This can be seen by clicking on the keys section on the left side.
Summary:
Now a Cosmos Database is created – now create new Collection- create documents – Then they are stored in JSON rows. Try to have most of the documents under one collection, because the pay model is per collection.
Create collection:
Click on Add collection

Create new Database ID – then Collection ID
Remember the collections in Cosmos DB are created in the below order.

Now we need to choose the throughput and the storage capacity. They will be charged according to the selection. Also there is an option to choose unique keys which adds more data integrity.

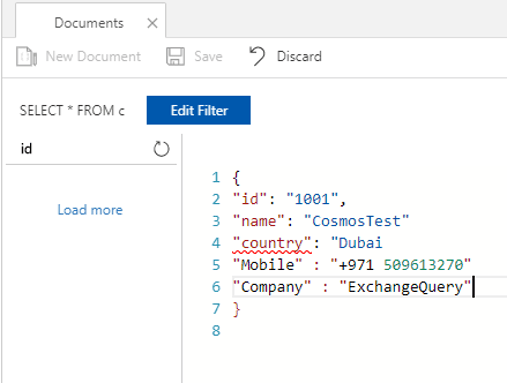
Example of a new document

Better to define a document ID and collection ID.
Once the above is done, we can connect via preferred available API to your document and the developer do not need to worry about data schema , indexing, security.
More sample codes in GitHub:
https://github.com/Azure-Samples/azure-cosmos-db-documentdb-nodejs-getting-started
Example below:
Before you can run this sample, you must have the following prerequisites:
◦An active Azure Cosmos DB account.
◦Node.js version v0.10.29 or higher.
◦Git.
1) Clone the repository.

2) Change Directories.
3) Substitute Endpoint with your primary key and endpoint.

4) Run npm install in a terminal to install required npm modules
5) Run node app.js in a terminal to start your start your node application
Thanks & Regards
Sathish Veerapandian
MVP – Office servers & Services.