
In Azure we can enable the DDOS protection easily in few clicks for our applications running and deployed in Azure Virtual networks.
Using this we can protect the resources in a virtual network and its published end points including public IP address. When it is integrated with application gateway web application firewall, DDOS protection standard can provide full layer 3 to 7 protection.
There are 2 types of service Tier:
Basic-
The basic protection is enabled by default.This provides protection against common network layer attacks through Always on traffic monitoring and real time mitigation.
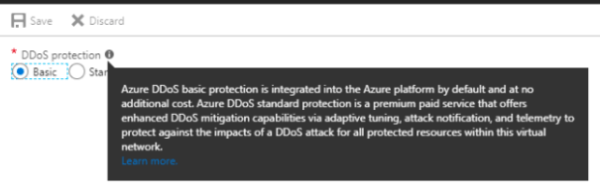
Standard-
Standard protection is a paid premium service. This has a dedicated monitoring,machine learning and configures DDOS protection to this virtual network. So when enabled applications traffic patterns are enabled and by this it will be able to detect the malicious traffic in a smart way. We can switch between any one of these option in our virtual networks in few clicks.
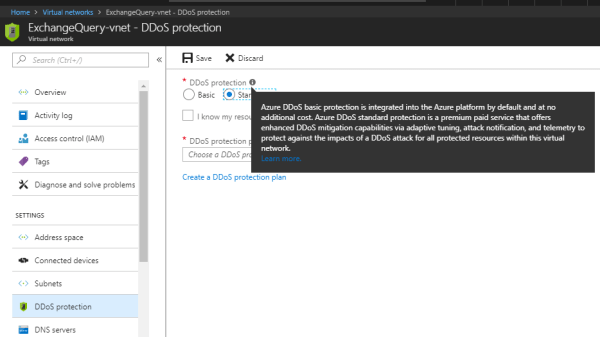
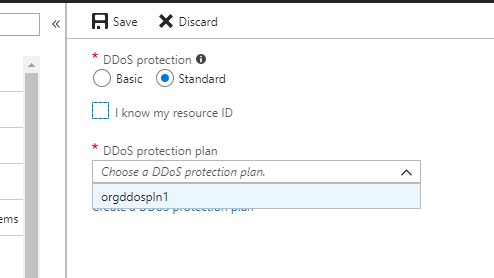
And then we can click on the standard plan.
This also provides attack telemetry views through Azure Monitor, enabling alerting when your application is under attack. Integrated Layer 7 application protection can be provided by Application Gateway WAF.
This also provides views of attack in Azure Monitor, Alerting can be enabled when application is under attack. Also Layer 7 application protection can be done by integrating with Azure Web Application Firewall (WAF).
This Standard feature is integrated with Virtual networks and will provide protection for Azure application service end points from DDOS attacks. IT also has alerting, telemetry features which is not present in the basic DDOS protection plan which comes at free of cost.
First we need to create a DDOS protection plan if we need to use the standard feature.
Navigate to Azure Portal – Click on Create DDOS protection Plan
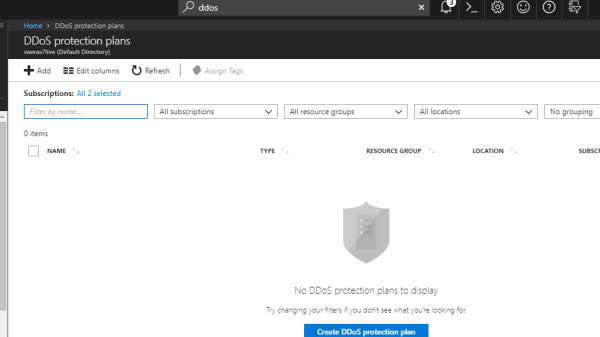
Type Name – Choose Subscription – Select resource Group and choose the location.

Once it is done the deployment will be successful
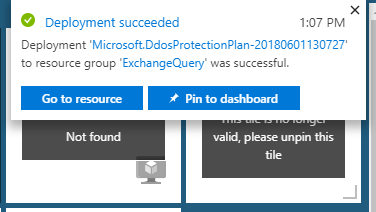
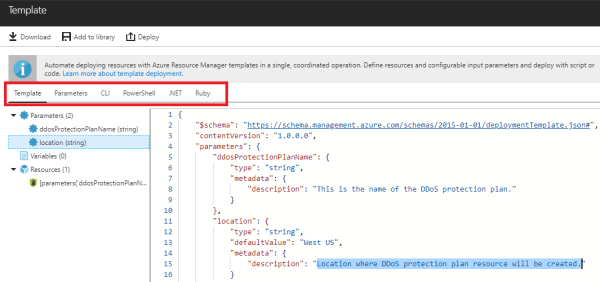
We have automation option during this deployment
After its deployed when we go to the DDOS resource we can see the below options in them.
Activity Log –
This is more of like a Audit log which explains on modifying the resources in the subscription.
There are also few options which tells us about the status of the operation and other properties. But this logs will not have any get operations happening in the resources.
There is an option to filter per resource- resource type and operation.

we have an option to filter them via category , severity and initiated by

Access Control(IAM)-
we can view who has access to the resource and add new access to the resource and also remove them.

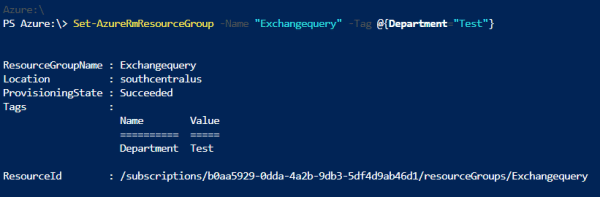
Tags-
This approach is helpful when we need to organize our resources for billing or management. Tags can be applied to resource groups or resources directly
This retrieves all the resources in our subscription with that tag name and value. Usually helpful in tracking for billing purposes.

Tags support only resources deployed through resource manager and does not support resources deployed through classic model.
By default the resource group will not have tags assigned to them. We can assign to to them by running below command.
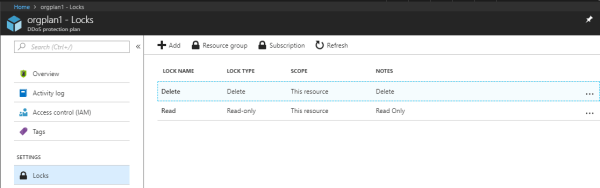
Locks –
Management locks helps us prevent accidental deletion or modification of our Azure resources. we can manage these locks from within the Azure portal.
As an administrator, we might need to lock a subscription, resource group, or resource to prevent other users in your organization from accidentally deleting or modifying critical resources.
There are 2 types of lock levels-
Delete(CanNotDelete) –
Authorized users would be able to read and modify a resource, but they will not be able to delete any resources.
ReadOnly-
Users can only read but they will not be able to modify and delete any resources.

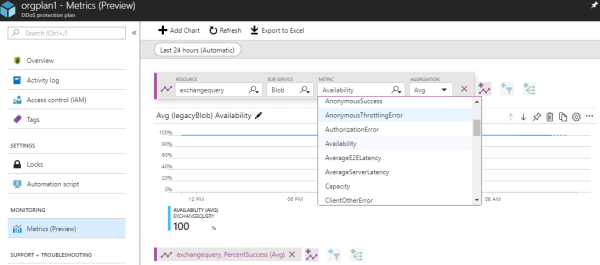
Metrics –
Allows us to monitor the health, performance, availability and usage of our services.
Thanks & Regards
Sathish Veerapandian


Leave a comment