
Corporate data leakage and losing critical confidential information is been often considered as to be an employee negligence. These days the corporate services are available to all end users from anywhere which makes the employee more productive and work from anywhere. On the flip side if there are no security enforced, for instance a sales officer might leave a confidential customers list on a shared computer in a public place. Its very important for the employers to classify, label and protect their electronic data based on their business models.
Using Microsoft azure information protection will augment and sheild all the office 365 and azure workloads. We have option to enforce the classification or to provide users the option to classify on their own. This article emphases on enabling the Azure Information Protection on Office 365 workloads.
Classify the data based on the Business:
Applying the protection on documents is purely based upon the business model. It varies based on every business deliverable and needs to be identified and defined in the first place. This is the first approach to start with Classifying the documents. Better to involve every team in this initial phase and gather the sensitive data that’s been transmitted via electronic way. Security team plays a key important role at this point, since they would already have the data classification based on the present business operations.
Identify the target Users:
Based on the cataloguing of the document now we need to create labels which will identify the sensitive documents on the transit. Protection can be enforced if the user has Office 365 E5 license or we can recommend classifying the document if the user has office 365 E3 license.
We can categorize the users based on their daily chores and its very important because a license plays a key role in this decision. For instance, there is no much concern on enforcing Azure Information Protection policies on receptionist account, rather it can be recommended to classify the document based on the key words. In a real scenario for critical document operators like finance, procurement, HR and key persons can go with E5 license and rest can be with E3 licenses.
Decide your tenant key:
By default, Microsoft manages the tenant key, and this is the root keys for the entire organization.
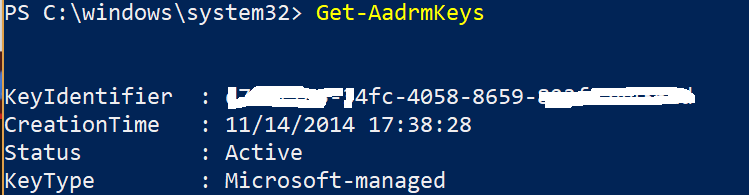
This key will be used to provide cryptographic security to any objects associated in this domain from users, computers and protecting the documents. If the organization does not have any issues with Microsoft holding the tenant key then we can go with this approach. The tenant key life is automatically recycled by Microsoft to ensure the security.
If there are any regulatory requirements, then there is an additional option called BYOK (bring your own key). Here we use the Azure Key Vault and have 2 options. Either create the Key directly from the Azure Key Vault or create the Key in On Premise, export and then import this key into the key vault.
Deploy the Azure Information Protection Client for Targeted Users:
According to utilize this Azure information protection, service the end users must have this client installed on their PC’s including the Outlook add-in and must be logged in with their Microsoft Azure AD synced account. So ensure that this client is installed on the targeted users PC through group policy. This Azure information protection client is free and doesn’t include any license cost.
Enable Protection activation:
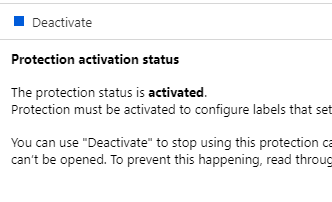
Ensure protection activation is enabled.
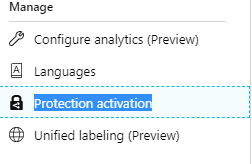
Navigate to Azure Information Protection – Protection Activation – Ensure its activated
Create the labels:
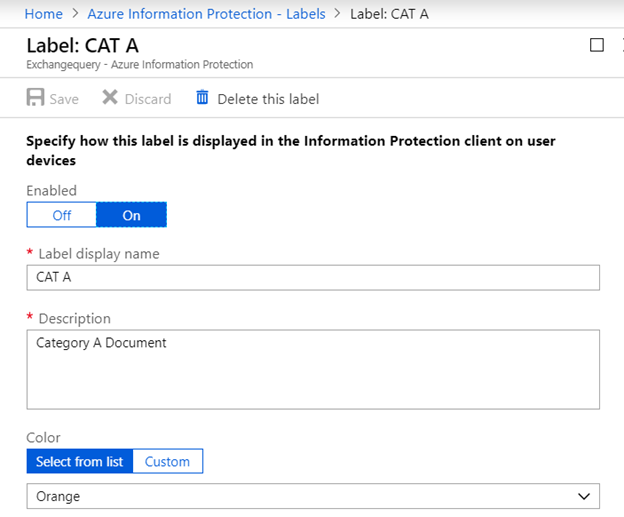
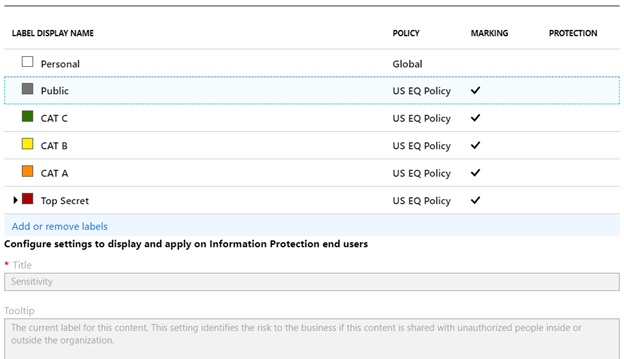
Once after gathering the important document types from different business units its better to create the labels based on the keywords. In below examples we ‘ve created three document category A,B & C.
To create Label – Login to Azure Portal – Click on Azure Information Protection – Navigate to Labels and create label
Now we have the permission
Not Configured – Go with this option only if we need to preserve document with the previously created labels.
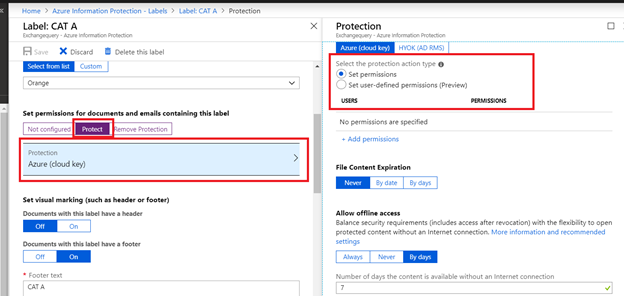
Protect – We are enforcing the AIP and going with this newly created label.
Remove protection – Select this option to remove protection if a document or email is protected
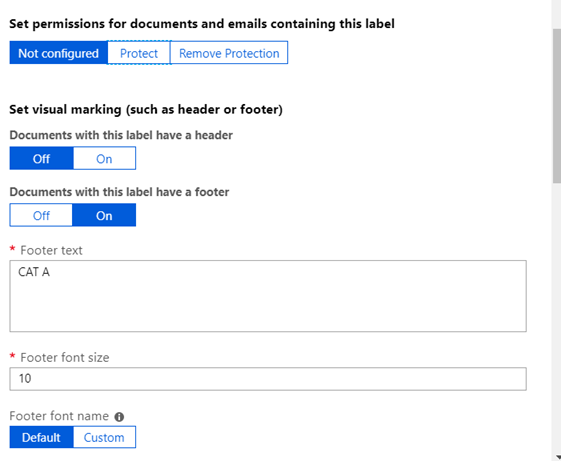
We have other options to enforce in the document like document visual marking , footer text and footer font name.
When we select on protect now we need to select our key and have 2 options
Azure Cloud Key – Managed by Microsoft.
HYOK –Key generated from the on-premise certificate authority.
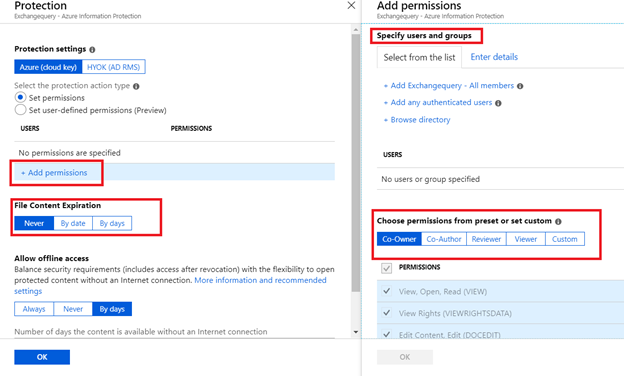
The permissions need to be selected based on our requirement.
Co-owner – Full Access.
Co-Author- Editorial Access.
Reviewer- Editor without change rights.
Viewer – Only view access.
Custom – We can create permissions on our own.
Set the file content expiration which will expire the file after this specific period. So, the file travels with the permission enforced from Azure.
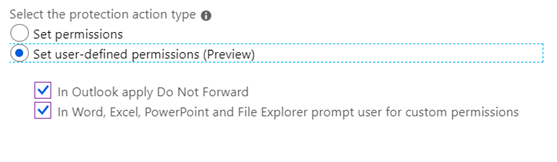
User Defined Permissions:
This option lets users specify who should be granted what authorizations. This can be given to end users to enforce them on outlook , word, excel, PowerPoint and file explorer.
Now we have an option target the users based on group and apply this label. However the best viable option is to create classification polices and add the labels to them.
Create Classification policies:
There are default classification policies and templates which can be used for protecting documents. But it’s always recommended to study the business requirements and create the classification policies based on the business requirements.
We need to navigate to the Azure information protection policy and target users and add this label.
In below example we have created a policy for one region, targeted users .
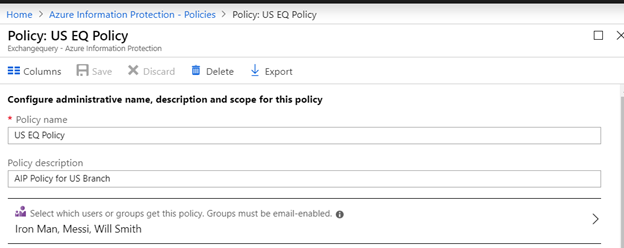
The created labels can be added here.
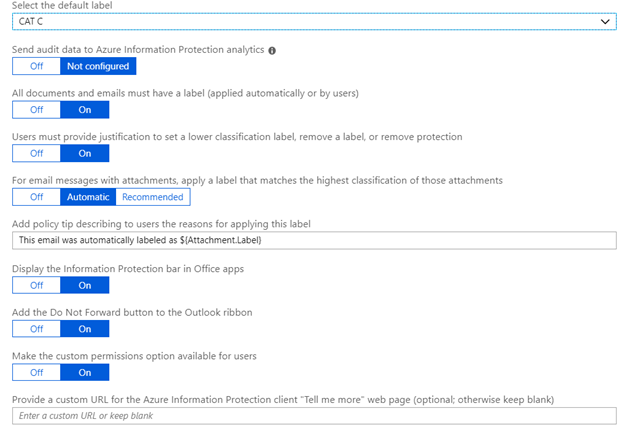
Additionally, there is an option to select the default label assigned to these users. There are other significant options which needs to be chosen based on the corporate necessities.
Client behavior:
After the policy is targeted users will see the document category available from the Azure information protection policy applied for the user.

Once the client is installed both on sender and recipient side and authenticated and a document is shared we can see the category based on the classification.

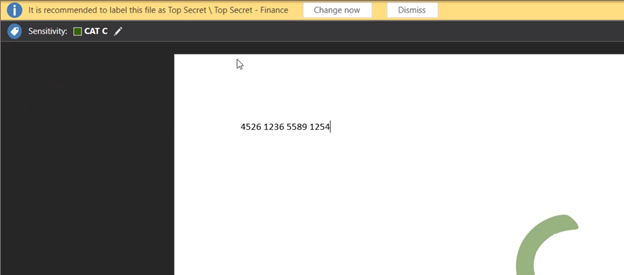
When the end user is not enforced but trying to save a credit card information in the word document a suggestion is triggered from the AIP.
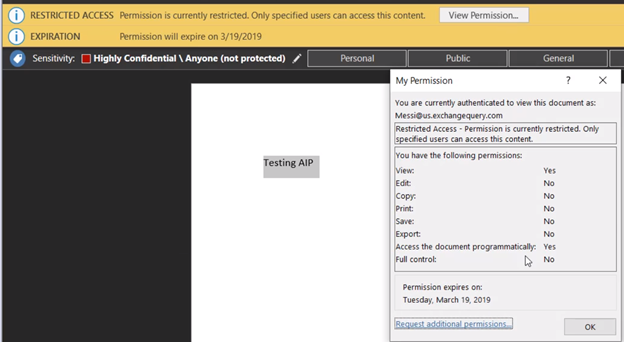
When end users receive a protected document, they can see their permission level.
This is only the internal user experience. The external user experience is totally different where they will receive a welcome email with a notification that they have received a protected message. The moment when they click on the link the users can login with the one-time pass code which will come in a separate email or login with gmail credentials.
To conclude the Azure Information Protection is a remarkable offer from Microsoft which must be implemented after several iterations and careful planning. Also, this is a continuous process where the policies must be revisited and updated regularly as per the local regulatory and business changes. Moreover, stringent polices should not be applied without proper evaluation since it can deteriorate the normal business operations. While this is just an overview of azure information protection and there are lots of features to explore and implement in any environment after vigilant planning.
Thanks & Regards
Sathish Veerapandian


[…] the right documents. Couple of years back we went through the Azure Information Protection on this blog through which we can classify the sensitivity of any organization documents and leverage them on […]
LikeLike
Great reeading
LikeLike
Thanks Bradley
LikeLike