
Its always better to configure retention for office 365 work loads in order to ensure that the data is available as per the company legal requirements. Usually we pay more attention to Email data and retention policies are applied to all mailboxes, however we might miss out to configure the retention on other work loads.
In this article we will be focusing on the options available to retain the data in one drive for business personal files of an office 365 users.
Essentially we see there are 2 level retention policies available for one drive for business. We will be looking at how to configure them and grant the permission for a delegated assignee when required to access the retained data for a terminated employee.
User Level Retention:
To illustrate if a user resigns ,we remove the license and delete synchronized AD account.If we need to keep the deleted users one drive personal site to stay around for 5 years then we can configure the retention setting on the one drive admin center.
The maximum retention value is 10 years and in below example we are setting them to 2 years from the one drive admin center.

There is a small admonition on applying only this retention policy to the users because this policy is applicable only when the synchronized users are deleted and licenses removed. There could be more odds that a resigned employee can delete the required confidential data before leaving the organization from original location and 2 stages recycle bin.
File Level Retention:
To alleviate the above demeanor we can configure a new retention policy from the security and compliance center only for one drive for business files. As of now we have option to create retention policy based on newly created files and last modified date and time.
Navigate to –
security and compliance -> data governance -> retention ->create new policy ->

Create retention policy by selecting – When it was created.
When selected we are deciding on a course of action to retain all the newly created files for 5 years. Upon this setting the new files can be preserved up to 10 years.
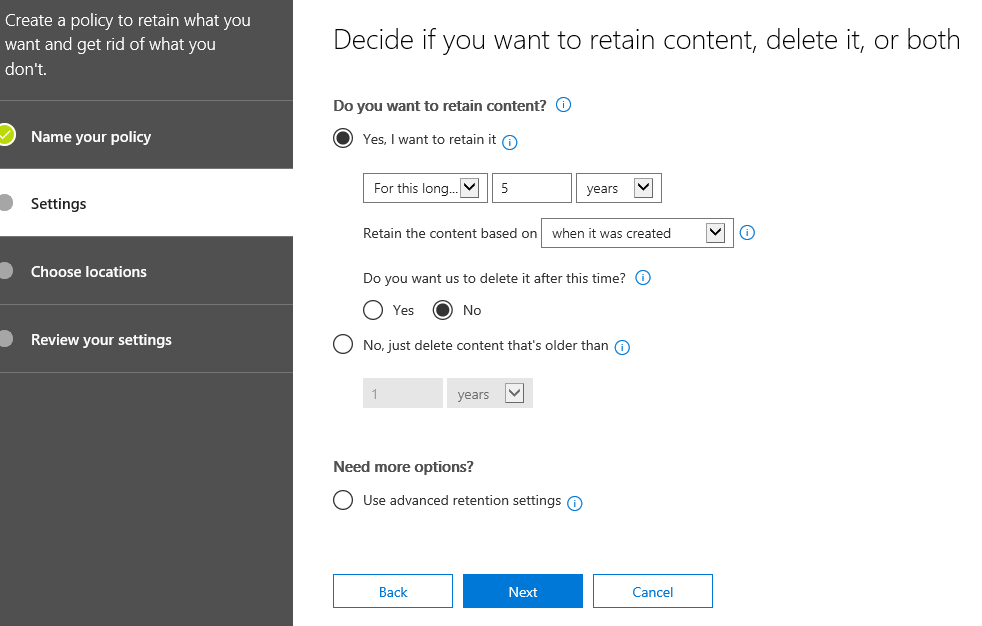
In the location we choose only one drive because in our case we are targeting only one drive file level retention.

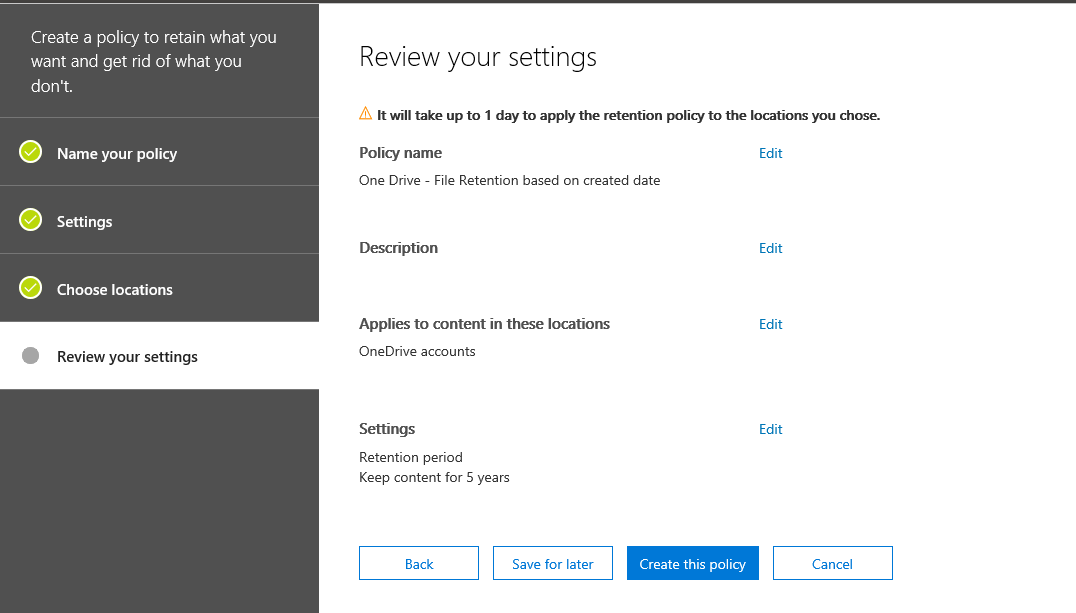
Review and create the policy.
Same as above create a file level retention based on file modification date.
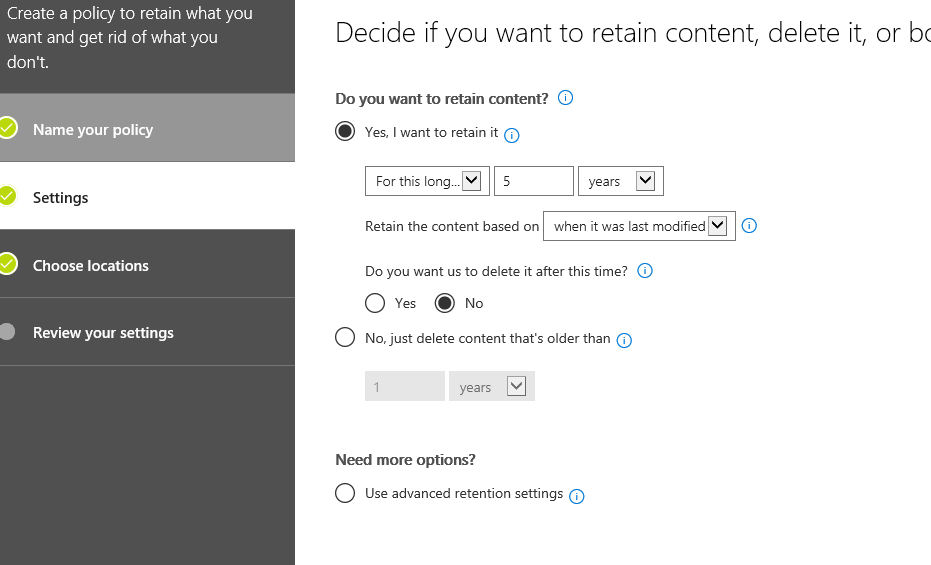
Once the above policy is created files based on created date and modified date will be retained for 5 years.
Where do these files gets stored ?
Based on the above configuration the files that have been modified/newly created will be preserved for 5 years.
During this interval if any attempt of file deletion that comes on above scope will be deleted however a copy of these files will be stored in the preservation hold library which only the admin of the folders and admins can access. After 5 years these files will be permanently purged.
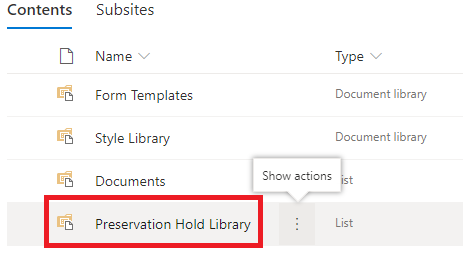
The preservation hold library can be accessed by navigating to the below URL
https://domainname-my.sharepoint.com/personal/username_domain_com/_layouts/15/viewlsts.aspx
Once accessed above url we will get access to preservation hold library
Below options we have for recovery on choosing a required file
By merest chance if the admin tries to delete these files from the Preservation Hold Library it wouldn’t be successful and will throw the below error.

We also need to make a note that all the files which are deleted and getting retained in Preservation hold library will consume the end user one drive quota which we need to think of only for E1 licensed users who have maxed out of their quota.
Transferring ownership of a old resigned employee:
If we need to Transfer access to different user who resigned long back and his files are retained as per retention policy.
There are multiple ways of doing this, however on the below example shows only how to perform this via power-shell.
Connect to SPO
Connect-SPOService -Url https://tenantname.sharepoint.com
Restore Deleted Personal Site of the Resigned user
Restore-SPODeletedSite -Identity https://tenantname-my.sharepoint.com/personal/username_domain_com
Restore Site to requested user by mentioning his login name
Set-SPOUser -Site https://tenantname my.sharepoint.com/personal/username_domain_com -LoginName username@domain.com -IsSiteCollectionAdmin $True
Thanks & Regards
Sathish Veerapandian


Leave a comment