
Now i have entered into the devops realm will try my best to start blogging on the devops technology. Having said that this is going to be my first blog on the devops platform.
We will examine building and modifying CI/CD pipelines using Azure Devops. With that, we can create a sample code project, build a release pipeline, and lastly, after deployment, observe how the sample app is automatically distributed in complete throughout the azure cloud infrastructure.
To create a Azure Devops Project we need to navigate to Azure Devops portal and look for Devops Starter.
In the next screen we are presented with the option about what language we will be using to create this project. In our below example we are going to use .net to create this new web app.Note if we have our own code then there is an option to choose that and point them to our own Repo.

Now we need to choose the framework that needs to be used Asp.net or .net core
And for the service we can use the web apps for windows. We are selecting ASP.net in our example.

There is also a possibility to choose other service like Linux , but in our case we are choosing windows here.
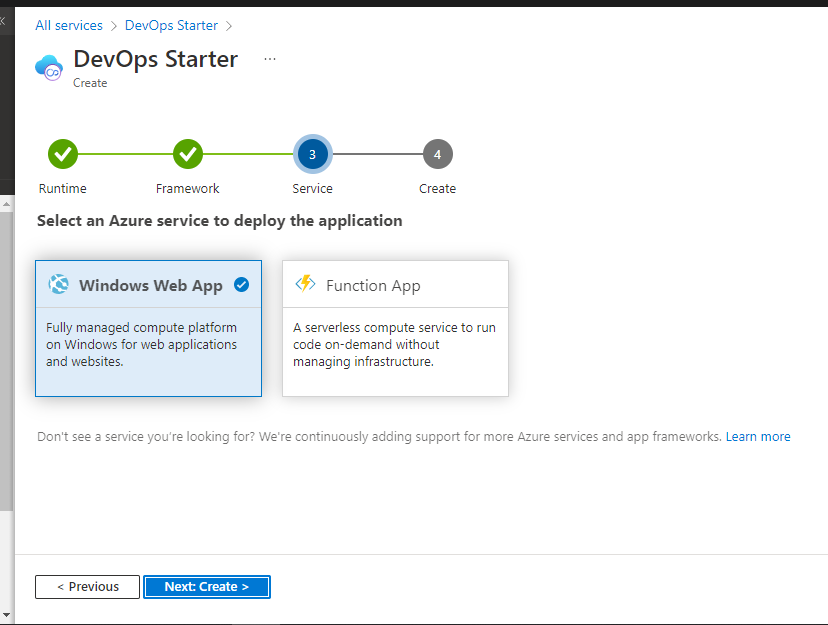
Next to the service we need to select the GitHub repository where the source code will be published.
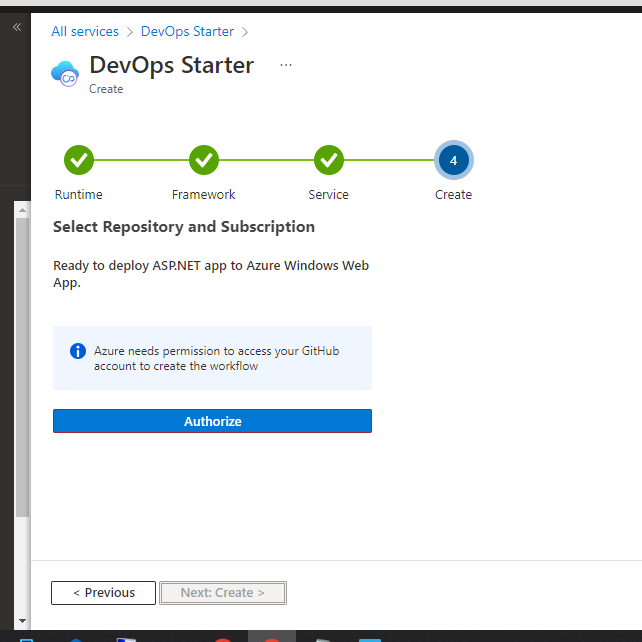
It is also important to note that a GitHub Subscription is required to create a repository there to maintain the source control. Here we need to mention the Git Hub Workspaces so that it can use that for this deployment
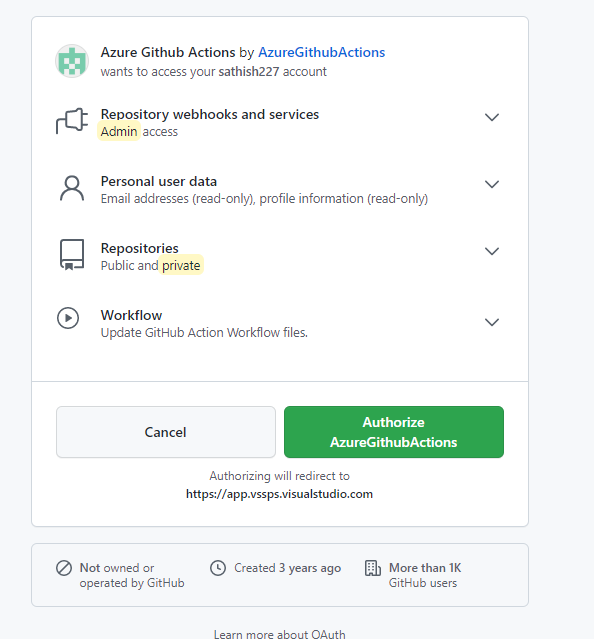
We need to authorize in the Github account so that Azure devops has the necessary permission to access Github and create the workflow.
And here we will be presented to choose the repository and the Subscription. This is the place where the continuous delivery pipeline will be setup. By default it chooses the standard S1 pricing tier.

Now when we click on next the Azure will build the full devops pipeline and the required resources in the backend.
In the backend it will do the below tasks
Create Team Project
Add Sample code in source control
Creates a continuous integration build
Continuous deployment release pipeline
Finally kick off the build & release pipeline to deploy the sample app into the infrastructure provisioned in Azure
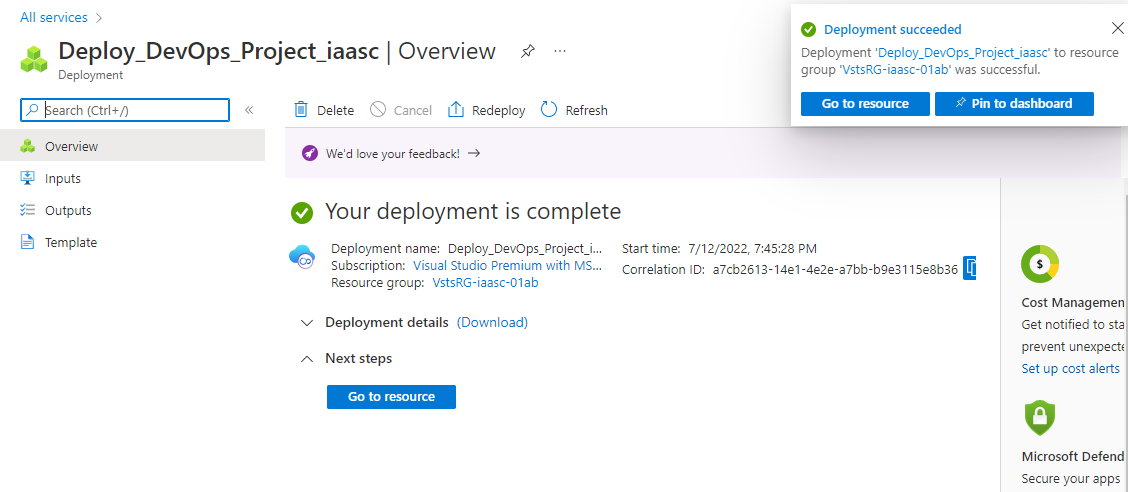
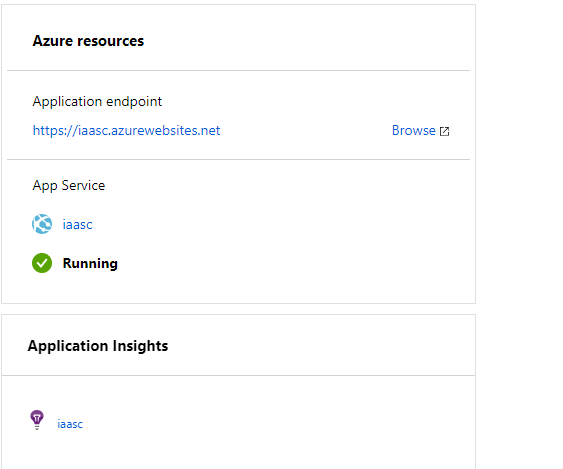
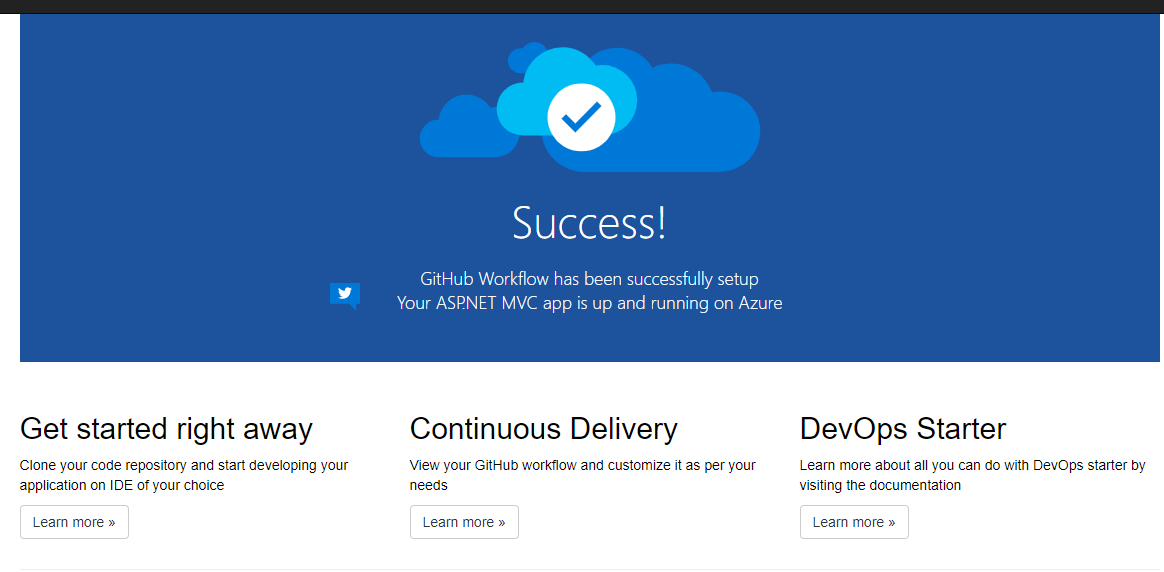
After a successful deployment we get the below screen as an example.
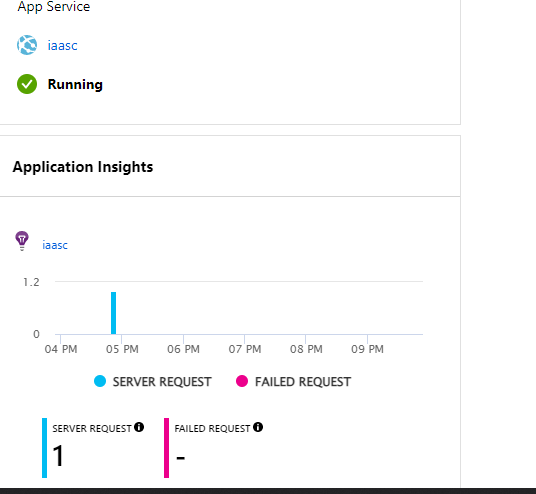
Now we see the app services is online and its running.
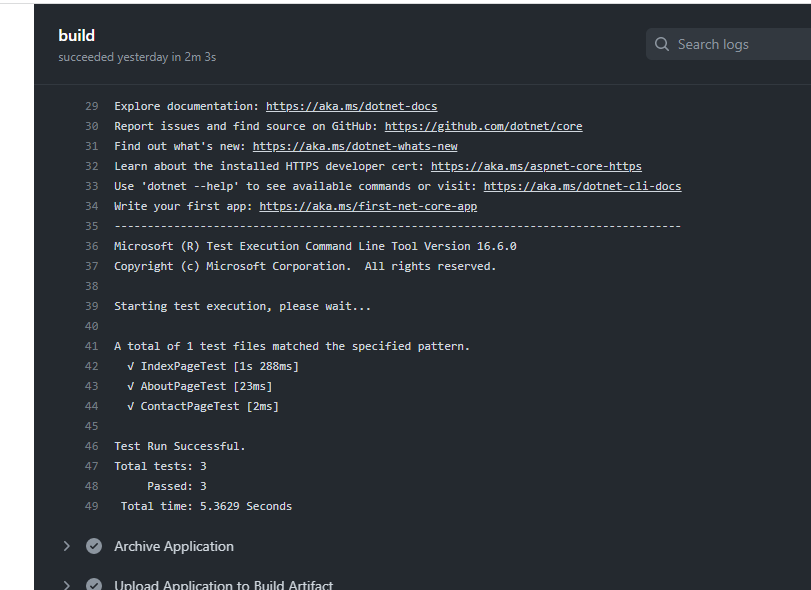
Further looking into them we also see the build, deployment and the functional tests.
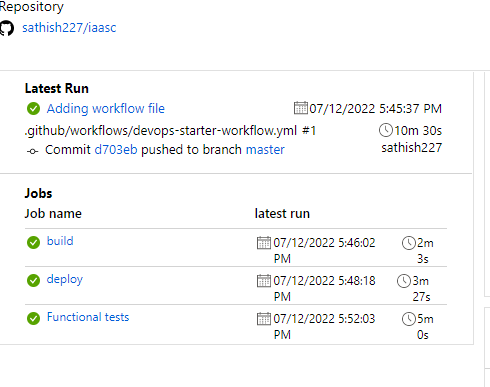
Looking furthermore we could see that the yaml file has already created in the backend to carry out the necessary activities.
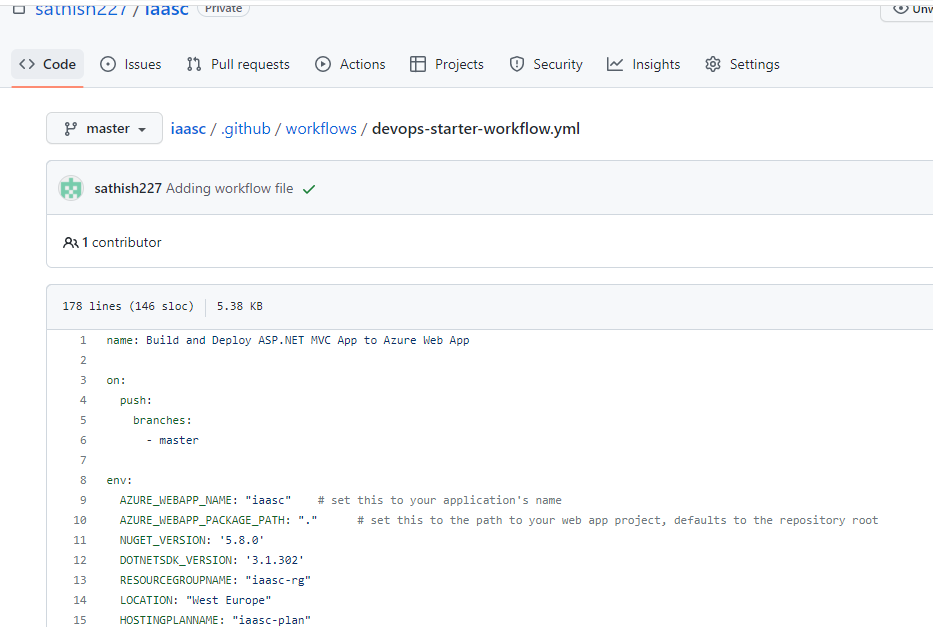
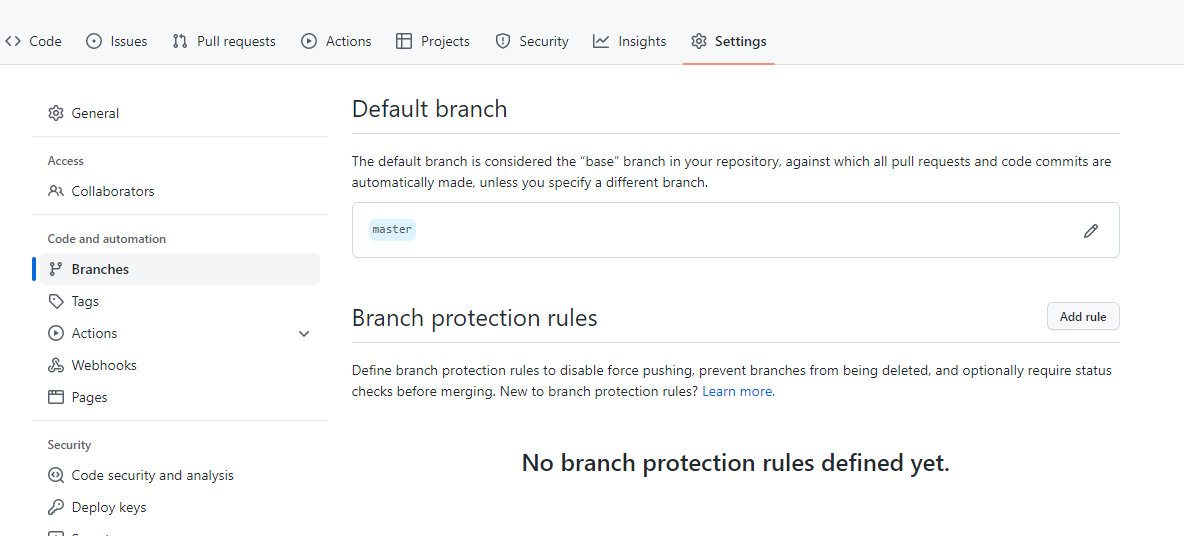
In the branches we have the option to set the default branches apart from having them as a master file.
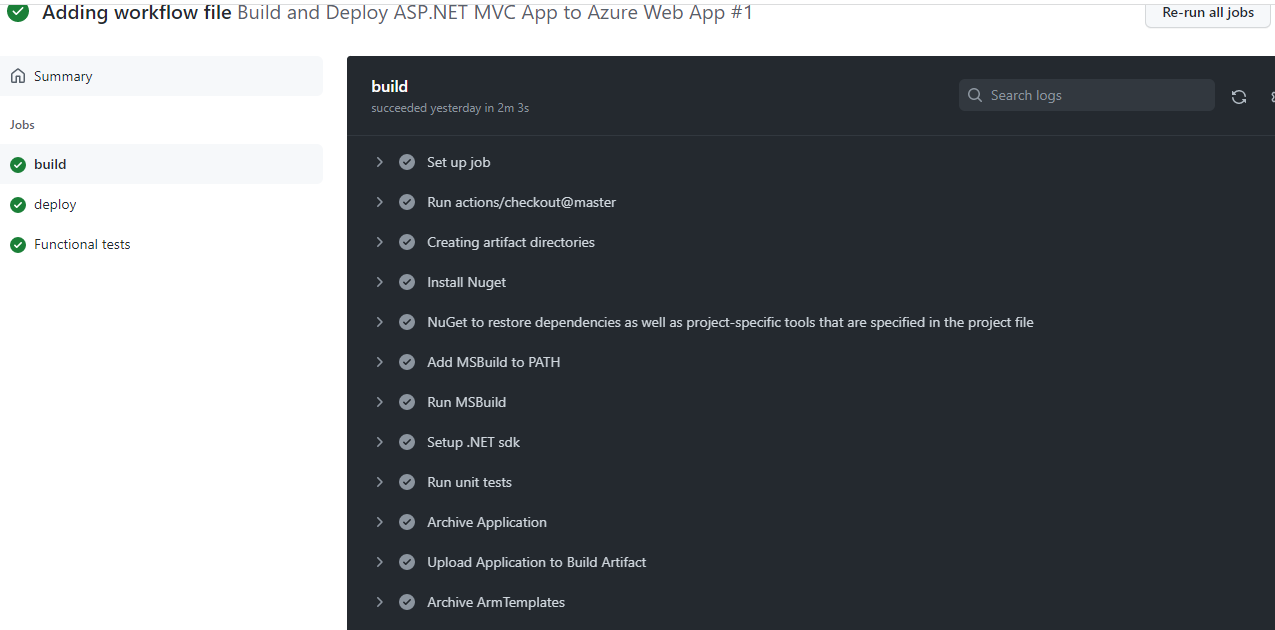
Continuous Integration is the process where every development action takes place if the deployment will be successful. It verifies checks the source control and download the latest version from the source control , do the compilation , run any tests if required and finally package them for the deployment.
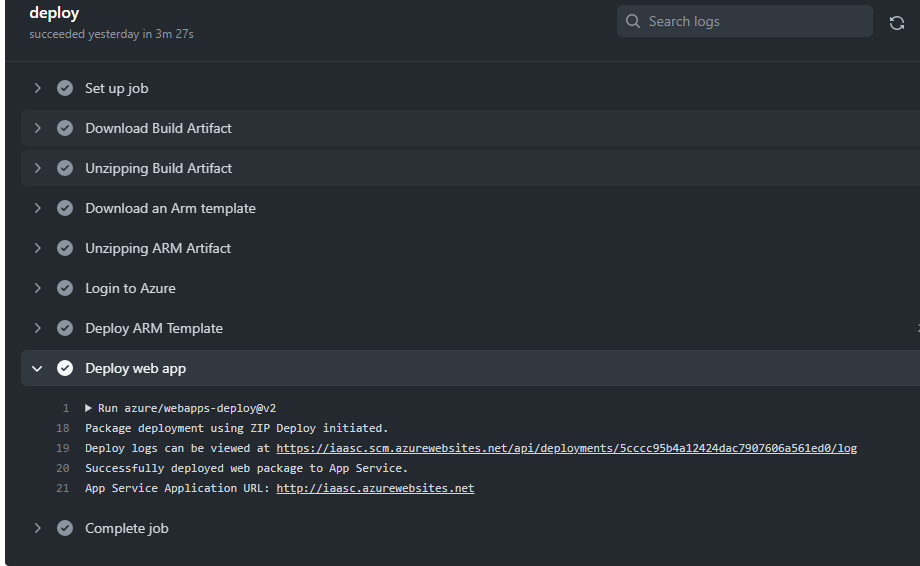
In the build section if all the tests are successful then it is going to trigger the release management.
The release management will download the package from the source and then finally deploy the app into Azure. All these things are executed on the infrastructure that is already present in the cloud which we do not need to maintain from our side.
We also see the status of the app service running and the application insights which is helpful in our scenario.
With this Build and release pipeline we have a complete control over each and every deployment phases. Furthermore we can clone the repository locally in any IDE, have a branch file do the improvements and start developing the application.


Leave a comment