
The most common tasks that we might be receiving in Azure is to copy the blobs between the storage accounts. This article outlines the steps involved in copying the VHDs between managed and unmanaged disks
Copying the VHDs from unmanaged disks to a new storage account is pretty simple and we have two options copying via AzCopy or use Storage explorer
Option 1: Using Az Copy
Step 1: Get the VHD URL –
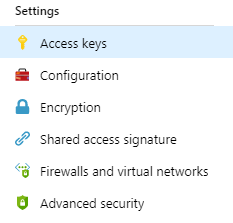
Navigate to storage account – Choose the Associated VM SG account – Click on Blobs – Select the container name – Choose Properties – Copy the URL

Step 2 : Copy the access key of the source storage account.
Step 3: Download and install the AZ copy
Step 3: Follow Step 1 & 2 and get the URL and access key details of the target storage account.
Now we need to open command prompt and run the below command replacing the required entries that we have taken from the respective storage accounts
.\AzCopy.exe /Source:https://StorageAccountSource.blob.core.windows.net/vhds /Dest:https://StorageAccountDestination.blob.core.windows.net/vhds /SourceKey:”keyXXX” /DestKey:”DestinationKeyXX” /SyncCopy /s
We will see the copy progress once after the command have been initiated

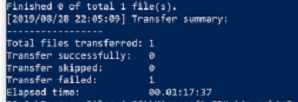
Once the task is completed we get the below message
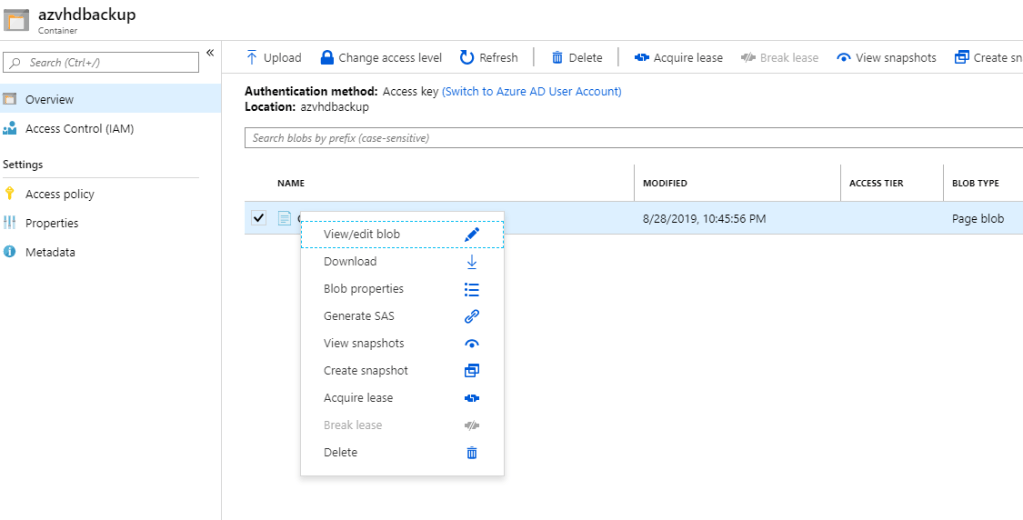
And can see the file successfully copied to the target storage container location
Option 2: Using storage explorer (preview)
Using storage explorer is pretty much simpler task
Open storage explorer – click on the subscription – expand the blob containers of the source VHD – Select the VHD – and click on copy
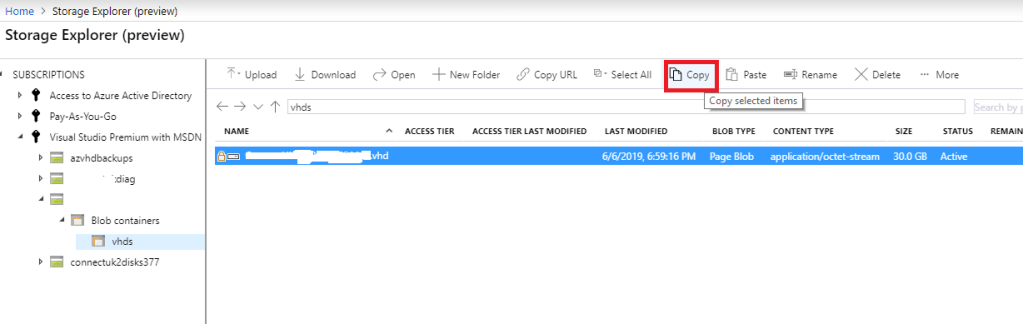
Now navigate to the destination blob container and paste the copied vhd file.

Copy from Managed disks:
Copying the data from the managed disks is much easier using Azcopy or power shell script. There are lot available in the GitHub and have used this one was taken from GitHub
All we need to provide subscription ID, Resource group name , disk name , target storage account name , storage container , storage account key and destination VHD file name.
#Provide the subscription Id of the subscription where managed disk is created
$subscriptionId = "provide subscriptionID"

#Provide the name of your resource group where managed is created
$resourceGroupName ="Provide RG name"

#Provide the managed disk name
$diskName = "provide disk name"

#Provide Shared Access Signature (SAS) expiry duration in seconds e.g. 3600.
#Know more about SAS here: https://docs.microsoft.com/en-us/Az.Storage/storage-dotnet-shared-access-signature-part-1
$sasExpiryDuration = "3600"

#Provide storage account name where you want to copy the underlying VHD of the managed disk.
$storageAccountName = "provide SG account name"

#Name of the storage container where the downloaded VHD will be stored
$storageContainerName = "provide storage container name"

#Provide the key of the storage account where you want to copy the VHD of the managed disk.
$storageAccountKey = 'provide storage account key'

#Provide the name of the destination VHD file to which the VHD of the managed disk will be copied.
$destinationVHDFileName = "provide destination VHD file"

#Set the value to 1 to use AzCopy tool to download the data. This is the recommended option for faster copy.
#Download AzCopy v10 from the link here: https://docs.microsoft.com/en-us/azure/storage/common/storage-use-azcopy-v10
#Ensure that AzCopy is downloaded in the same folder as this file
#If you set the value to 0 then Start-AzStorageBlobCopy will be used. Azure storage will asynchronously copy the data.
$useAzCopy = 1

# Set the context to the subscription Id where managed disk is created
Select-AzureRMSubscription -SubscriptionId $SubscriptionId

#Generate the SAS for the managed disk
$sas = Grant-AzureRmDiskAccess -ResourceGroupName $ResourceGroupName -DiskName $diskName -DurationInSecond $sasExpiryDuration -Access Read

#Create the context of the storage account where the underlying VHD of the managed disk will be copied
$destinationContext = New-AzureStorageContext -StorageAccountName $storageAccountName -StorageAccountKey $storageAccountKey

#Copy the VHD of the managed disk to the storage account
if($useAzCopy -eq 1)
{
    $containerSASURI = New-AzureStorageContainerSASToken -Context $destinationContext -ExpiryTime(get-date).AddSeconds($sasExpiryDuration) -FullUri -Name $storageContainerName -Permission rw
    .\azcopy copy $sas.AccessSAS $containerSASURI

}else{

    Start-AzureStorageBlobCopy -AbsoluteUri $sas.AccessSAS -DestContainer $storageContainerName -DestContext $destinationContext -DestBlob $destinationVHDFileName
}
Disk name of managed VM can be taken from the disks section tab in the managed VM

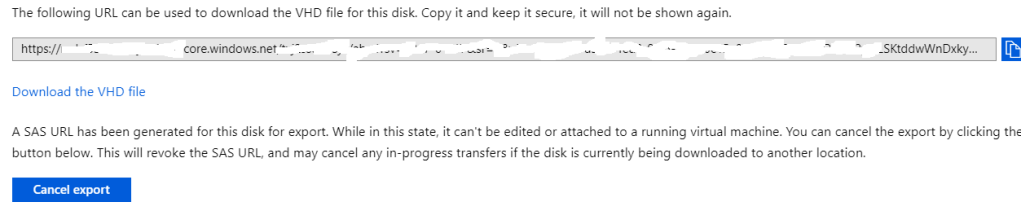
Once the script started running we could see the SAS URL being generated through the commandlet Grant-AzureRMDiskaccess and we have an option to download them directly from this URL.
With all the details we run the script from Azcopy or powershell and it will copy the VMs successfully to the destination storage account.
Thanks & Regards
Sathish Veerapandian


[…] And if you want, you can just upgrade the plan by spending a few dollars every month and gain access to a significant amount of available storage on your cloud account. […]
LikeLike