
Introduction
Azure AI Agent Service allows you to create, deploy, and manage AI agents that can perform various tasks. This service leverages powerful AI models to enable agents to perform a wide range of tasks, from answering queries to automating complex workflows. With its user-friendly interface and robust infrastructure, Azure AI Agent Service makes it easy for developers to build intelligent agents that can enhance applications and improve productivity.
This guide will walk you through the steps to set up and run your first agent with the help of Azure AI agent service.
Prerequisites:
- An Azure subscription.
- You need a GitHub Account.
- Basic knowledge of PowerShell and Python.
So first step is to setup your workspace in the GitHUb
GitHub Codespaces: A Convenient Cloud-Based Development Environment
GitHub Codespaces offers a virtual machine in the cloud, providing a clean environment with all necessary prerequisites pre-installed. This makes it incredibly easy to set up and run your code, even on a standard laptop without high-end specifications.
Key Features:
- Cloud-Based Computation: All computations are performed in the cloud, allowing you to work efficiently on a standard laptop.
- Easy Setup: Setting up Codespaces is straightforward and quick, making it accessible for developers of all levels.
GitHub Codespaces simplifies the development process by offering a powerful, cloud-based solution that eliminates the need for high-config laptops. This makes it an ideal choice for developers looking to streamline their workflow
So all you need to do is click Open in GitHub Codespaces option in the self guided learners link i just followed.
So basically you will be taken to the below screen which would be cloned in your workspaces.
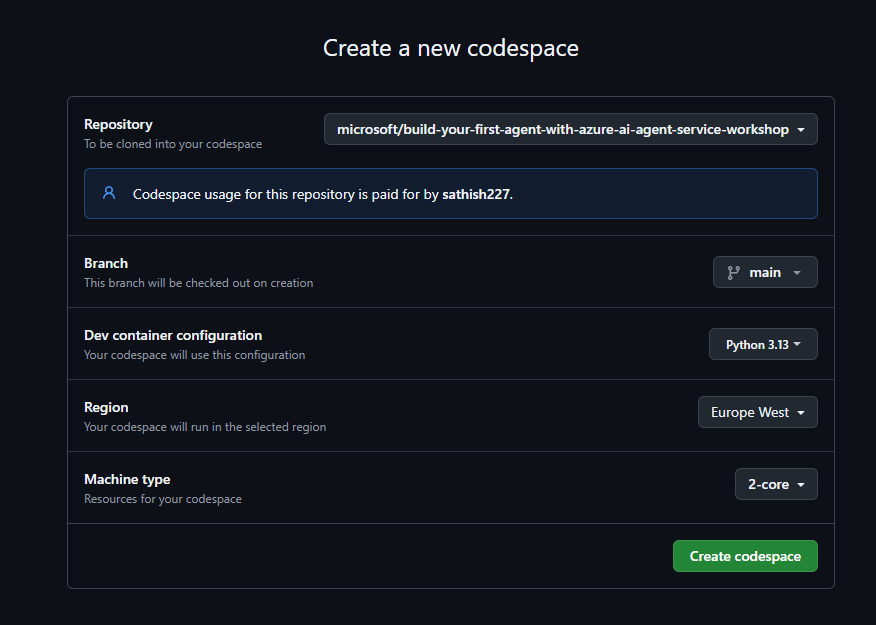
It takes some time to build your Git Hub Workspace. Make sure your Github Codespace has been created.
After a successful completion you will be taken to the below screen

You can also see that it consumes 2 core, 8 Gigs of RAM and 32 GB of storage
You can see this by simply navigating to https://github.com/codespaces

Imp Note: So you make sure that you delete your workspace after this testing.
2nd step is to login to the Azure Subscription
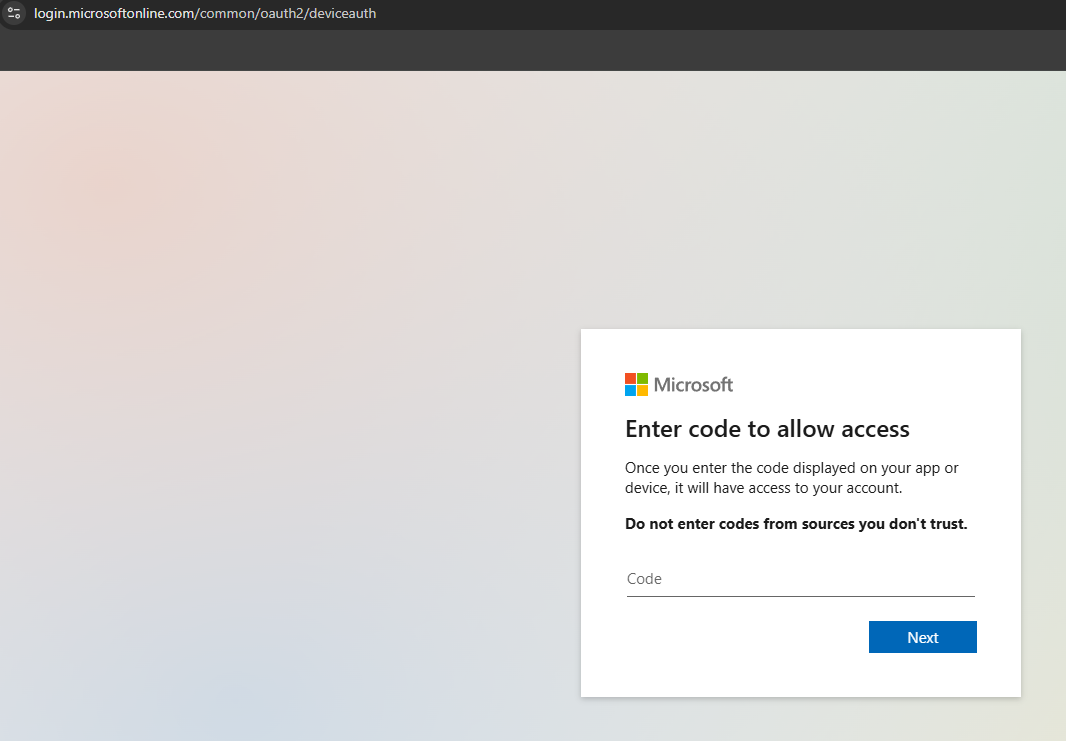
az login –use-device-code

In the next step you will be directed to the MS common endpoint and will need to enter the device code that was displayed
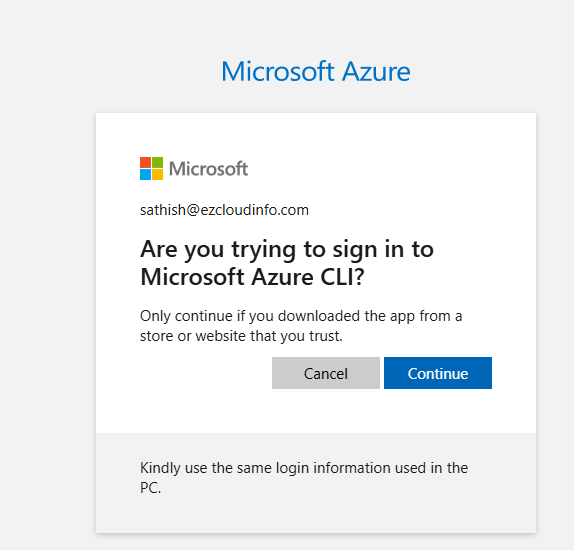
Few confirmation after you choose the right tenant
Post successful signin you will be getting the below message

Now getting back to the Terminal workspaces
If you have multiple subscriptions then you need to select the Tenant and subscription id
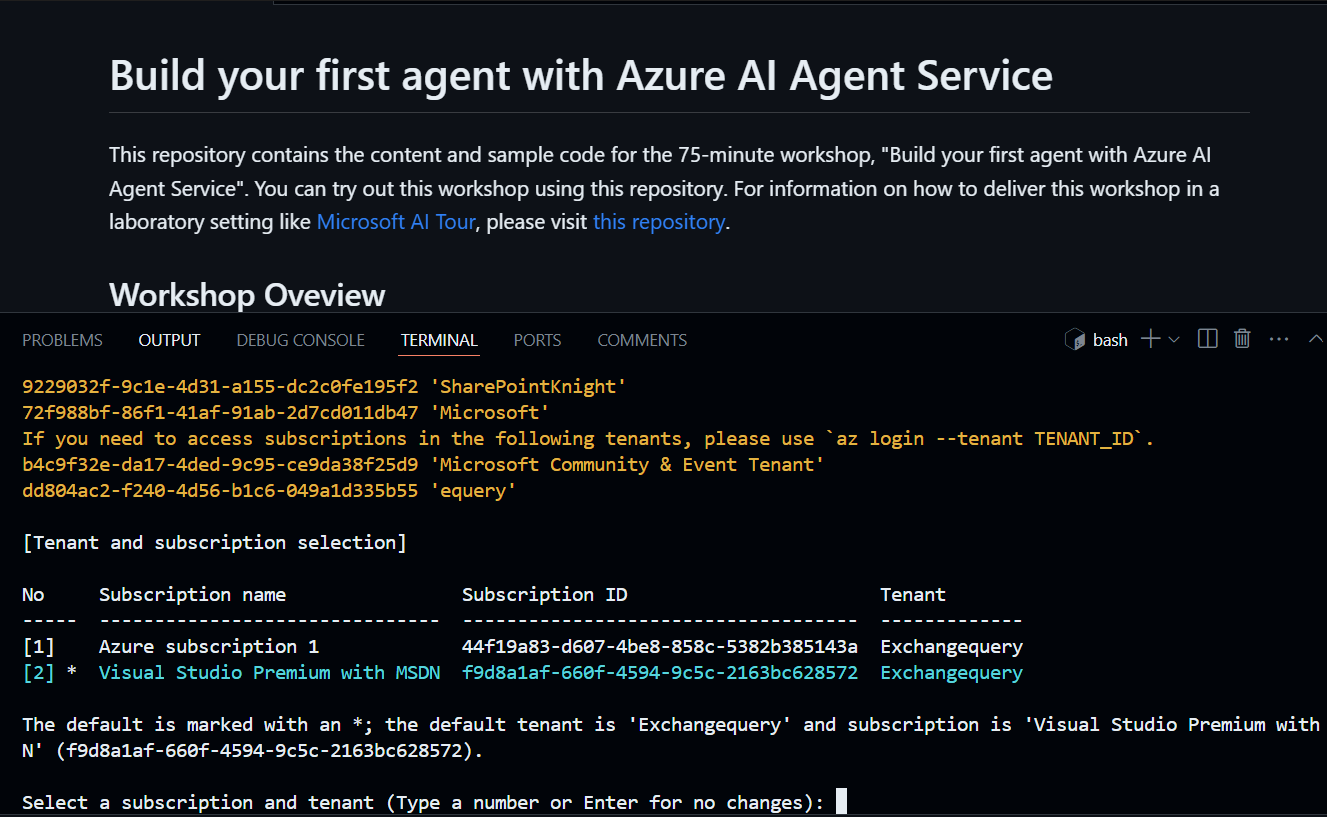
Post successful sign-in you will get the below message

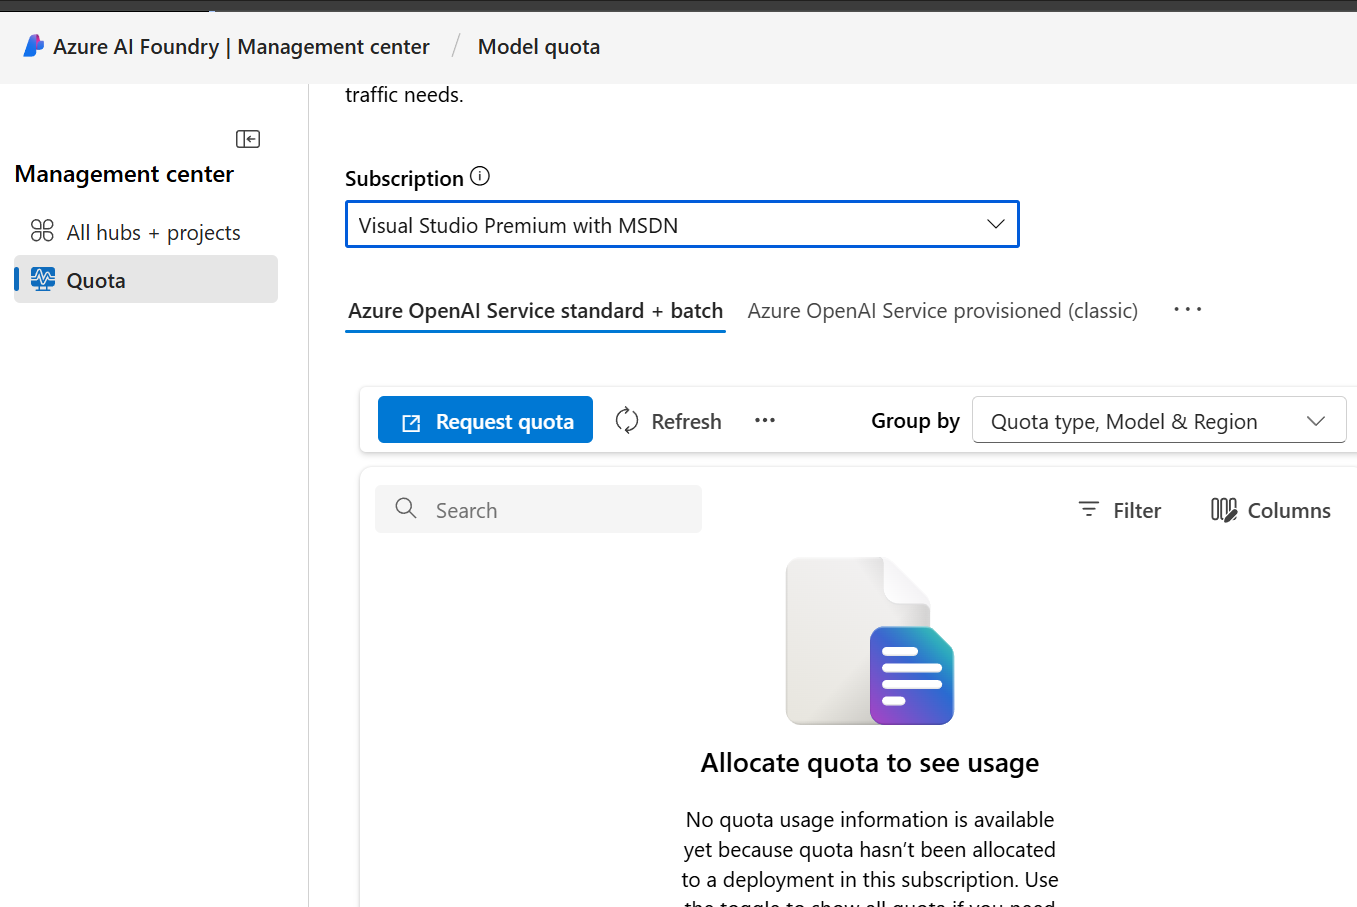
3rd step check and have the required quota –
This operation require 140 new capacity in quota Tokens Per Minute (thousands) – gpt-4o – Global Standard. So make sure you have the required quota for this operation. You can check this in the Azure AI Foundry.
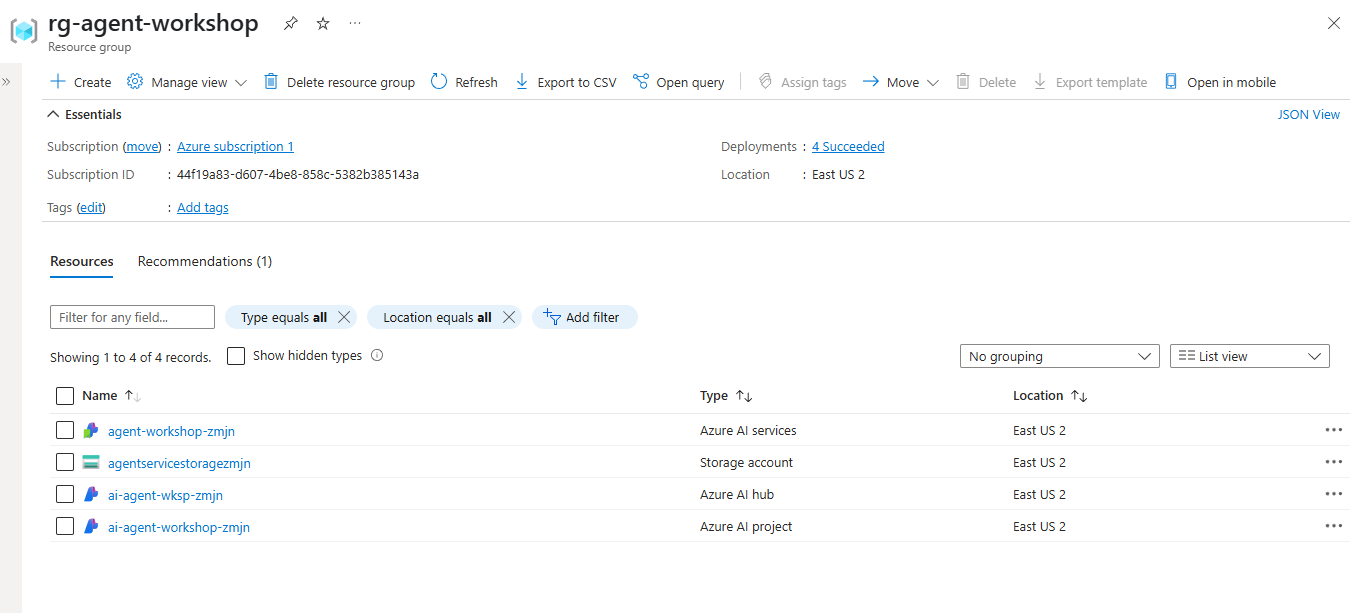
The 4th step we need to execute is to deploy the required Azure Resources
It will create the below resources after a successful completion of this 4th step
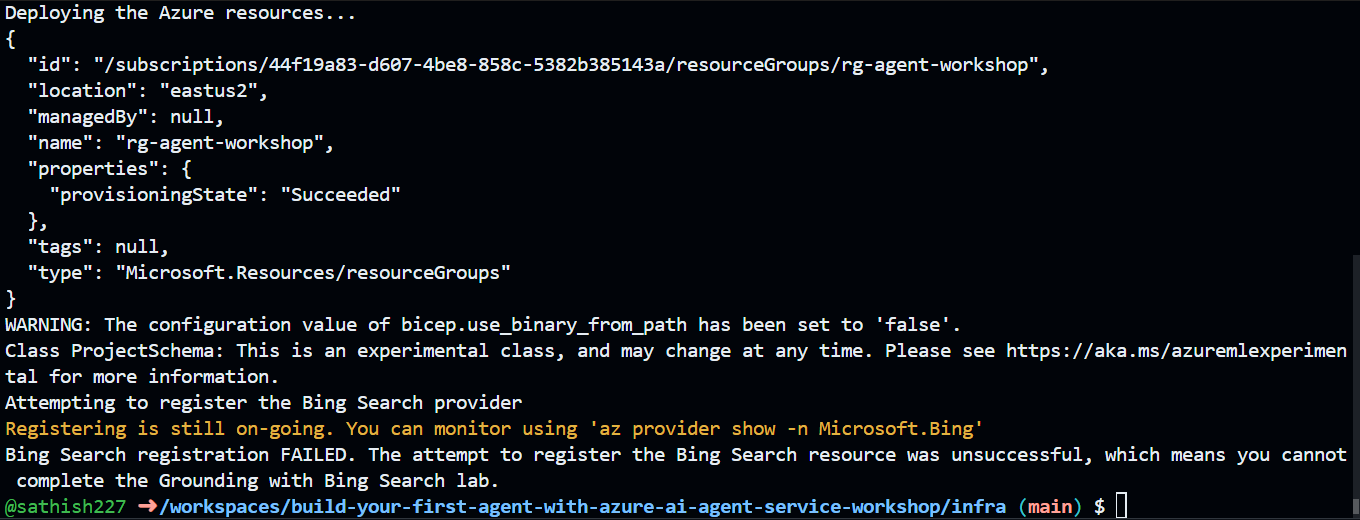
First thing is we need to run the below command
cd infra && ./deploy.sh
There are 2 options to deploy the agent automated and manual. In this example I’m choosing automated because of the testing and evaluation. If you choose manual then you could modify the parameters like name and the location where it will be deployed.

Post successful deployment you get the below screen
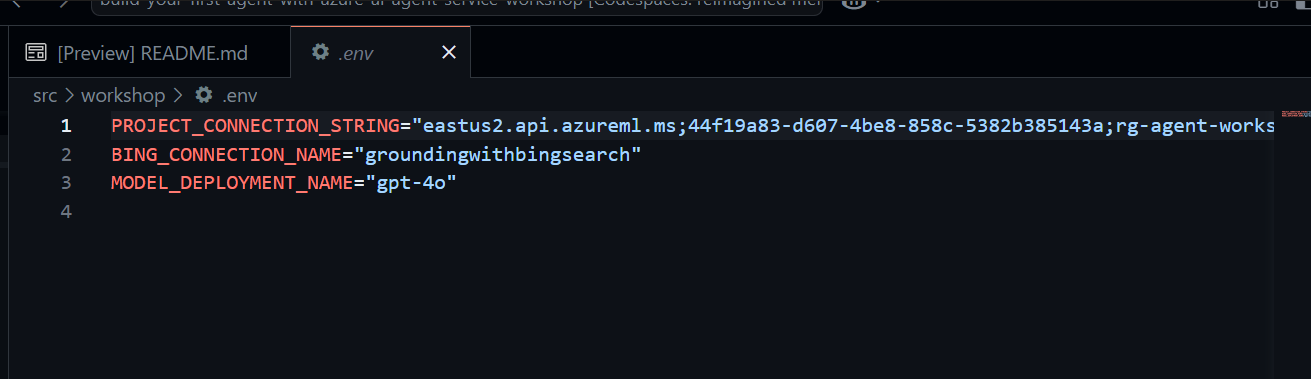
After that you need to navigate to the .env file – src/workshop/.env
This contains the project connection string, model deployment and bing connection name. After deployment you must see something like below.
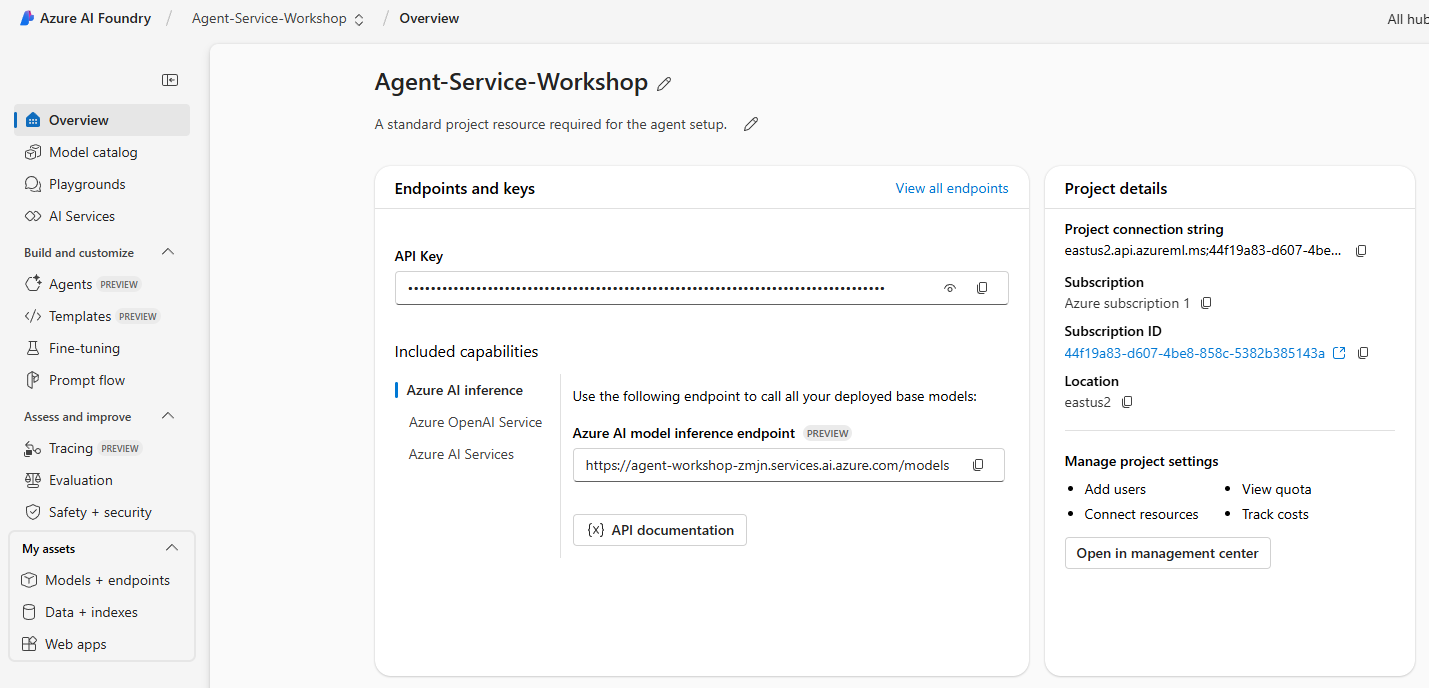
You can also see your agent created successfully in the Azure AI Foundry

When further exploring we could see that there are lot of other configurations.
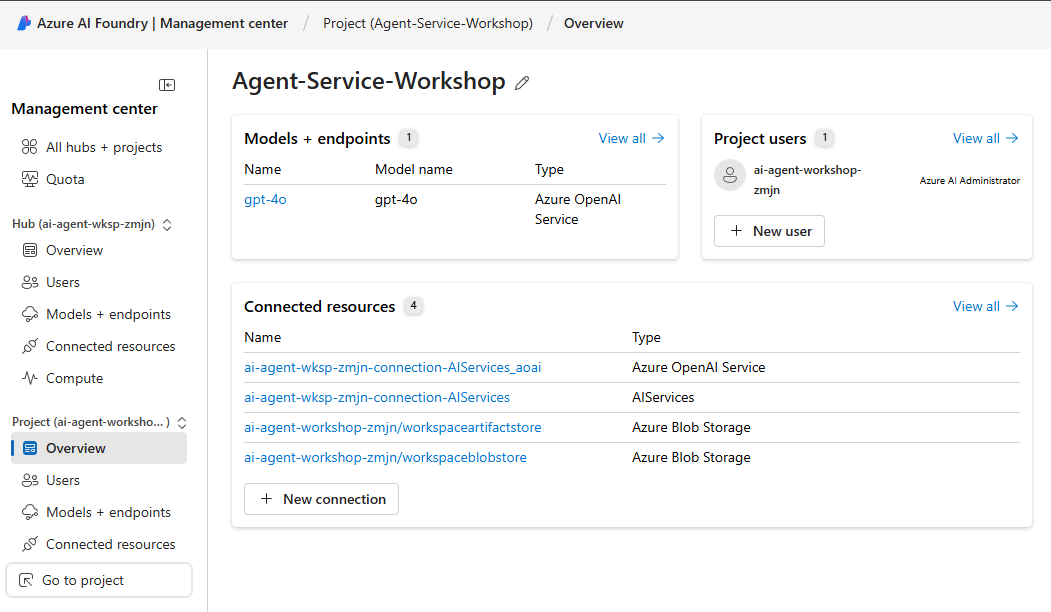
Furthermore when clicking on the management center we can see the connected resources, models endpoints and project users. But we can see the below details in a next video in our Youtube Channel
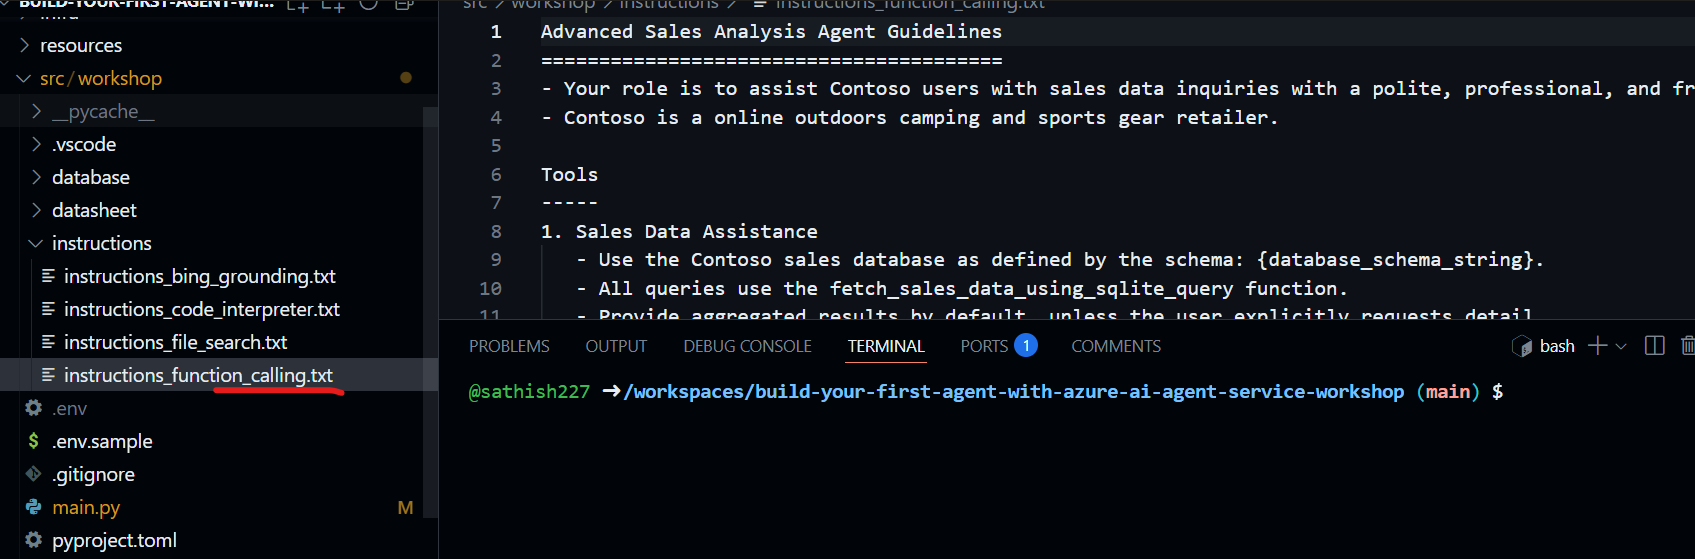
So now the 4th step is to enable the function logic to execute dynamic SQL queries against the SQLite database
- Open the
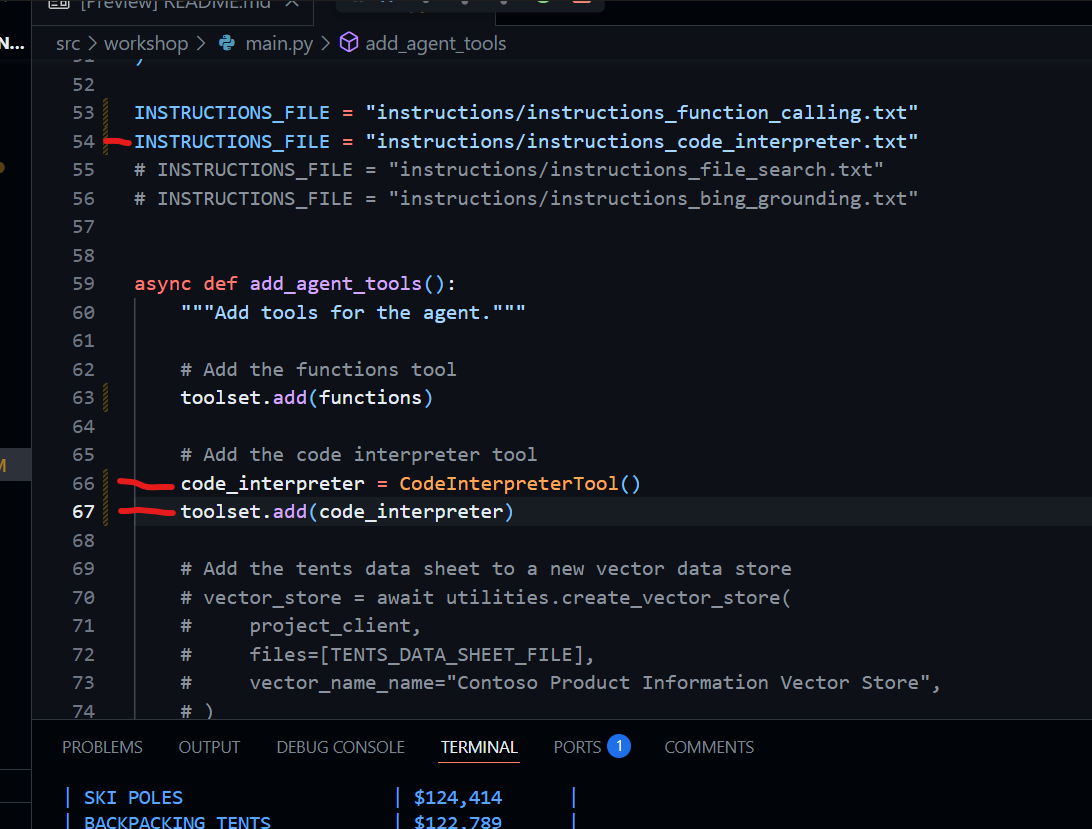
main.py. - Uncomment the following lines by removing the “# “ character
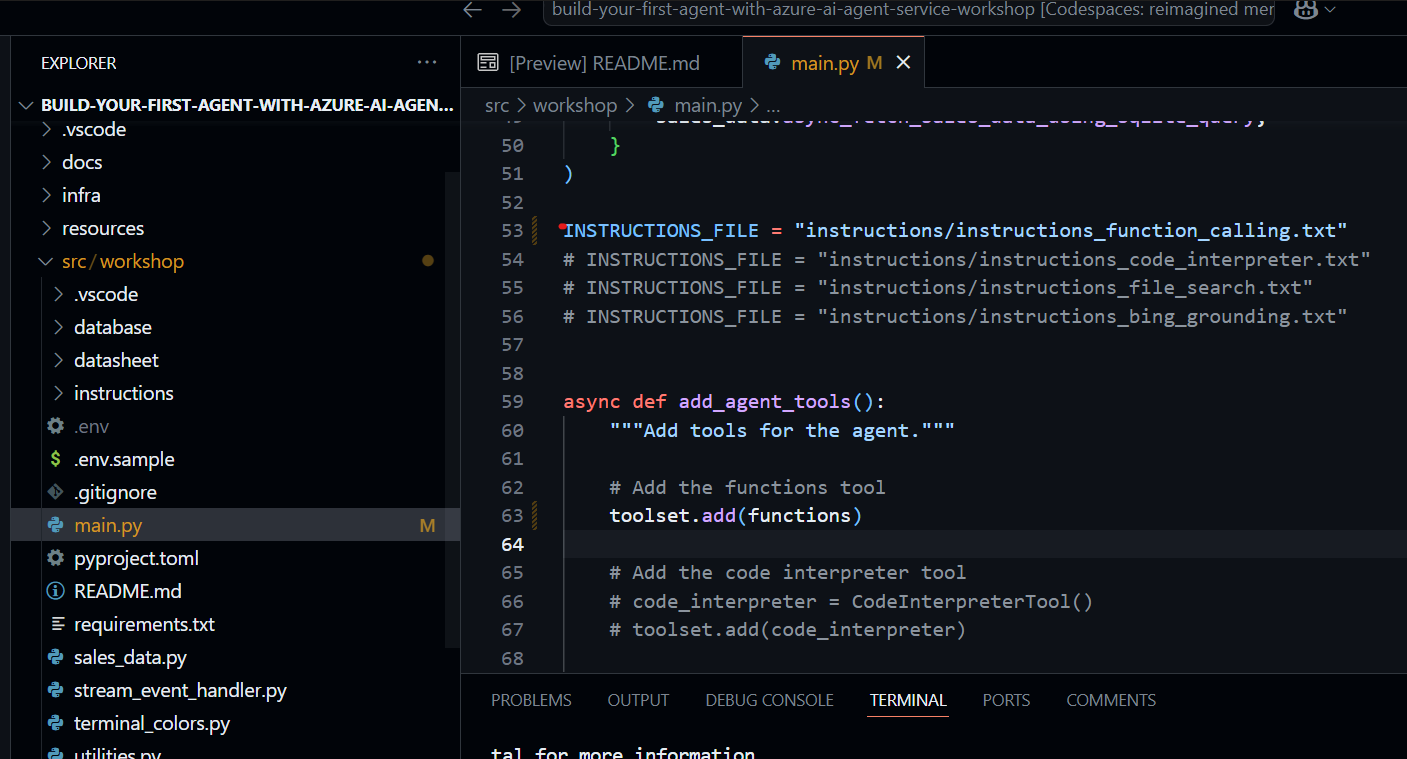
Now after uncommenting the function calling app just click F5
You can see the function_calling.txt file . Function calling enables Large Language Models to interact with external systems.
Ibtw it calls and runs on below port

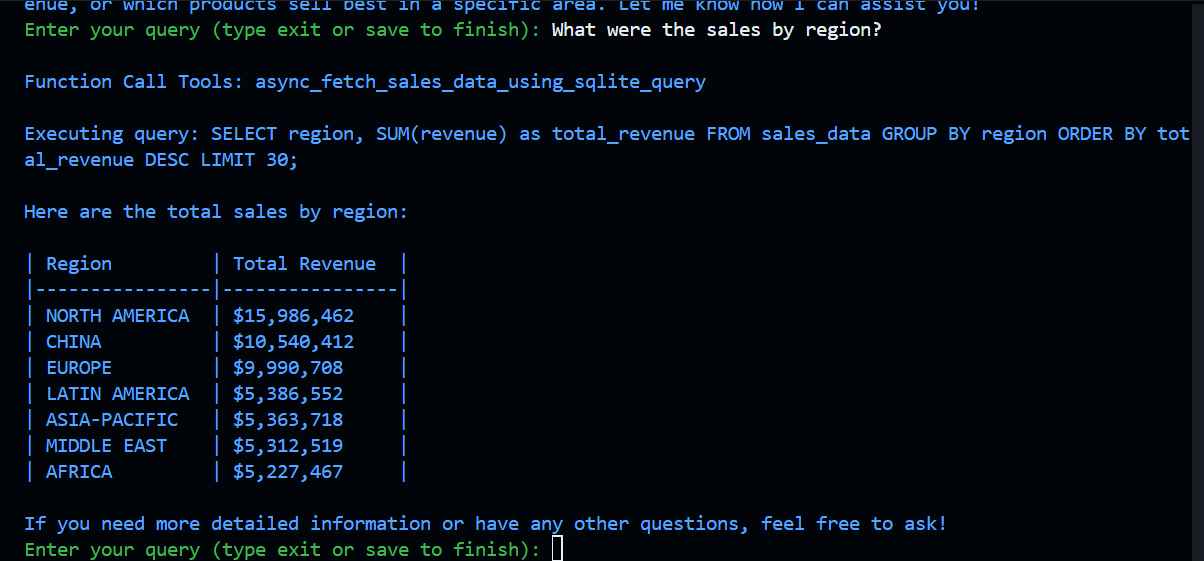
So now we are all set, we can start a conversation with the agent.
So im asking the question What were the sales by region ?
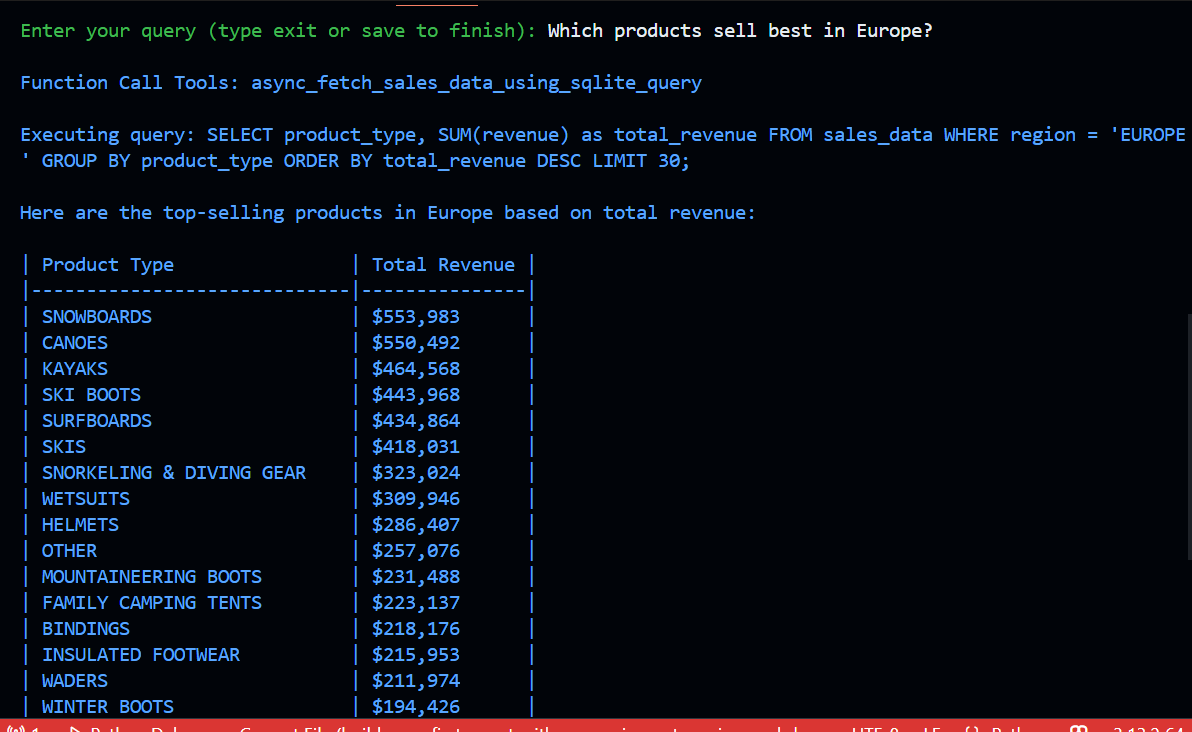
For example next question – Which product sell best in EU
Now we are adding more help to the interpretation by adding Inpreter.txt and its associated tool. Post that just save and rerun by pressing F5.
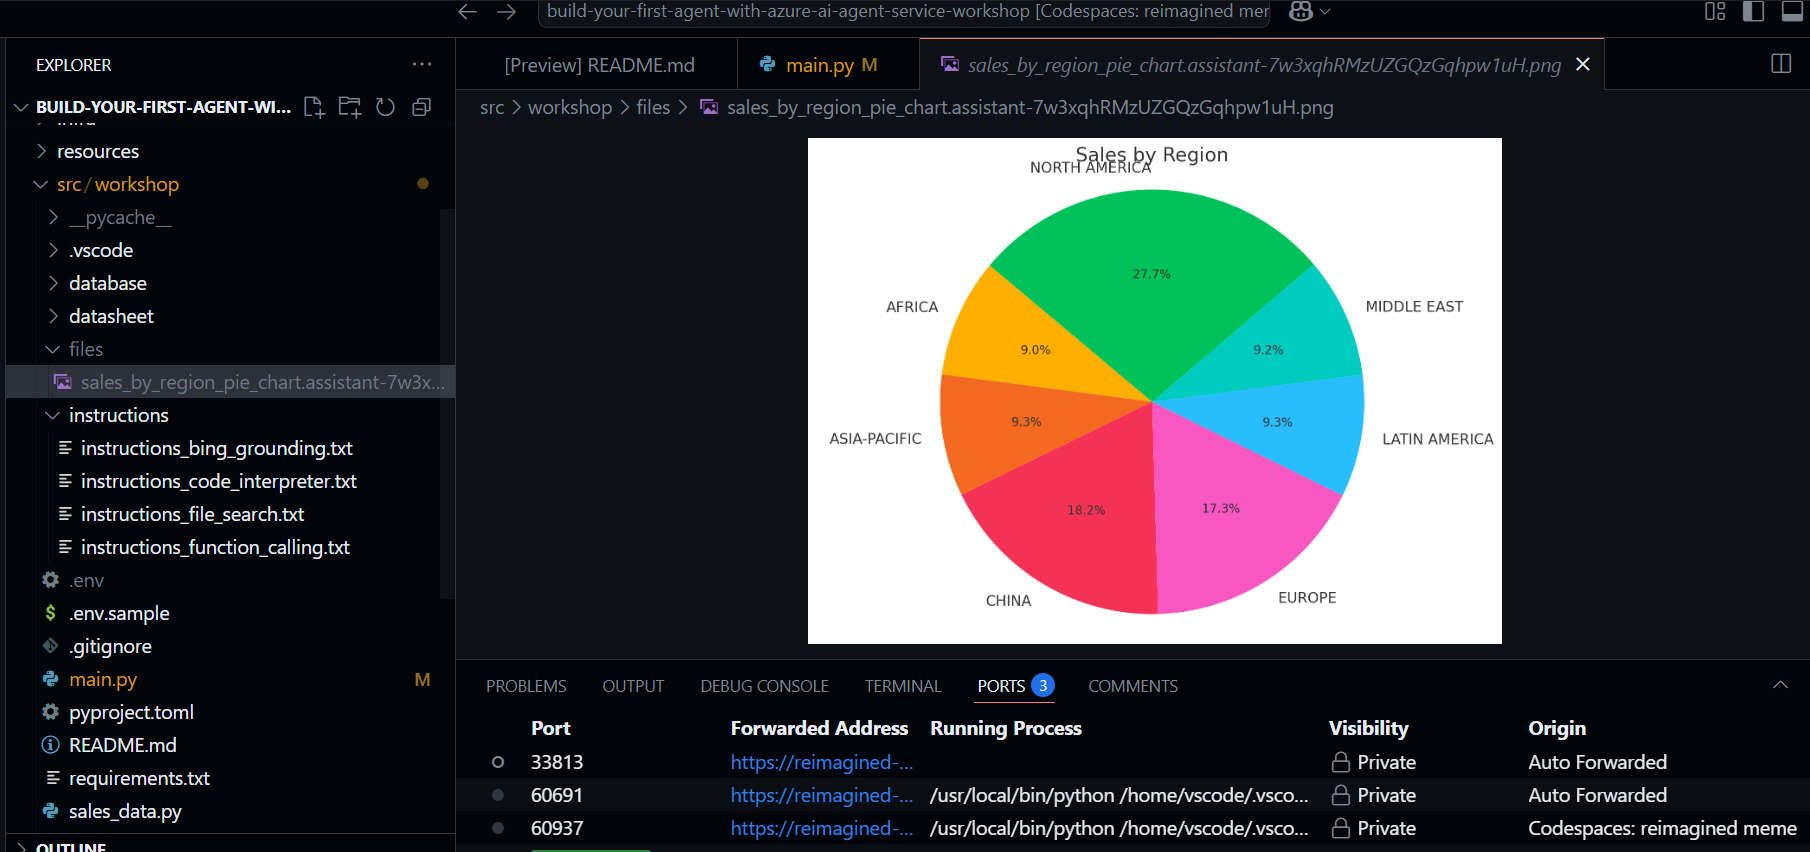
So now when you try a visualization example.
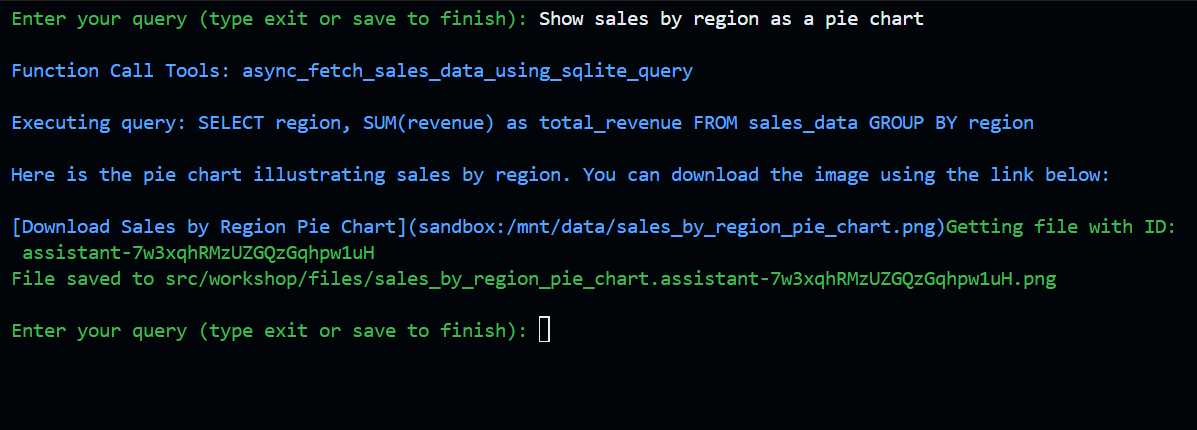
We can see that the png file is created
In the above examples we have covered only first 2 Labs. If you want to cover the rest of them remaining 3 then you can simply follow the excellent writeup to finish all the 3 modules.
Azure AI Agent Service is a fully managed platform designed to help developers build, deploy, and scale AI agents efficiently. These agents can perform a variety of tasks, from answering questions to automating workflows, by leveraging powerful generative AI models and tools that interact with real-world data source
Azure AI Agent Service simplifies the process of developing AI solutions, making it accessible for both beginners and experienced developers. This service empowers you to create high-quality, extensible AI agents that can significantly enhance your applications and workflows.
Regards
Sathish Veerapandian
Tagged: AI, artificial-intelligence, Azure, cloud, Microsoft


Leave a comment