
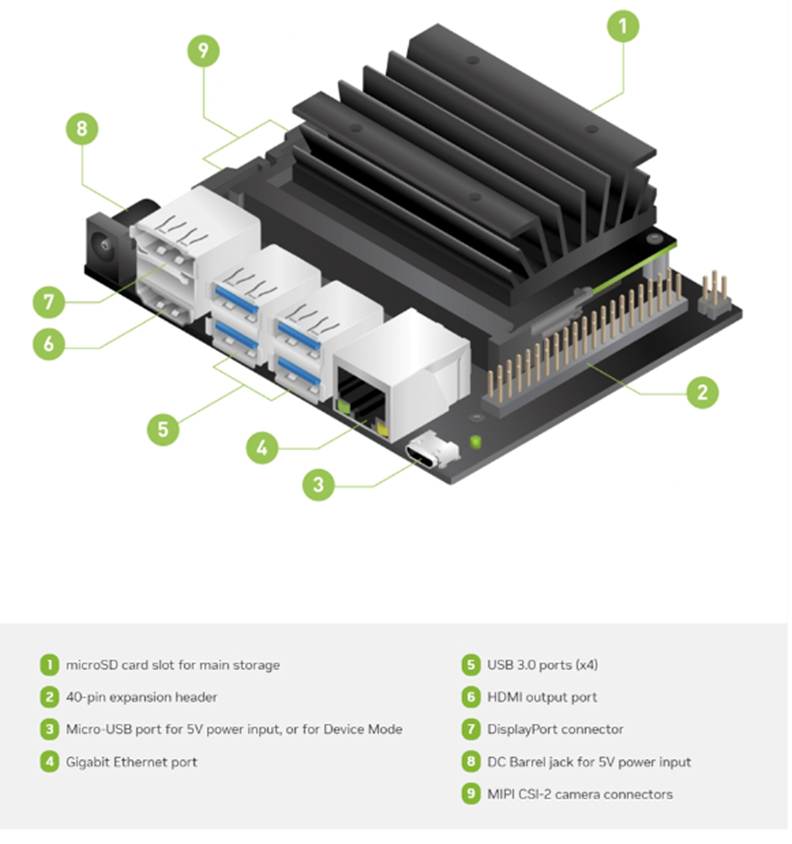
The NVIDIA Jetson Nano Developer Kit is one of the most powerful and affordable edge AI platforms available today. It enables developers, students, and hobbyists to build and deploy real time AI applications such as object detection, voice processing, robotics navigation, smart surveillance, and IoT automation all on a compact GPU accelerated device.
This guide walks you through the entire setup process end to end, starting from preparing the microSD card, flashing JetPack OS, configuring networking, enabling SSH, scanning the device on your LAN, and completing the desktop onboarding steps.
Every stage is illustrated with images, so even first time users can follow along easily.
By the end of this setup, your Jetson Nano will be fully ready to deploy deep learning models, run TensorRT optimized inference, manage Docker containers, and integrate with larger AI/IoT pipelines.
1. Preparing Your Jetson Development Kit
Before getting started, ensure you have a Jetson device, a computer with internet access, a microSD card (32GB recommended), and an SD card reader. You will download JetPack OS and use Balena Etcher to flash the system image onto the SD card.
Setting up the Jetson Nano correctly from the beginning is crucial because the device relies heavily on optimized system components that come bundled with JetPack OS. This OS includes CUDA, cuDNN, TensorRT, and essential GPU drivers all of which are required for running modern AI workloads. A clean and properly flashed SD card ensures that the Jetson boots smoothly, recognizes all onboard hardware, and operates with full GPU acceleration.
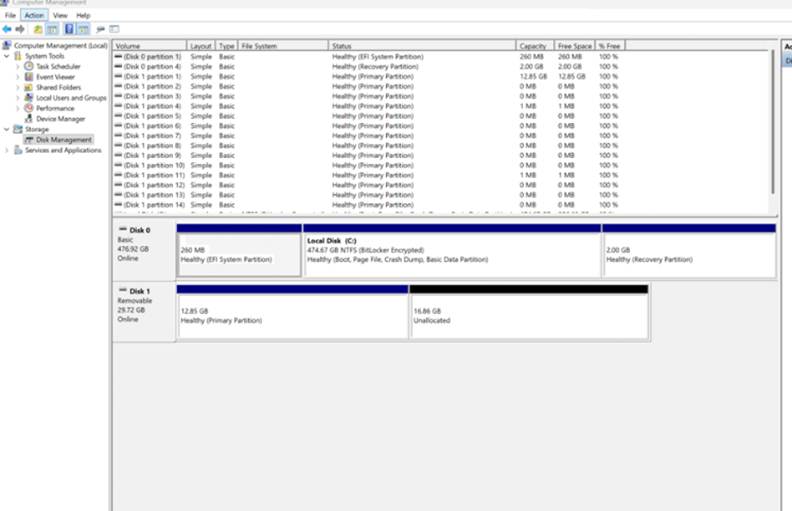
During the SD preparation stage, tools like SD Card Formatter and Balena Etcher ensure the card is formatted correctly and the JetPack image is written without corruption. Windows cannot interpret Linux EXT4 partitions, so seeing “unallocated space” in Disk Management is completely normal and confirms that the flash was successful.
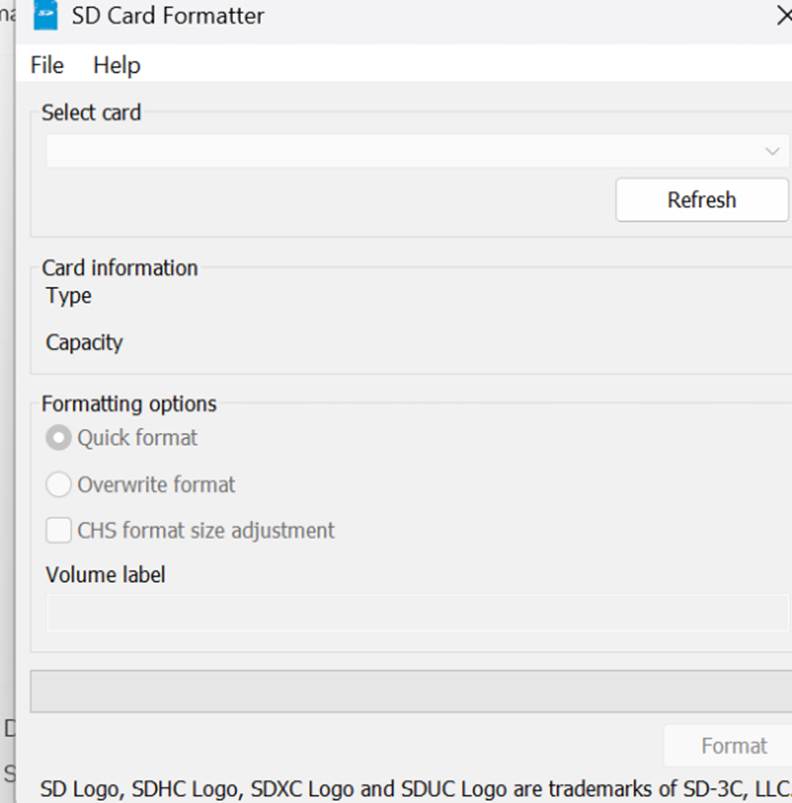
Download the SD card Formatter and install them.
.
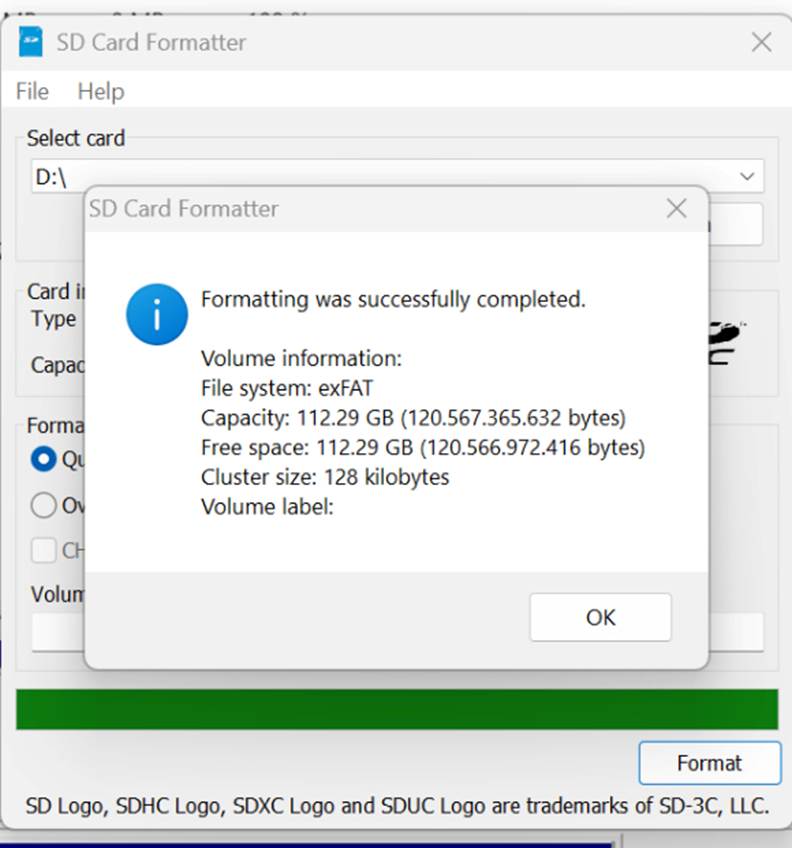
So choose your SD Card and format them
Make sure you see the below information file system exFAT
Now its the next step to flash the required OS for the Jetson Nano Developer Kit
Download the Jetson Nano SD Card Image
After this download & Install the Etcher Tool to create the image
Launch the Etcher Tool and select the Target SD card and flash them
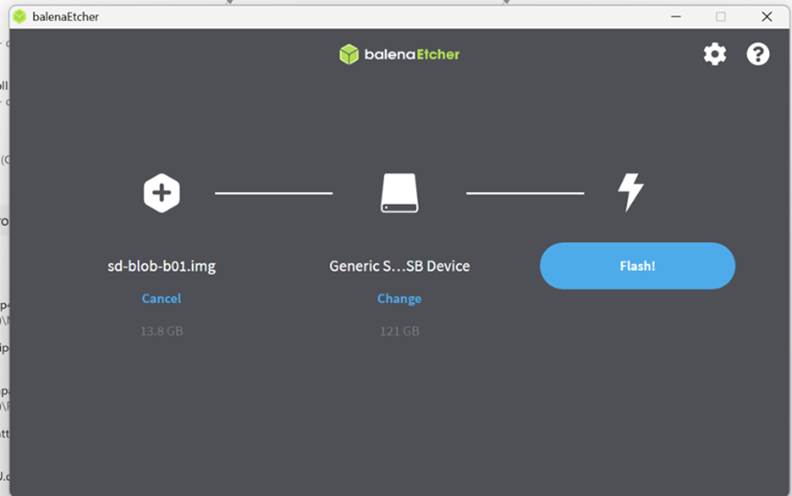
Balena Etcher flashing process starting.
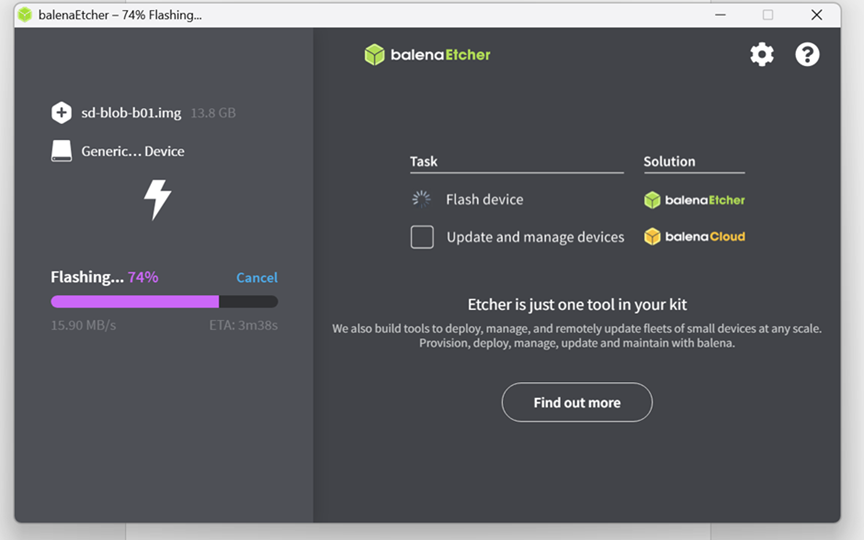
After that the validation process would start

Upon completion you must get a successful flash message like this
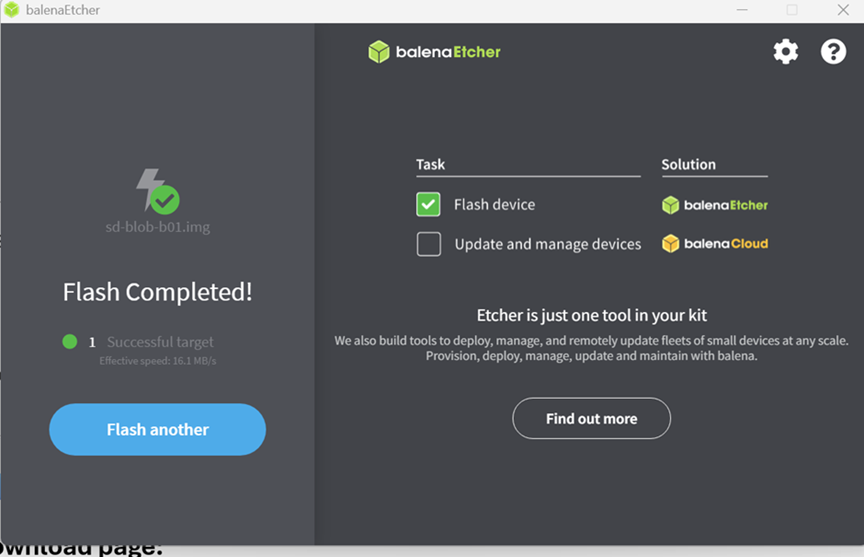
Important – Unzip the jetson package and start the flashing process. If you do not follow this then there will not be a proper image created
Also after the flashing process is completed you can go to disk management and see the multiple partitions created however you cannot see the linux system file expected behavior when we attempt to see them on the windows
Now the next step is to load the SD card in the Jetson Nano developer Kit and join them in the network
Follow these steps:
- Inserting the SD Card into the Jetson Nano is one of the simplest but most important steps. The microSD slot sits on the underside of the board, and you must insert the card until you hear a firm click. This ensures the bootloader can access and load the JetPack OS during startup
- Connect the Peripherals 90 percent recommended
- Connect an HDMI/DisplayPort monitor
- Plug in a USB keyboard & Plug in a USB mouse
- Simply plug an Ethernet cable from the Jetson Nano into your router or switch. (Do not try to connect them to WIFI most of the Jetson Nano Developer Kit does not have Wifi option)
Verify the Jetson joined the network
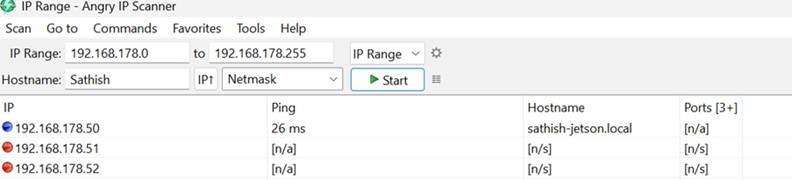
When the Jetson Nano boots for the first time, it automatically attempts to join your network. If you are using Ethernet, the connection is established instantly through DHCP. Tools like Angry IP Scanner or Advanced IP Scanner are extremely helpful to identify the Jetson’s IP address.
Finding your Jetson in the scanner list ensures:
- The device successfully booted your flashed OS
- Networking services are active
- The device is ready to receive AI models, datasets, or remote commands
LIke in my example i have used Angry IP scanner and it has found my Jetson in the network
Very imp note after this i was not able to ssh into jetson i have to plug in my monitor and then configure the initial steps via GUI.
We are good to go with the config
Now plug in the HDMI monitor and it will load the Nvidia Screen like below
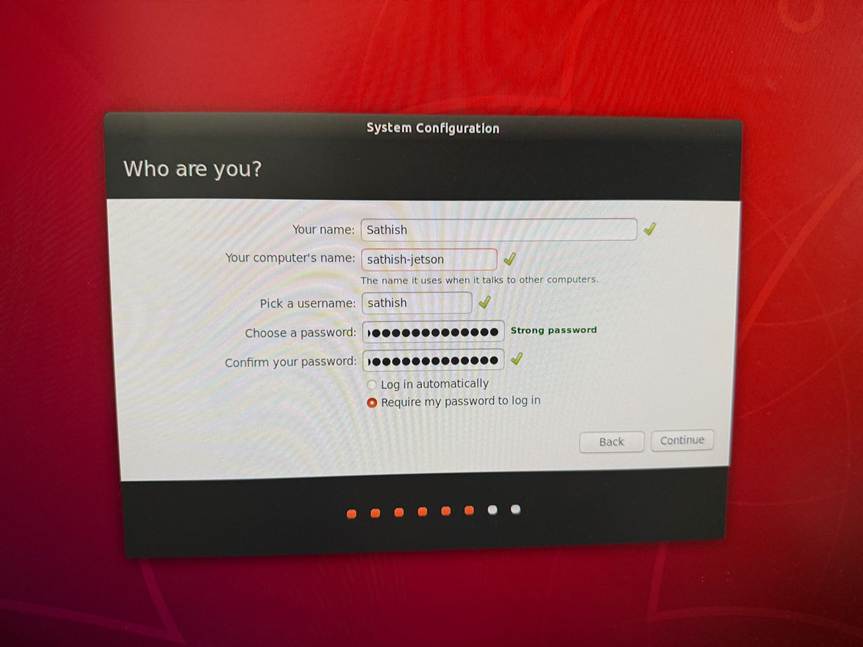
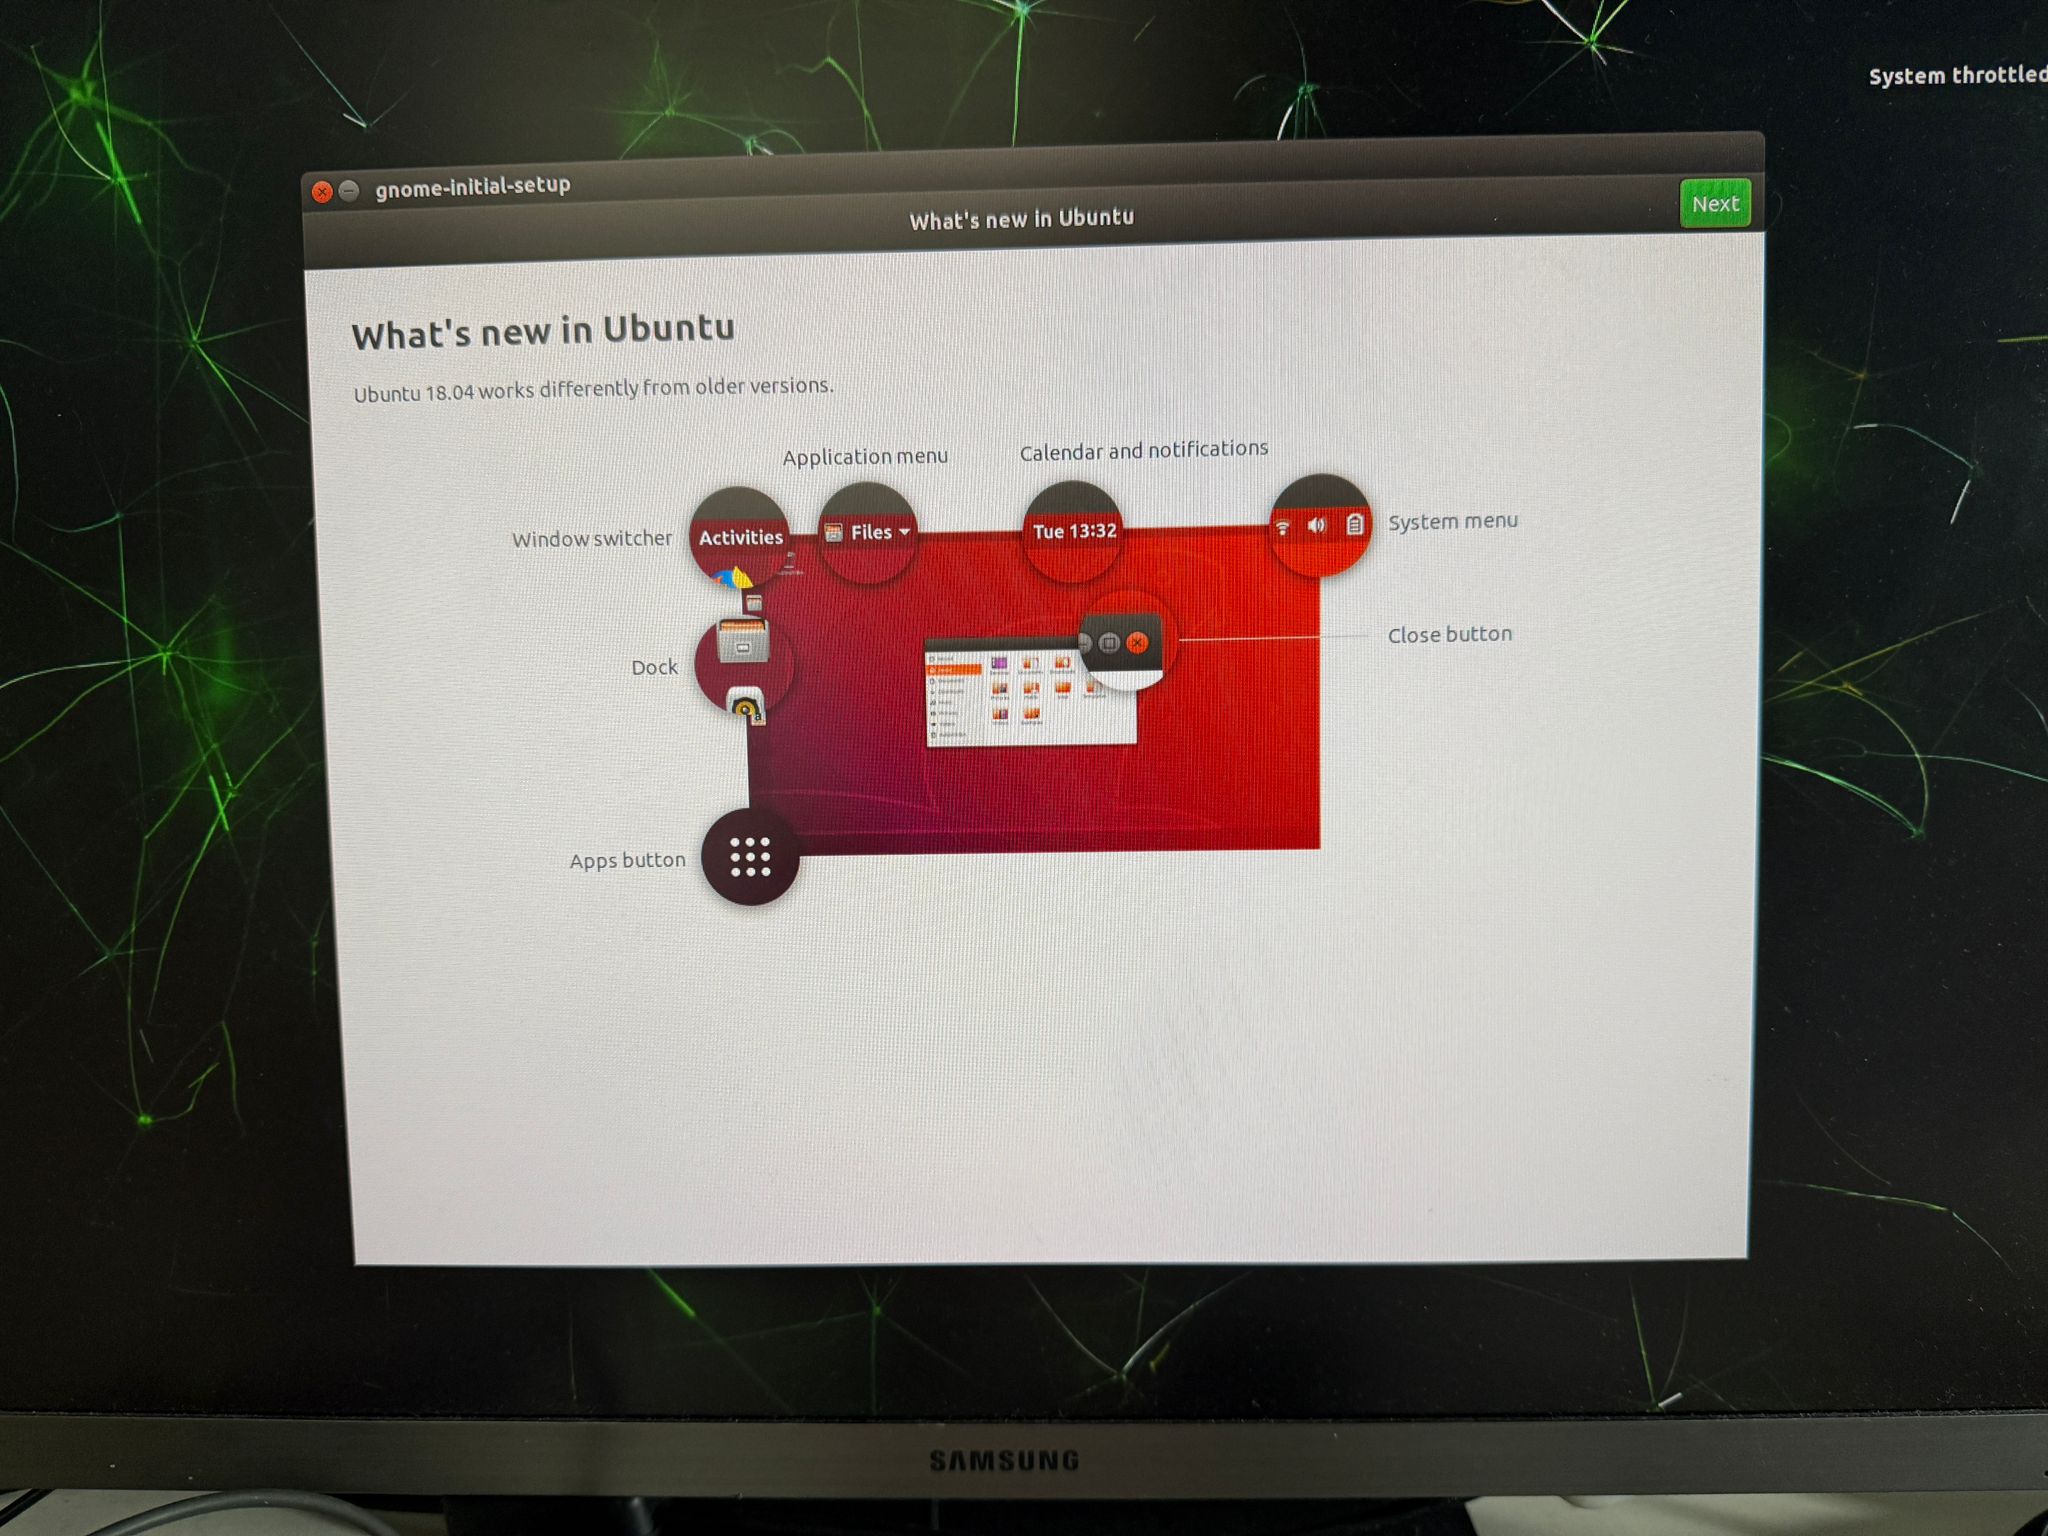
During the first boot configuration, you will complete user creation, time zone selection, language settings, display adjustments, and driver initialization. These steps are essential because Jetson Nano optimizes CPU and GPU resources based on your region and system preferences. The green check marks in the wizard indicate that all required OS components are correctly installed. If any item fails, the OS image may be corrupted in that case, re‑flash the SD card.
Once the setup is complete, the Jetson boots into the familiar Ubuntu desktop, enhanced with NVIDIA’s GPU accelerated libraries. You should now see a smooth graphical interface and have access to system settings, software updates, and NVIDIA developer tools.
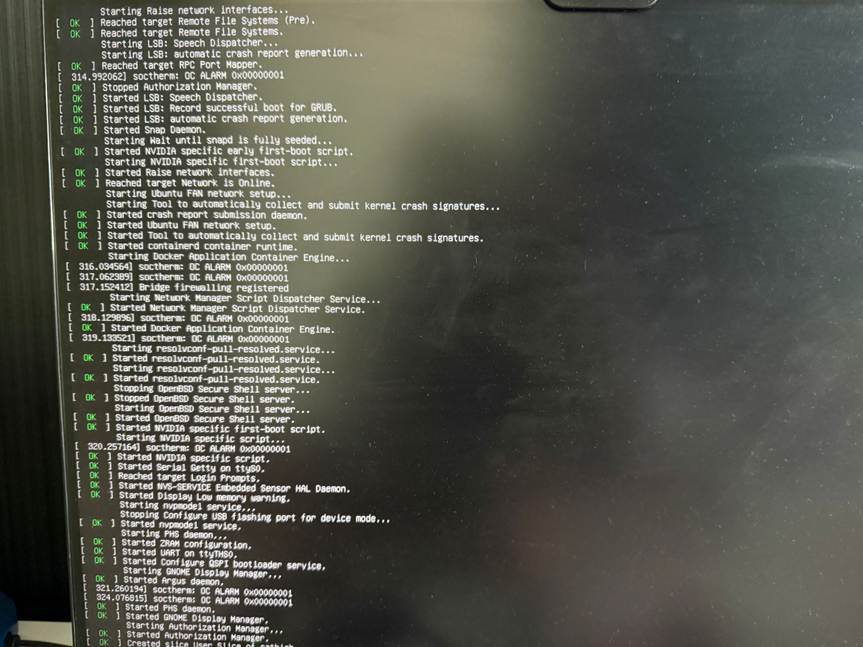
Later it will load to the config
You must get a green tick mark in all places if not your flashed Image is not correct
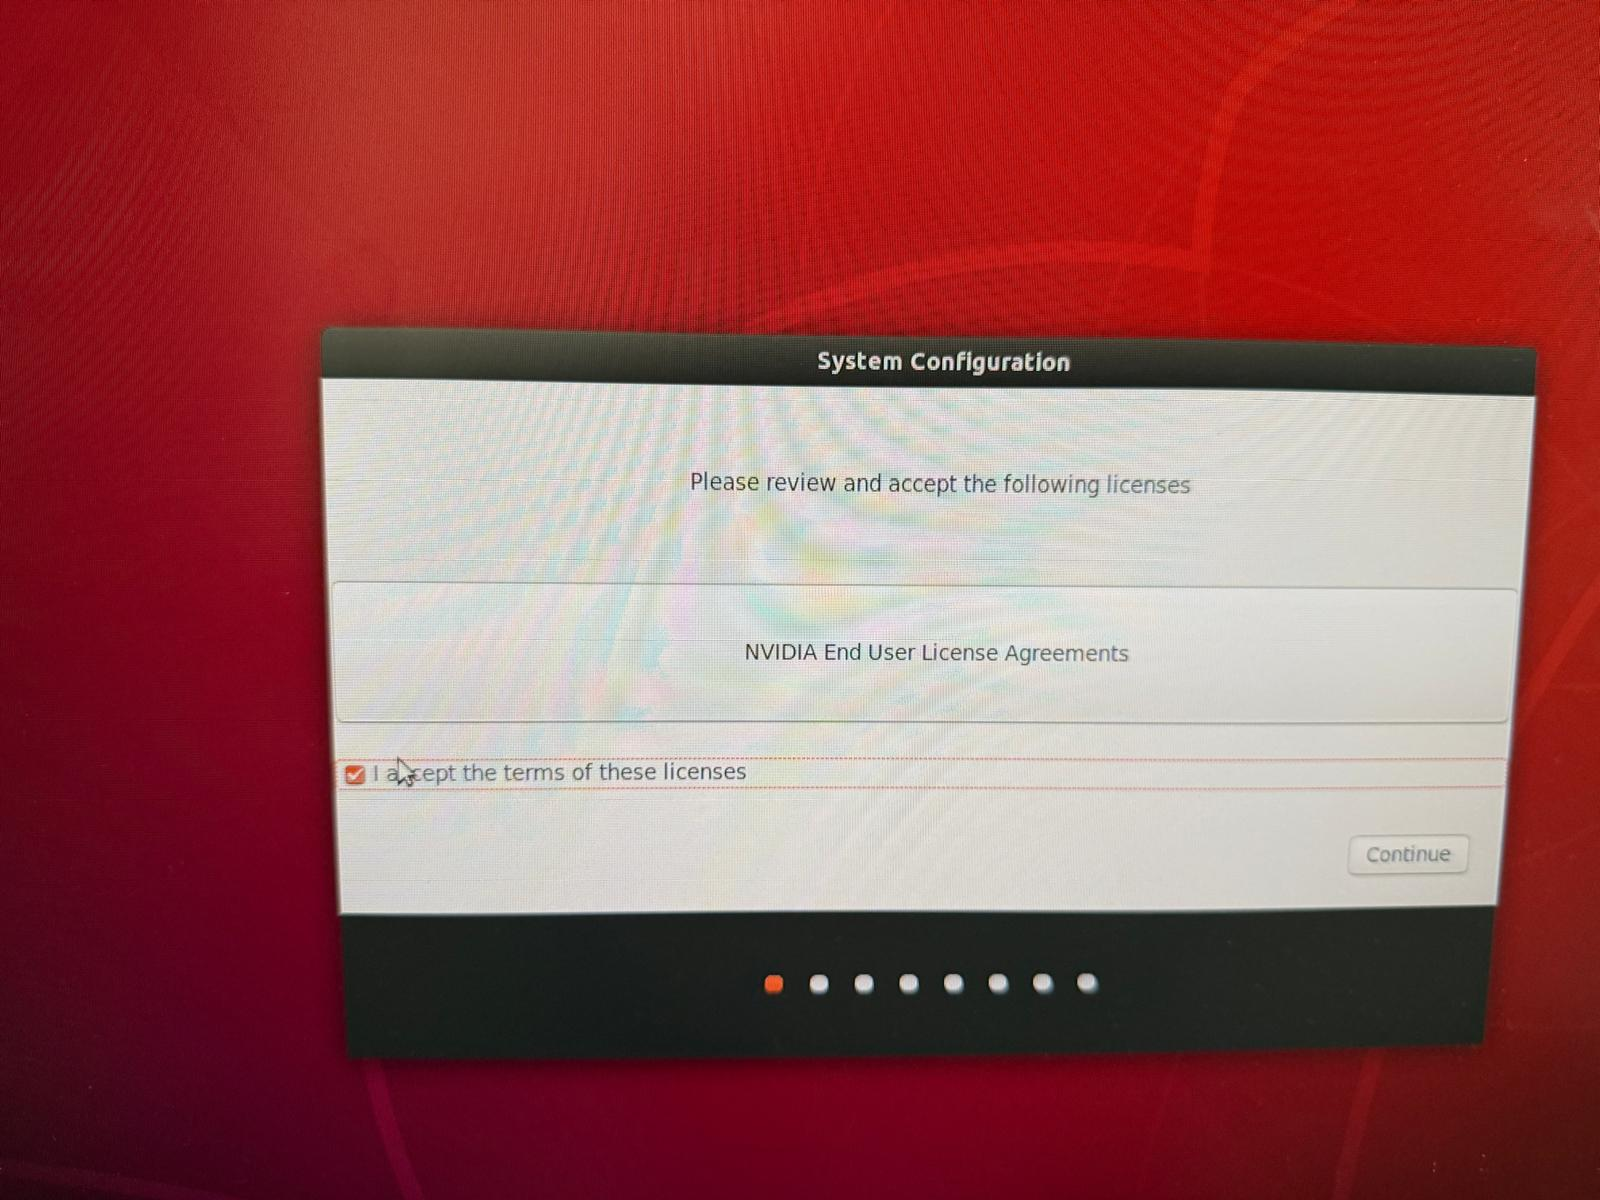
After a successful load of the Jetson Nano OS we will get into the License agreement page like below. Its very important to know that all these steps are very easy to configure with a keyboard & a mouse
It would create an user first
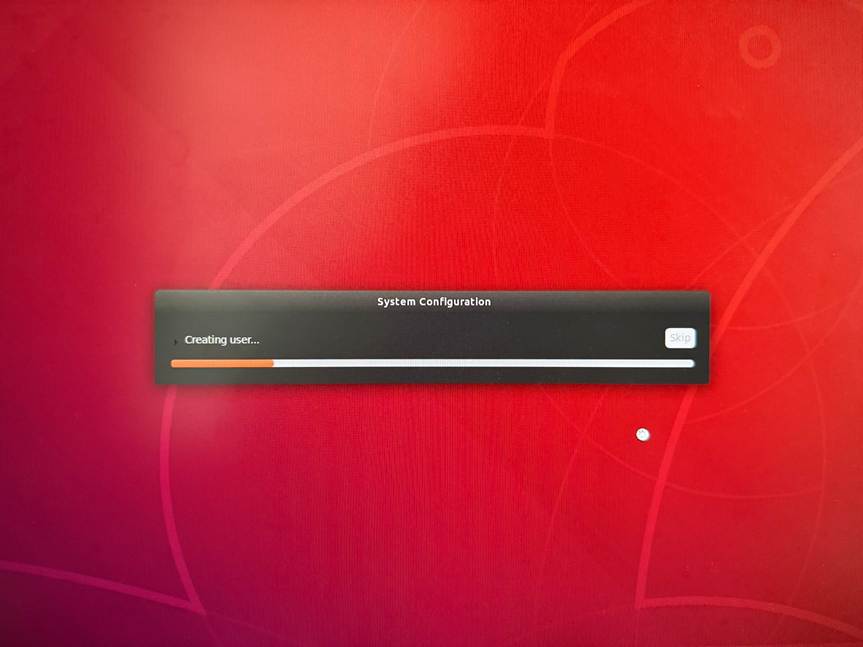
There are several steps that will take you and just follow the wizard
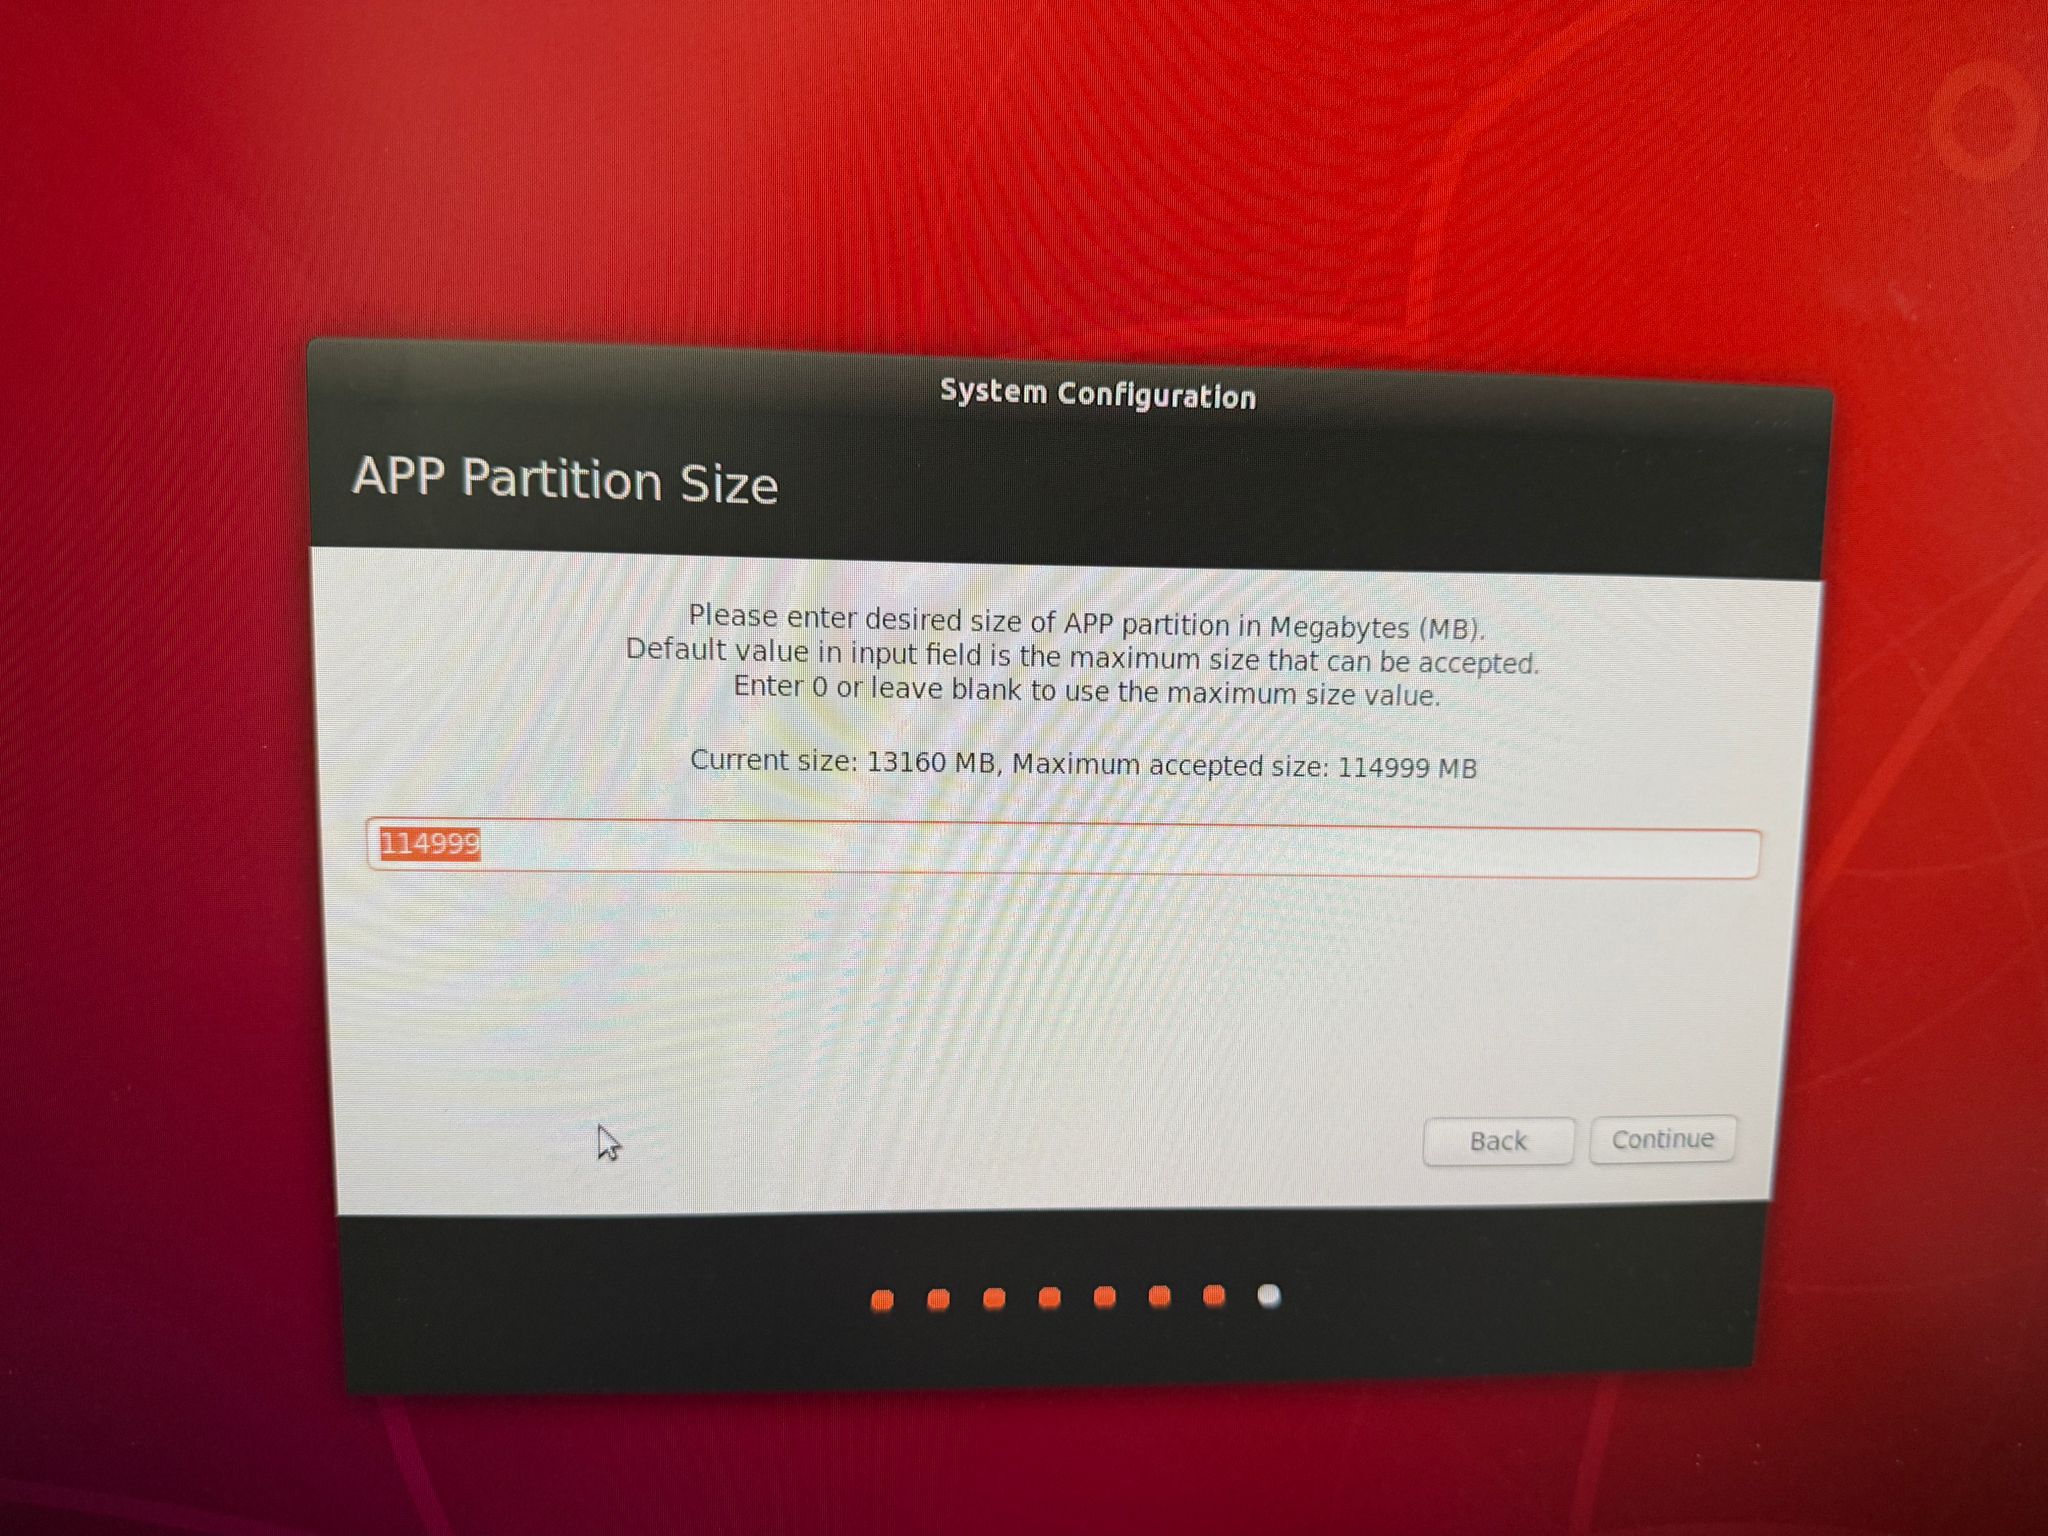
Select the right app partition size
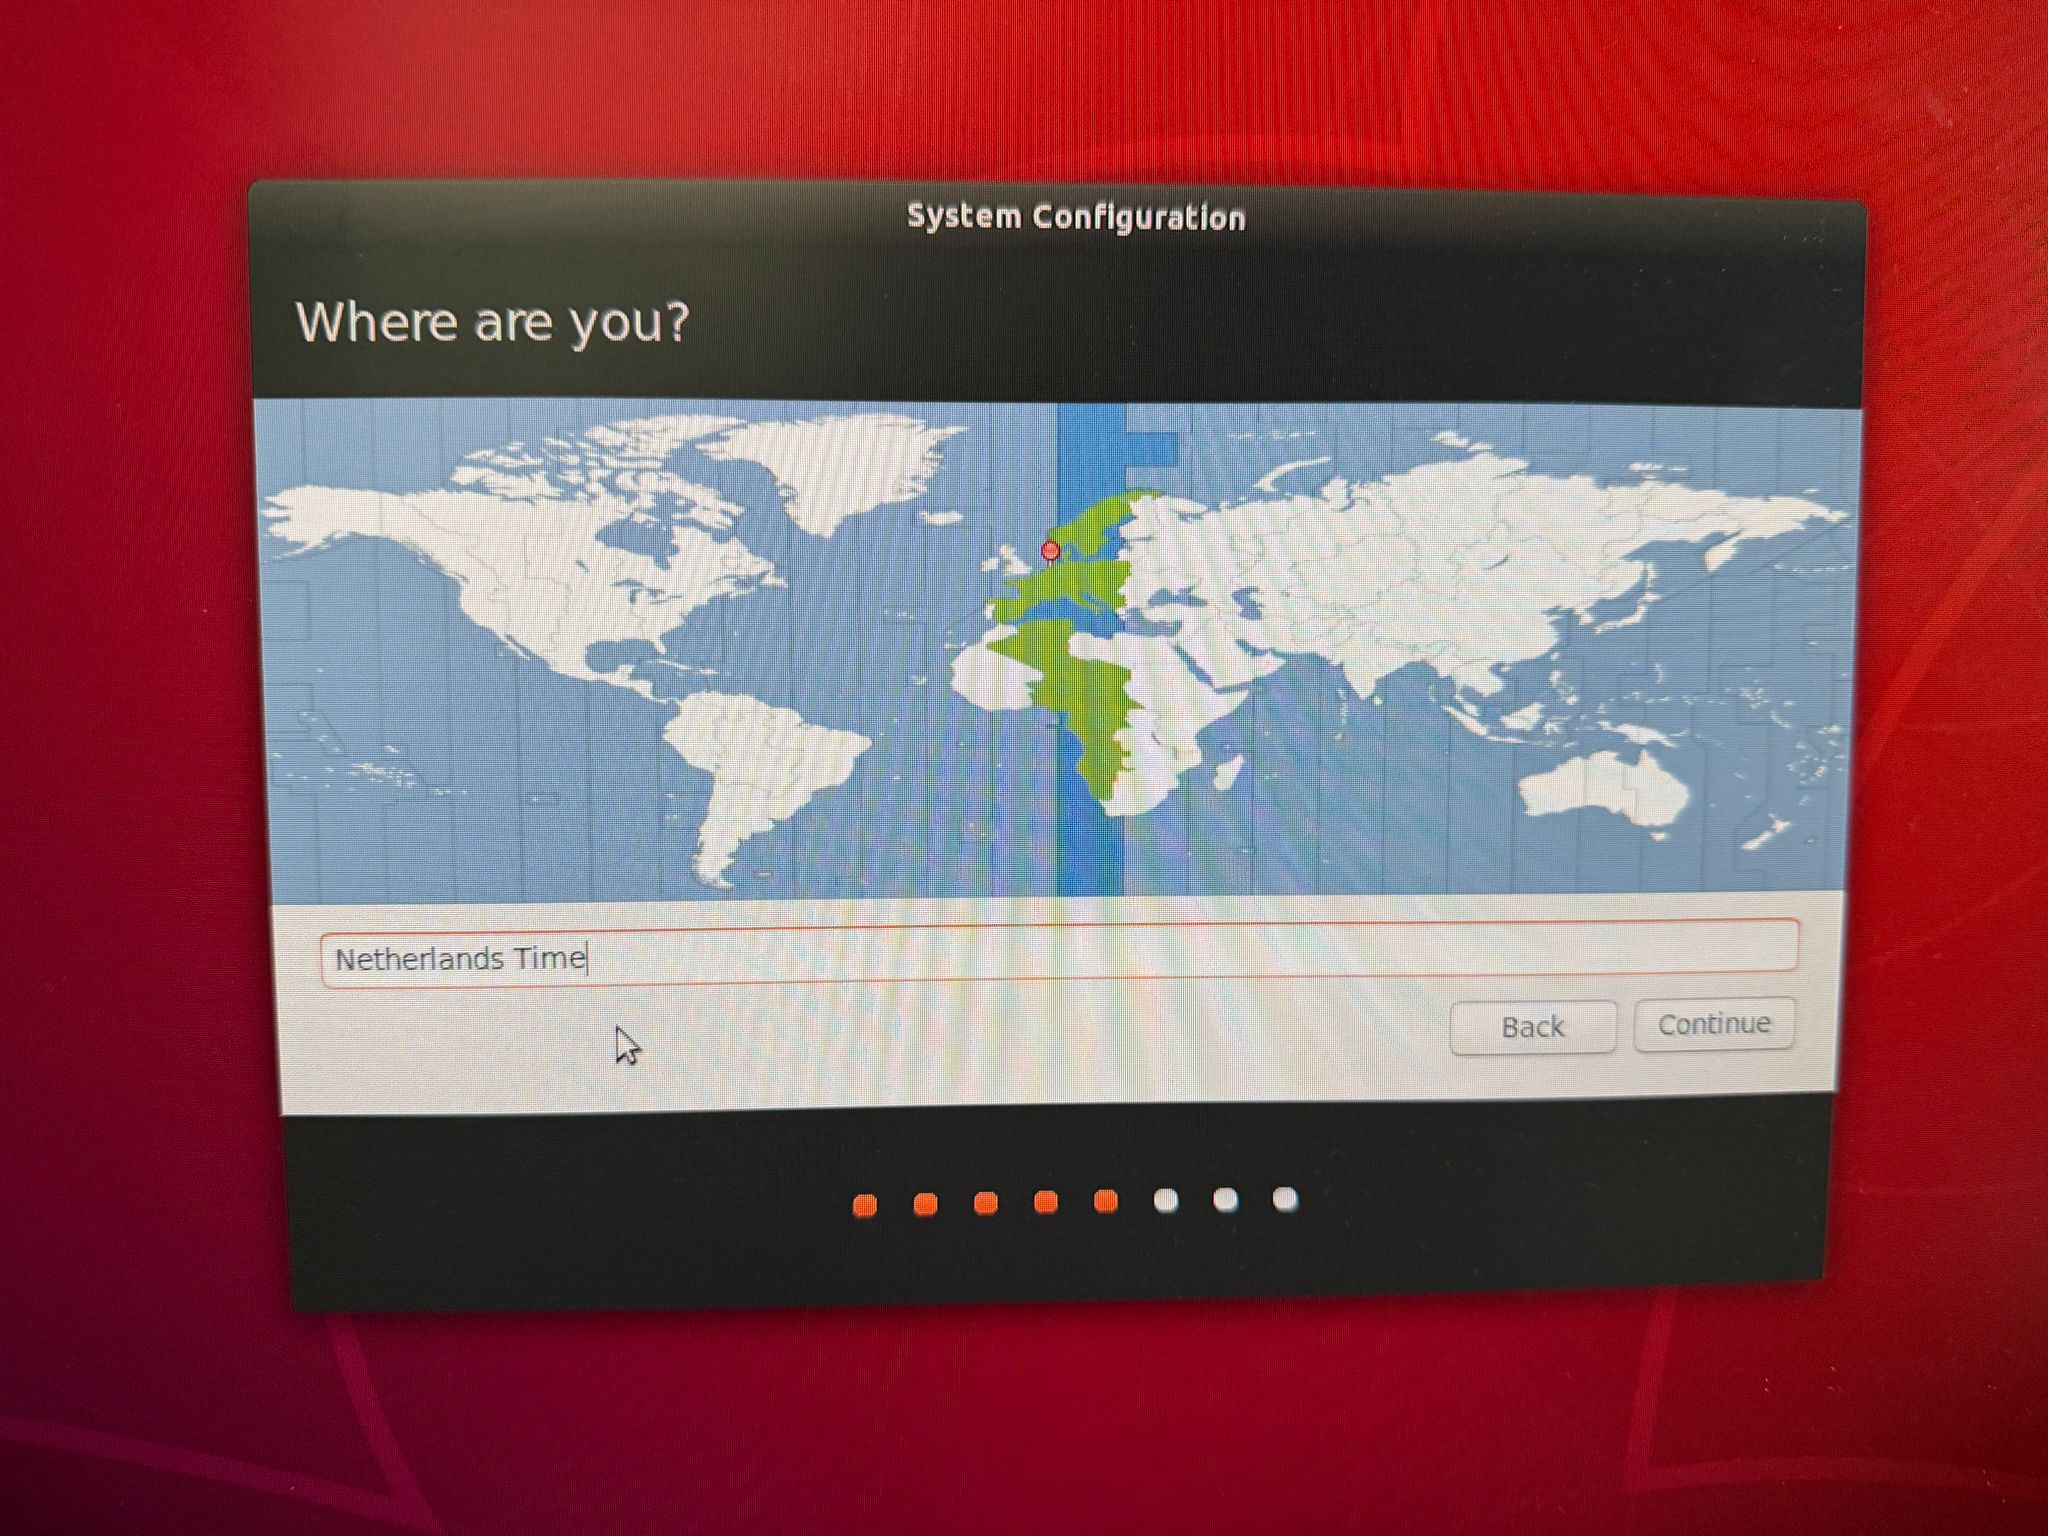
Choose the system configuration time zone correctly.
Jetson Nano optimizes CPU and GPU resources based on your region and system preferences.
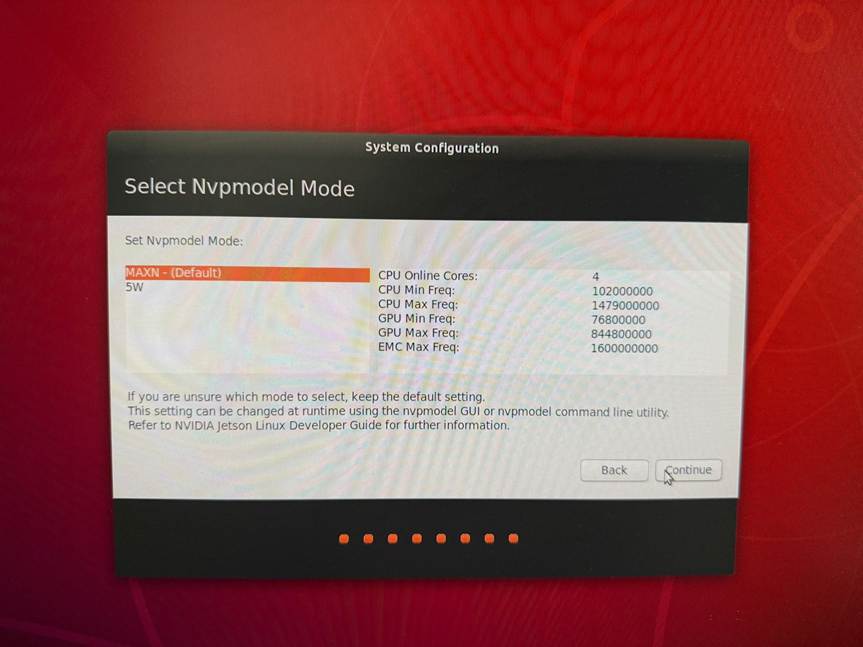
I suggest to leave this configuration by default until if you need to change them for any reason.
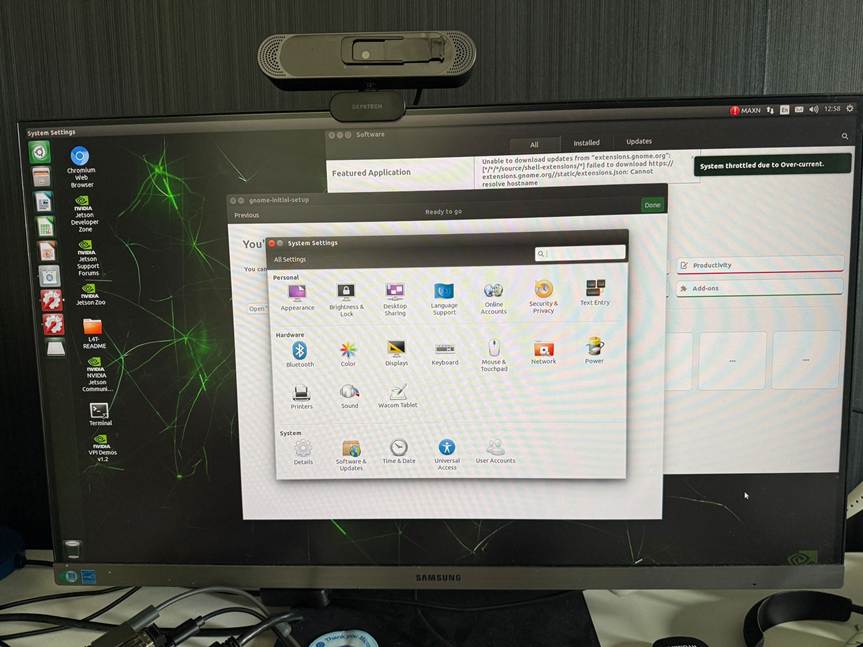
We will reach the final setup stage
The final step we will be in the OS Landing page
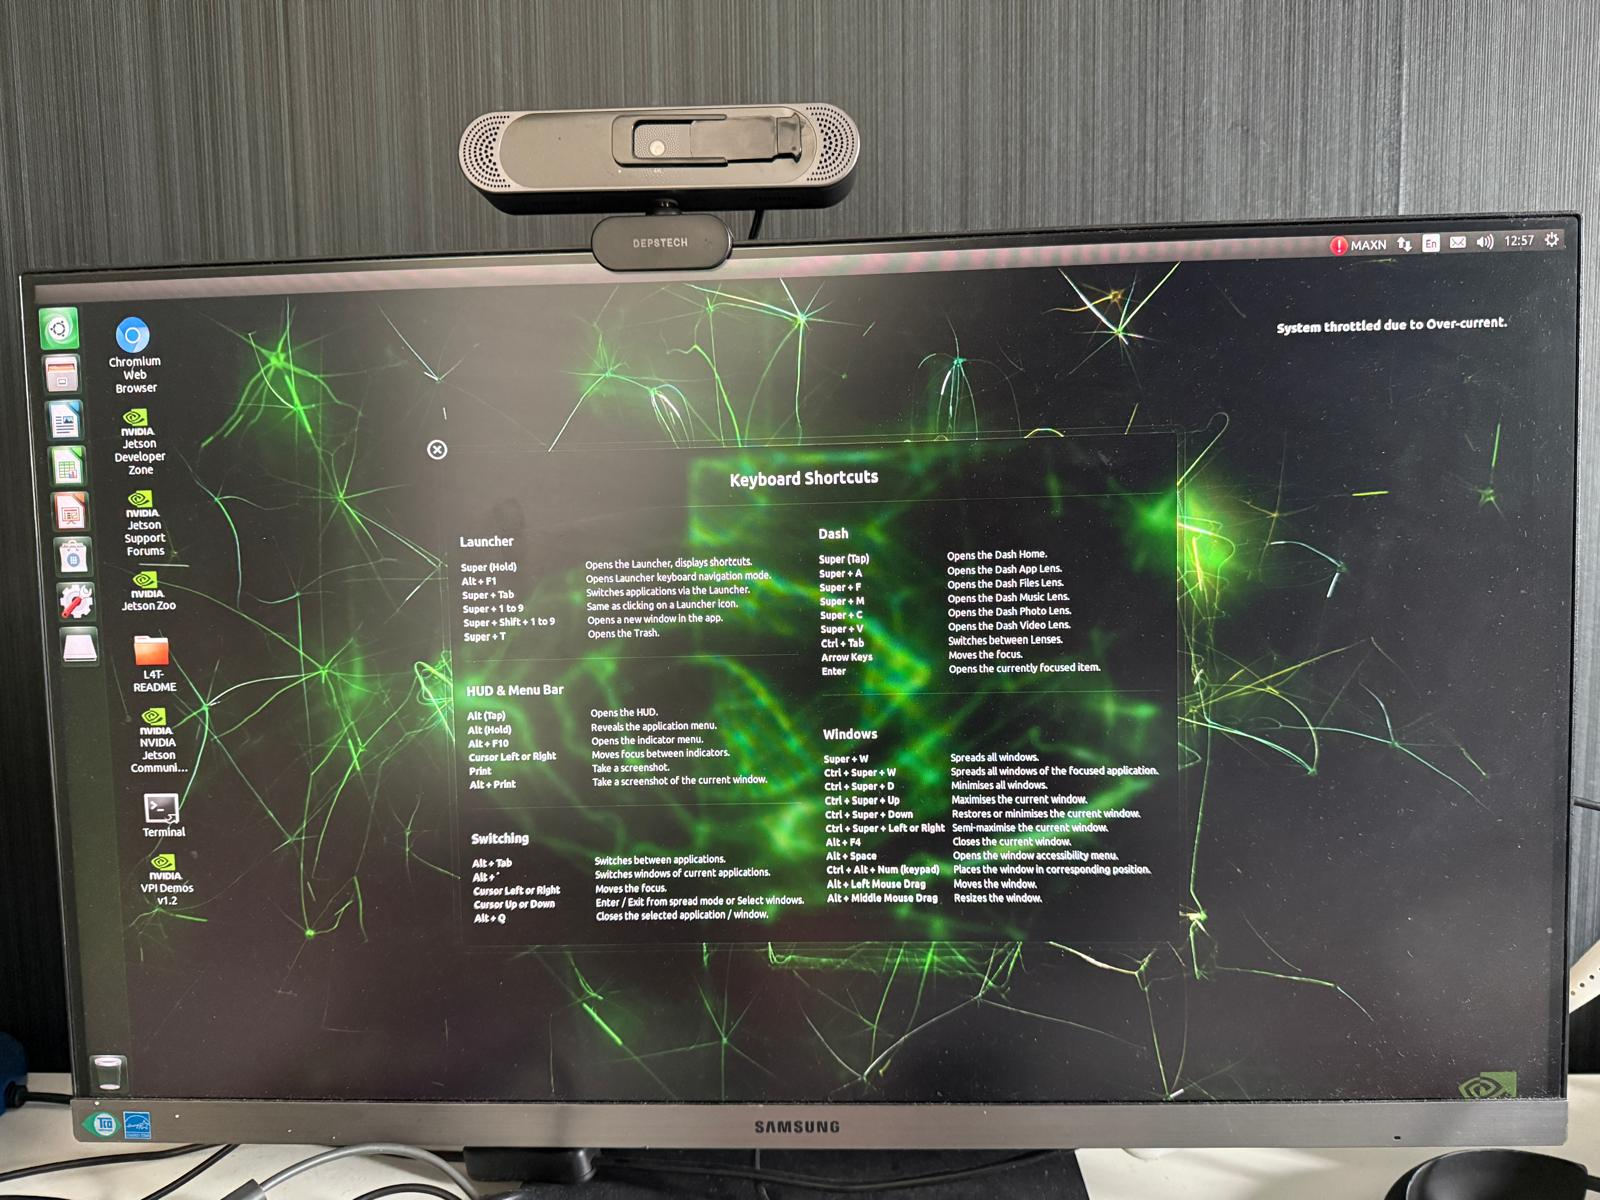
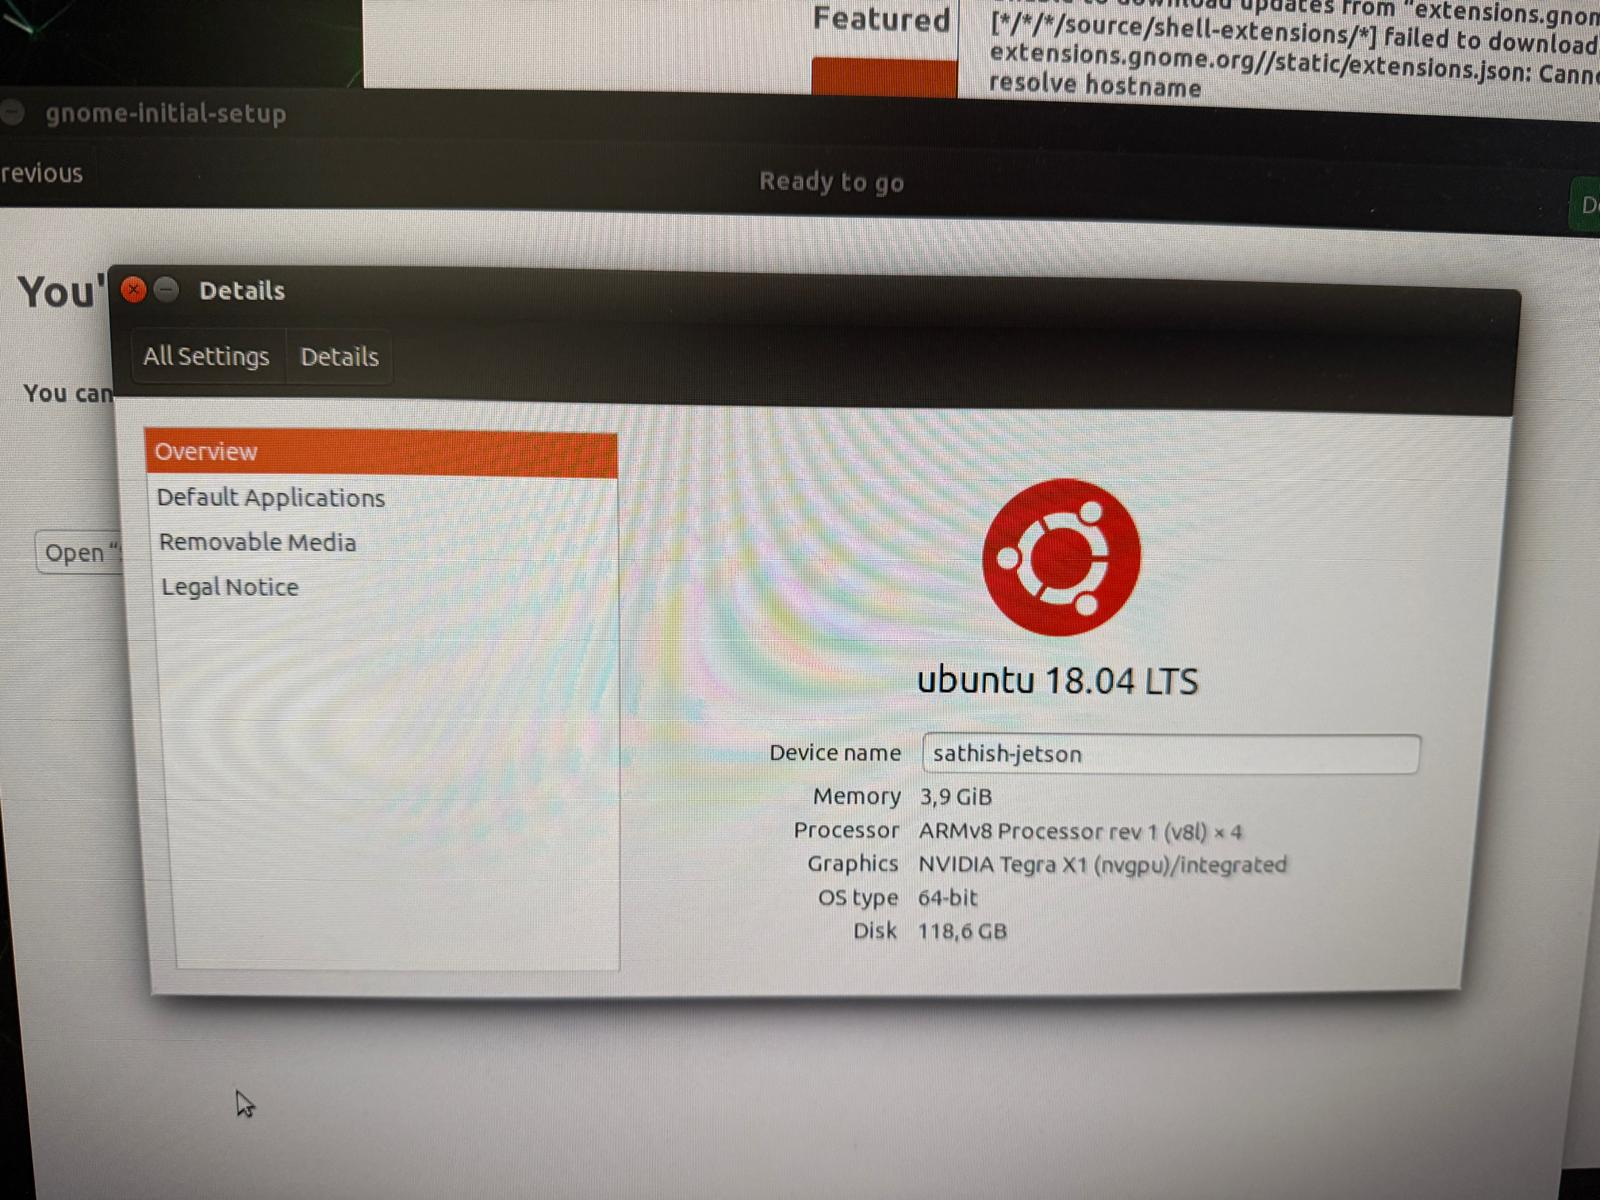
After a successful completion we get the loaded OS like this
We can also see the OS version, 4 GB memory that comes by default on the Jetson Developer Kit , OS type, Processor Info and also the SD card details
Your NVIDIA Jetson Nano is now fully configured and ready for development. With JetPack OS successfully flashed and the device connected to your network, you have a powerful edge AI computer capable of running real‑time deep learning workloads. This preparation is critical because deploying AI models requires an optimized environment with CUDA, cuDNN, TensorRT, and the necessary GPU drivers all of which are installed during this setup.
From here, you can begin:
- Deploying YOLO, SSD, and DeepStream object detection models
- Running TensorFlow, PyTorch, and ONNX models with GPU acceleration
- Building robotics, automation, and computer vision systems
- Using Docker containers for isolated ML pipelines
- Experimenting with Jetson.GPIO, cameras, sensors, and edge IoT components
This setup forms the foundation of your AI development journey, ensuring the Jetson Nano is stable, optimized, and ready to execute high performance AI inference workloads..
Regards
Sathish Veerapandian
Tagged: AI, artificial-intelligence, linux, LLM, technology


Leave a comment