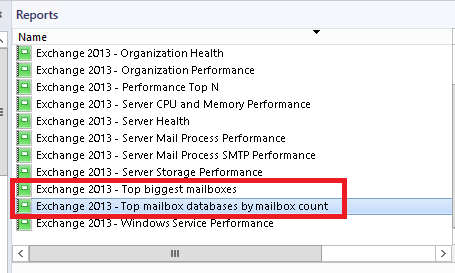
Recently when we tried to generate the top mailbox statistics report with the below option available from SCOM reports we weren’t able to generate them.
It was giving an empty report without any values.
Along with that few report data’s only for Exchange Servers like database IO reads/write while trying too were empty with no values.
Upon looking into the operations manager log saw the below event ID.
Source: Health Service Modules
Date: 20.04.2017 09:36:58
Event ID: 31551
Task Category: Data Warehouse
Level: Error
Keywords: Classic
User: N/A
Computer: SCOM1.exchangequery.com
Description:
Failed to store data in the Data Warehouse. The operation will be retried.
Exception ‘InvalidOperationException’: The given value of type String from the data source cannot be converted to type nvarchar of the specified target column.
Instance name: SCOM1.exchangequery.com
Instance ID: {466DF86F-CC39-046A-932D-00660D652716}
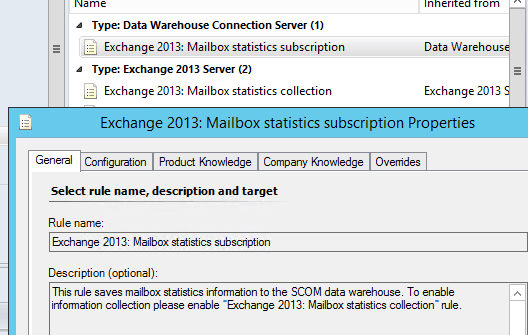
Management group: ExchangeQueryBy the above error we can see that this mailbox statistics subscription rule has some problem and hence the reports were not generated.
Below 2 rules are required to be enabled to generate this report:
1) Exchange 2013: Mailbox Statistics Subscription.
2) Exchange 2013: Mailbox Statistics Collection.
So by looking into the above event we can see that the SCOM is having trouble in writing the data into this target tables in the data-warehouse from the stage table.First the generated alerts are written on the operational stage table database by the SCOM. Then the operational database will insert these bulk datas into its Target DataWareHouse. It uses the option SQL bulk Insert because of the amount of data that it needs to insert from its stage table and needs to take this process.
During this process of bulk insert it will compare the value of the data that needs to be inserted with its default allowed values (NVARCHAR values for each tables). So if any of the alert titles have the values more than its default allowed limit then we will run into this problem.
This value can be seen in active stage under the columns in the operational manager database – Tables – Exchange2013mailboxstatsstaging- columns
Here we can see the nvarchar values for each properties of the mailbox which will be used to generate the mailbox statistics report from the scom 2012
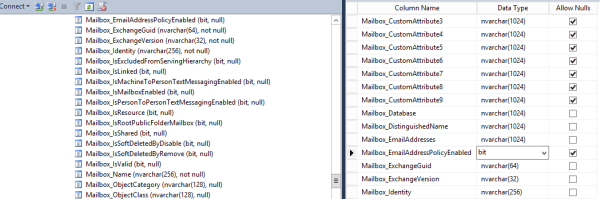
So here if any of these nvarchar values which is required to generate the report value have exceeded the allowed limit then it will fail inserting the data into the datawarehouse. For example the default length of the allowed limit for Mailbox_EmailAddress is 1024.
Lets say if there is one system mailbox which has multiple smtp addresses added in them which exceeds this character limit then the entire mailbox stats report will fail.
The SCOM requires in data type Nvarchar for Exchange because to support the unicode type for multi languages mainly. More details on SQL data types can be read here.
In our case we had a service account mailbox which had multiple SMTP addresses added on them and that exceed the allowed limit.
If any one run into the issue here is the simple command to identify the mailbox which has Email addresses of more than 1024 characters.
get-mailbox | where-object { $_.EmailAddresses.ProxyAddressString.ToCharArray().Length -ge 1024 } | foreach-object {write-host “$_”}
Once we find that mailbox we can remove that additional SMTP addresses and make the value less than 1024. After this the reports will be generating without any issues.
Another solution : ( Not Recommended)
Extend the nvarchar field values on the stage table as well as target table (Exchange2013.MailboxProperties_) in DataWareHouse which will allow the data to get processed and generate the reports even if it has a large amount of data.
Its better not to change the default values as it might go as unsupported model , rather modifying the mailbox and reducing the character limit which will keep everything in place without any customization.